Anchoring Zip Line Cables: Key Methods and Considerations
Anchoring a zip line cable requires careful consideration of various factors to ensure safety, durability, and minimal environmental impact. Below, we outline the factors influencing termination choices, the most common methods, and unsuitable practices to avoid.
Key Factors in Selecting a Termination Method
-
Tree Health (For Live Tree Anchors):
Live trees have a cambium layer beneath the bark that transports nutrients. Termination methods should protect this layer to avoid damaging the tree. -
Ease of Installation:
Accessibility and available tools can significantly affect how easily a termination can be installed. -
Future Adjustments:
Certain methods, like eye bolts, are challenging to adjust once installed. Choose a method that allows for adjustments if the cable’s position might change over time. -
Cable Proximity to Anchor:
Some methods keep the rideable portion of the cable close to the anchor, while others require additional hardware, placing it farther away. -
Compatibility with Accessories:
Ensure the chosen termination method is compatible with any zip line accessories, such as braking systems or tensioning devices. -
Inspection Access:
Termination points must be visually inspectable. Hard-to-inspect methods, like buried eye bolts, may require a redundant backup for safety.
Common Methods of Cable Termination
1. Direct Wrap
-
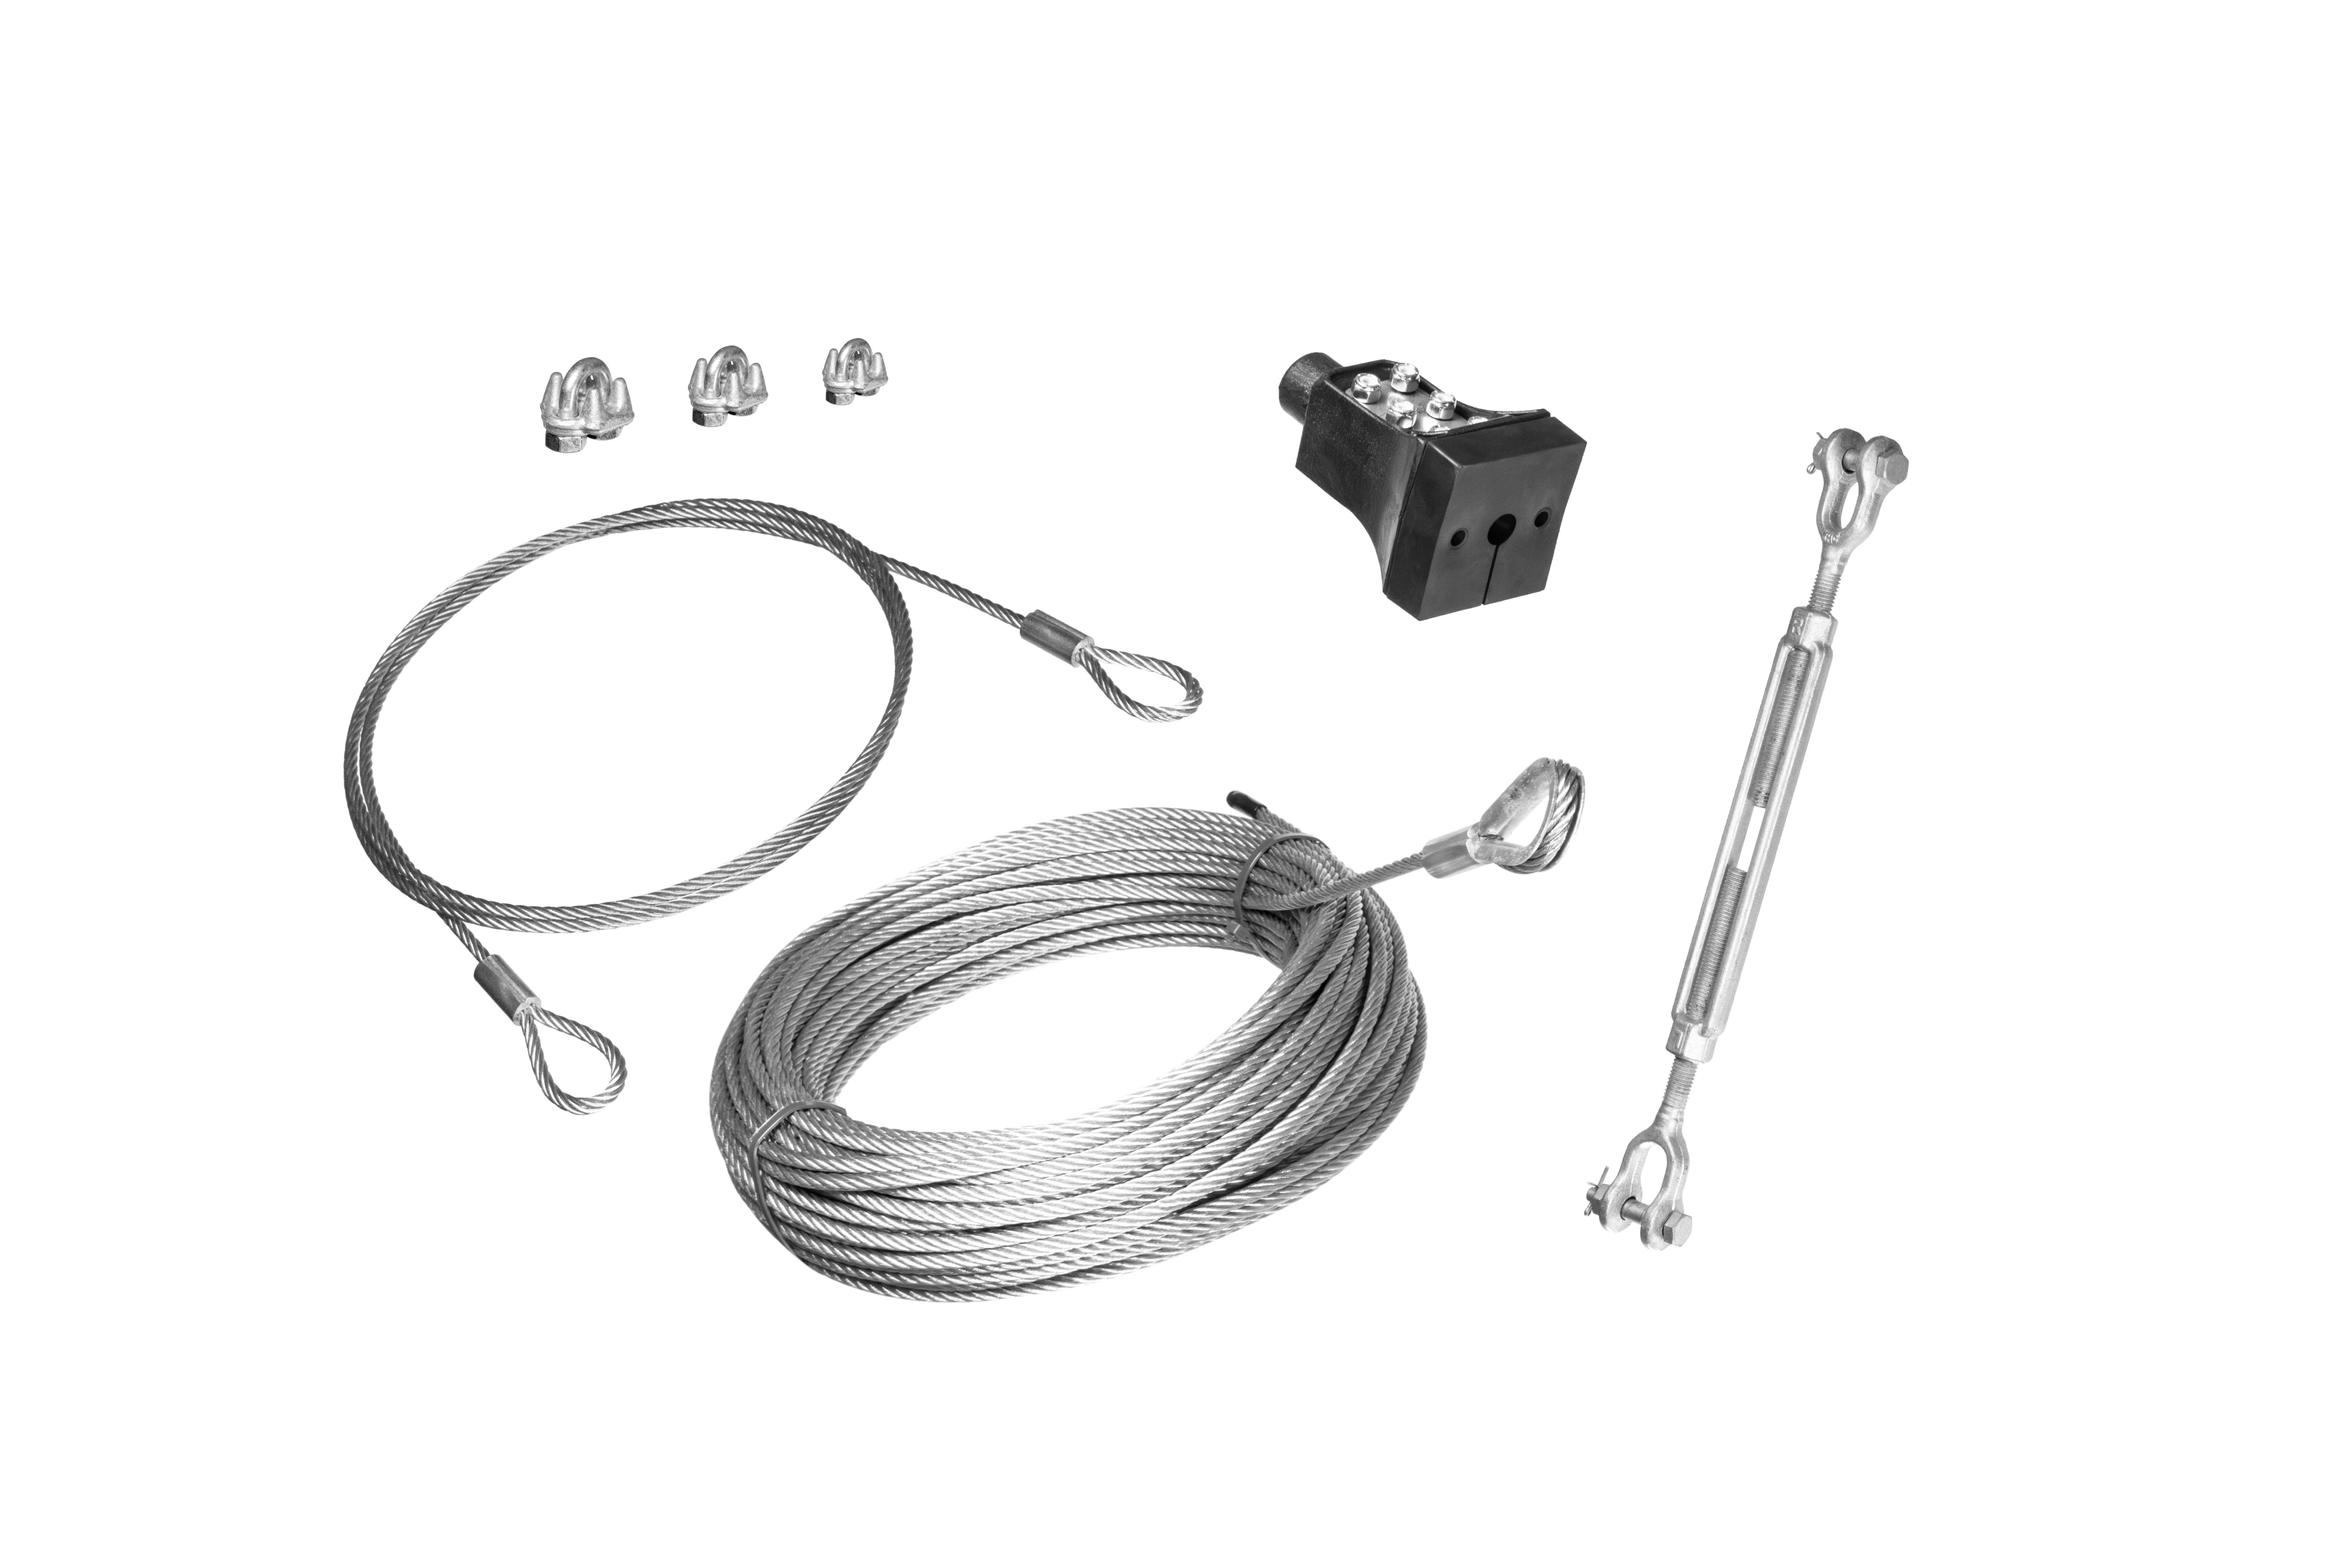
The main zip line cable is looped around the anchor (typically a tree) and clamped back to itself with cable clamps.
-
Setup: Requires at least three cable clamps and spacing the loop’s apex from the anchor at least half its diameter to prevent excessive cable angles.
-
Tree Protection: Blocks or pads should be placed between the cable and tree to distribute pressure and allow the tree’s cambium layer to function.
-
Use Case: Simple installations where adjustments or future relocations may be needed.
2. Cable Sling
-
A separate short cable with loops on either end wraps around the tree, connecting to the main cable via hardware such as a shackle, quick link, or turnbuckle.
-
Types:
-
Fixed Sling: Pre-fabricated to a specific size.
-
Adjustable Sling: One end is adjustable using cable clamps for a custom fit.
-
Advantages: Allows for easy tension adjustments and accommodates various anchor sizes.
-
Use Case: Preferred for installations requiring ongoing tension or height adjustments.
3. Eye Bolts
-
A hole is drilled through the anchor (e.g., a tree or post), and an eye bolt is installed with a large washer and nut on the back end to secure the cable.
-
Advantages:
-
Minimal impact on the tree’s cambium layer.
-
Provides the closest rideable cable position to the anchor.
-
Provides a more fixed anchor point than a sling or direct wrap.
-
Considerations:
-
Requires a backup cable around the anchor for redundancy in commercial setups.
-
Harder to inspect, requiring additional safeguards.
-
Use Case: Permanent installations where minimal flex and close proximity to the anchor are priorities.
Unsuitable Methods to Avoid
-
Redirects:
-
Zip line cables should only connect directly from one anchor to the next.
-
Running a cable through or across another object creates friction points, compromising the cable's integrity and performance.
-
Double (Basket) Wraps on Live Trees:
-
Wrapping the cable around the entire circumference of a tree can choke off water and nutrient flow, endangering the tree’s health.
-
Hidden Cable Methods:
-
Avoid running cables through hoses or tubing, as these methods trap moisture and accelerate cable corrosion while obstructing inspection.
Selecting the right method for anchoring a zip line cable depends on the specific installation context, the environment, and safety requirements. Always prioritize methods that protect the anchor, allow for easy inspection, and ensure long-term durability. Avoid unsuitable practices that compromise the integrity of the cable or the health of the anchor. Proper planning and execution will result in a safe and sustainable zip line setup.
- Choosing a selection results in a full page refresh.
