Want a backyard zip line but not sure where to start? This quick-start guide walks you through everything—from setup to safety checks—without the guesswork.
ZIPLINEGEAR™ kits and gear are Designed & Assembled in Oregon, USA and trusted by families who value convenience, quality, and unforgettable outdoor fun. Let’s walk through what it takes to install your zip line, build confidently, and create lasting memories.
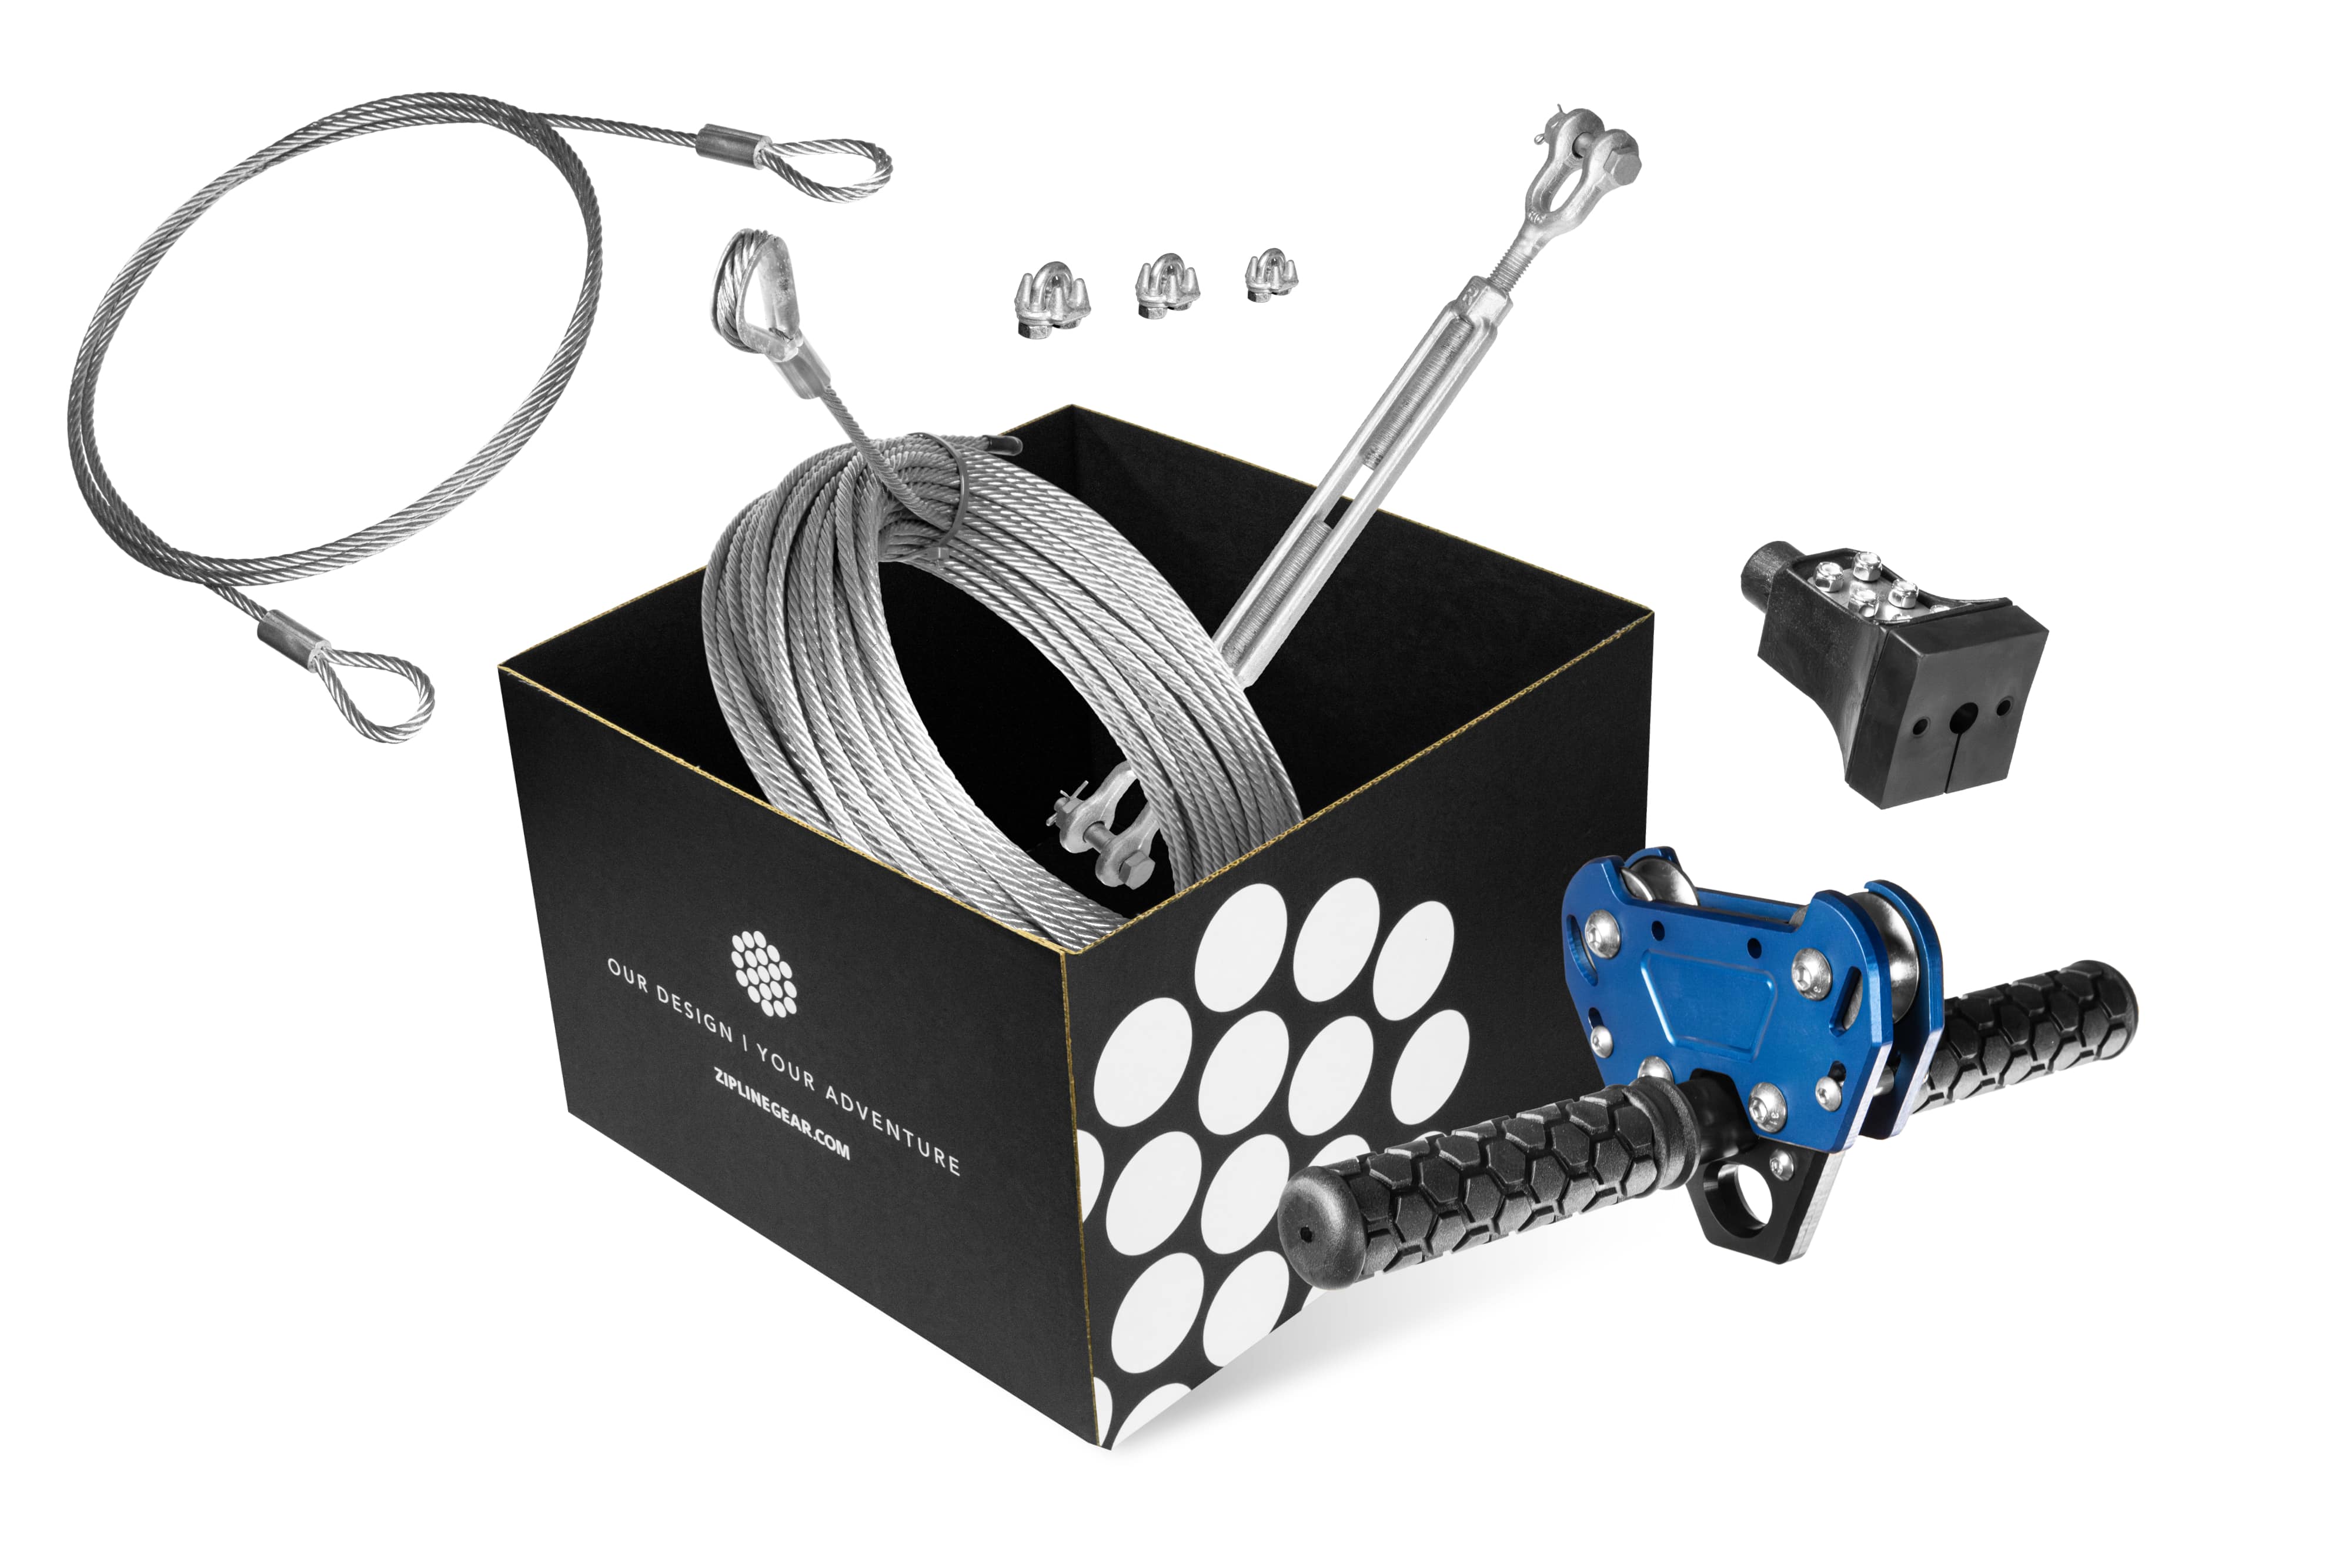
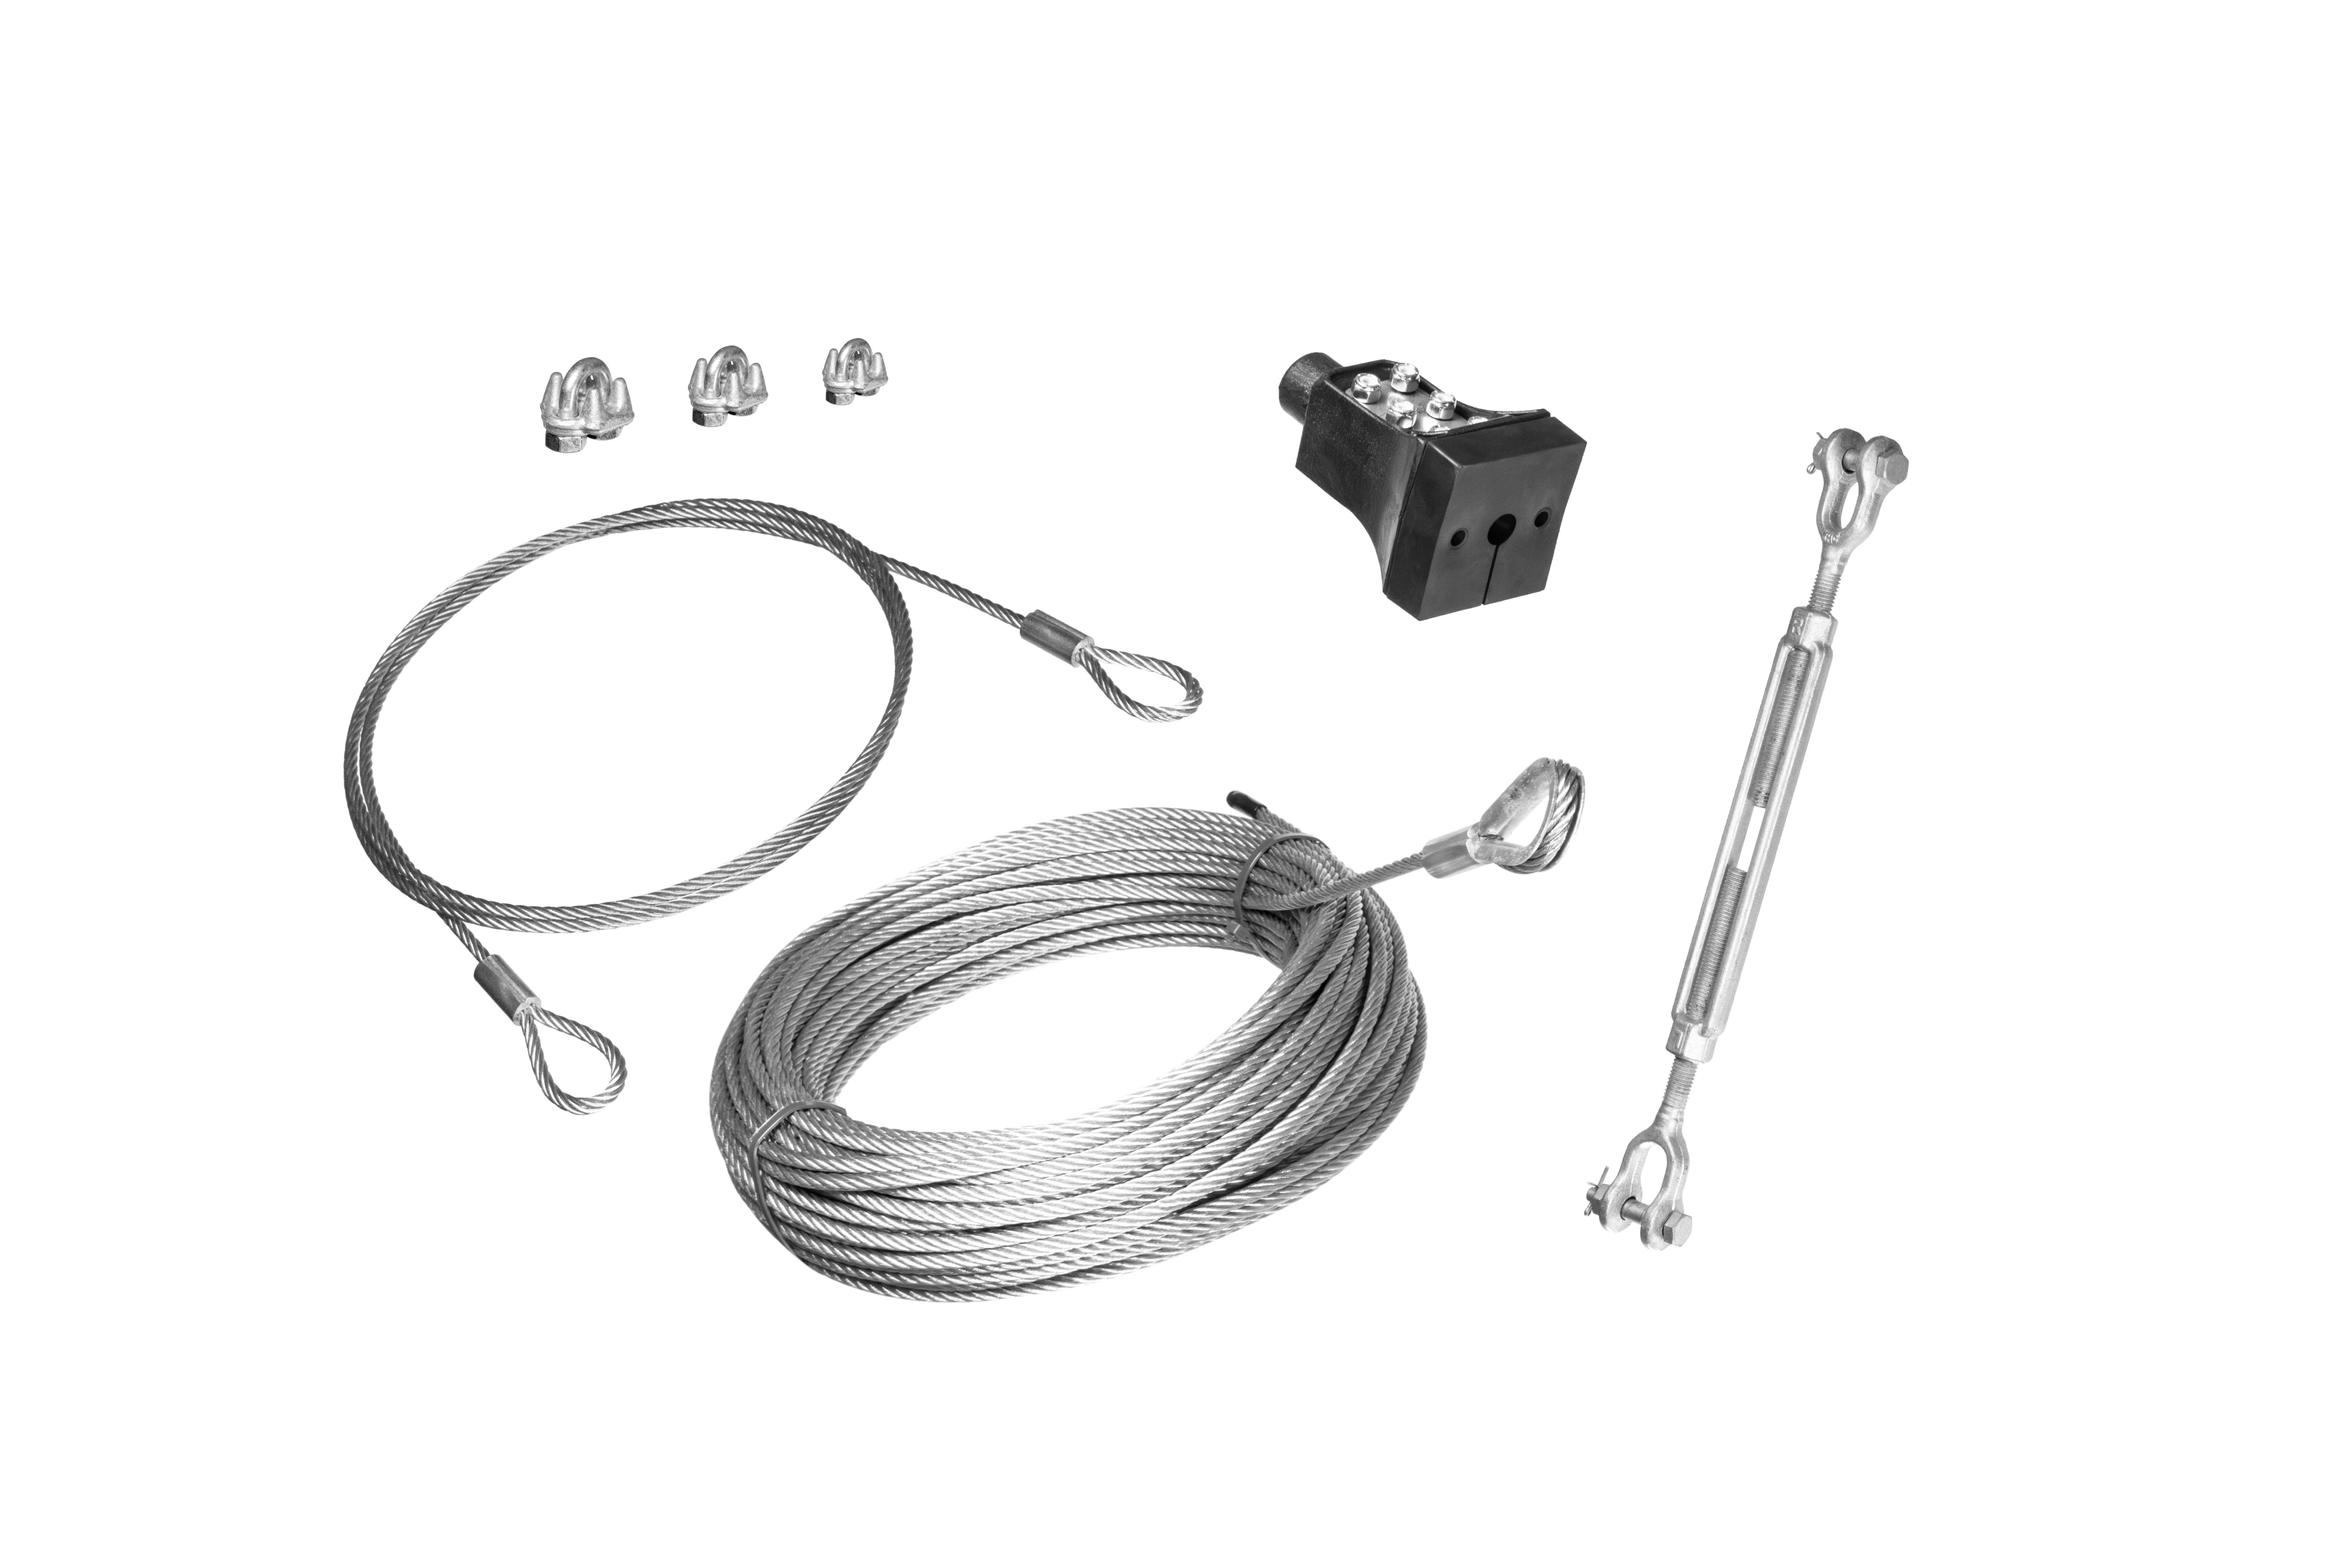
A zip line consists of a cable stretched between two anchor points, a trolley for the rider to glide on, and often a braking system for a smooth stop. Before diving in, it’s helpful to familiarize yourself with these components:
Cable: The main support of your zip line, available in galvanized or stainless steel.
Trolley: A rolling device that slides on the cable, various riding accessories can be connected such as handlebars, harnesses and seats.
Anchors: Healthy trees (12"+ diameter) or properly set posts.
Braking System: Essential for most setups, with options like bungee brakes, spring stops, or advanced magnetic systems, like the zipStop Braking System.
For help choosing the right brake for your setup, explore our Zip Line Braking Systems Guide.
Selecting the best location ensures your zip line will be safe and enjoyable:
Clearance: Remove any obstacles, such as branches, rocks, or other debris, within 7 feet below and 5 feet on either side of the cable’s path.
Anchor Points: Use healthy trees (no visible cracks, rot, or weak root systems) with a trunk diameter of at least 12 inches, or install posts deeply anchored in concrete.
Accessibility: Ensure easy access to the starting and ending points for riders.
Always prioritize safety:
Equip riders with helmets, gloves, and harnesses.
Ensure the slope is 3% for zip lines without brakes and up to 6% for zip lines with braking systems (e.g., a 3% slope means a 3-foot drop over 100 feet of cable).
Always remember: zip lining is never risk-free. Proper setup and education helps reduce risk but does not eliminate it.
Check local regulations and consider liability waivers for added protection.
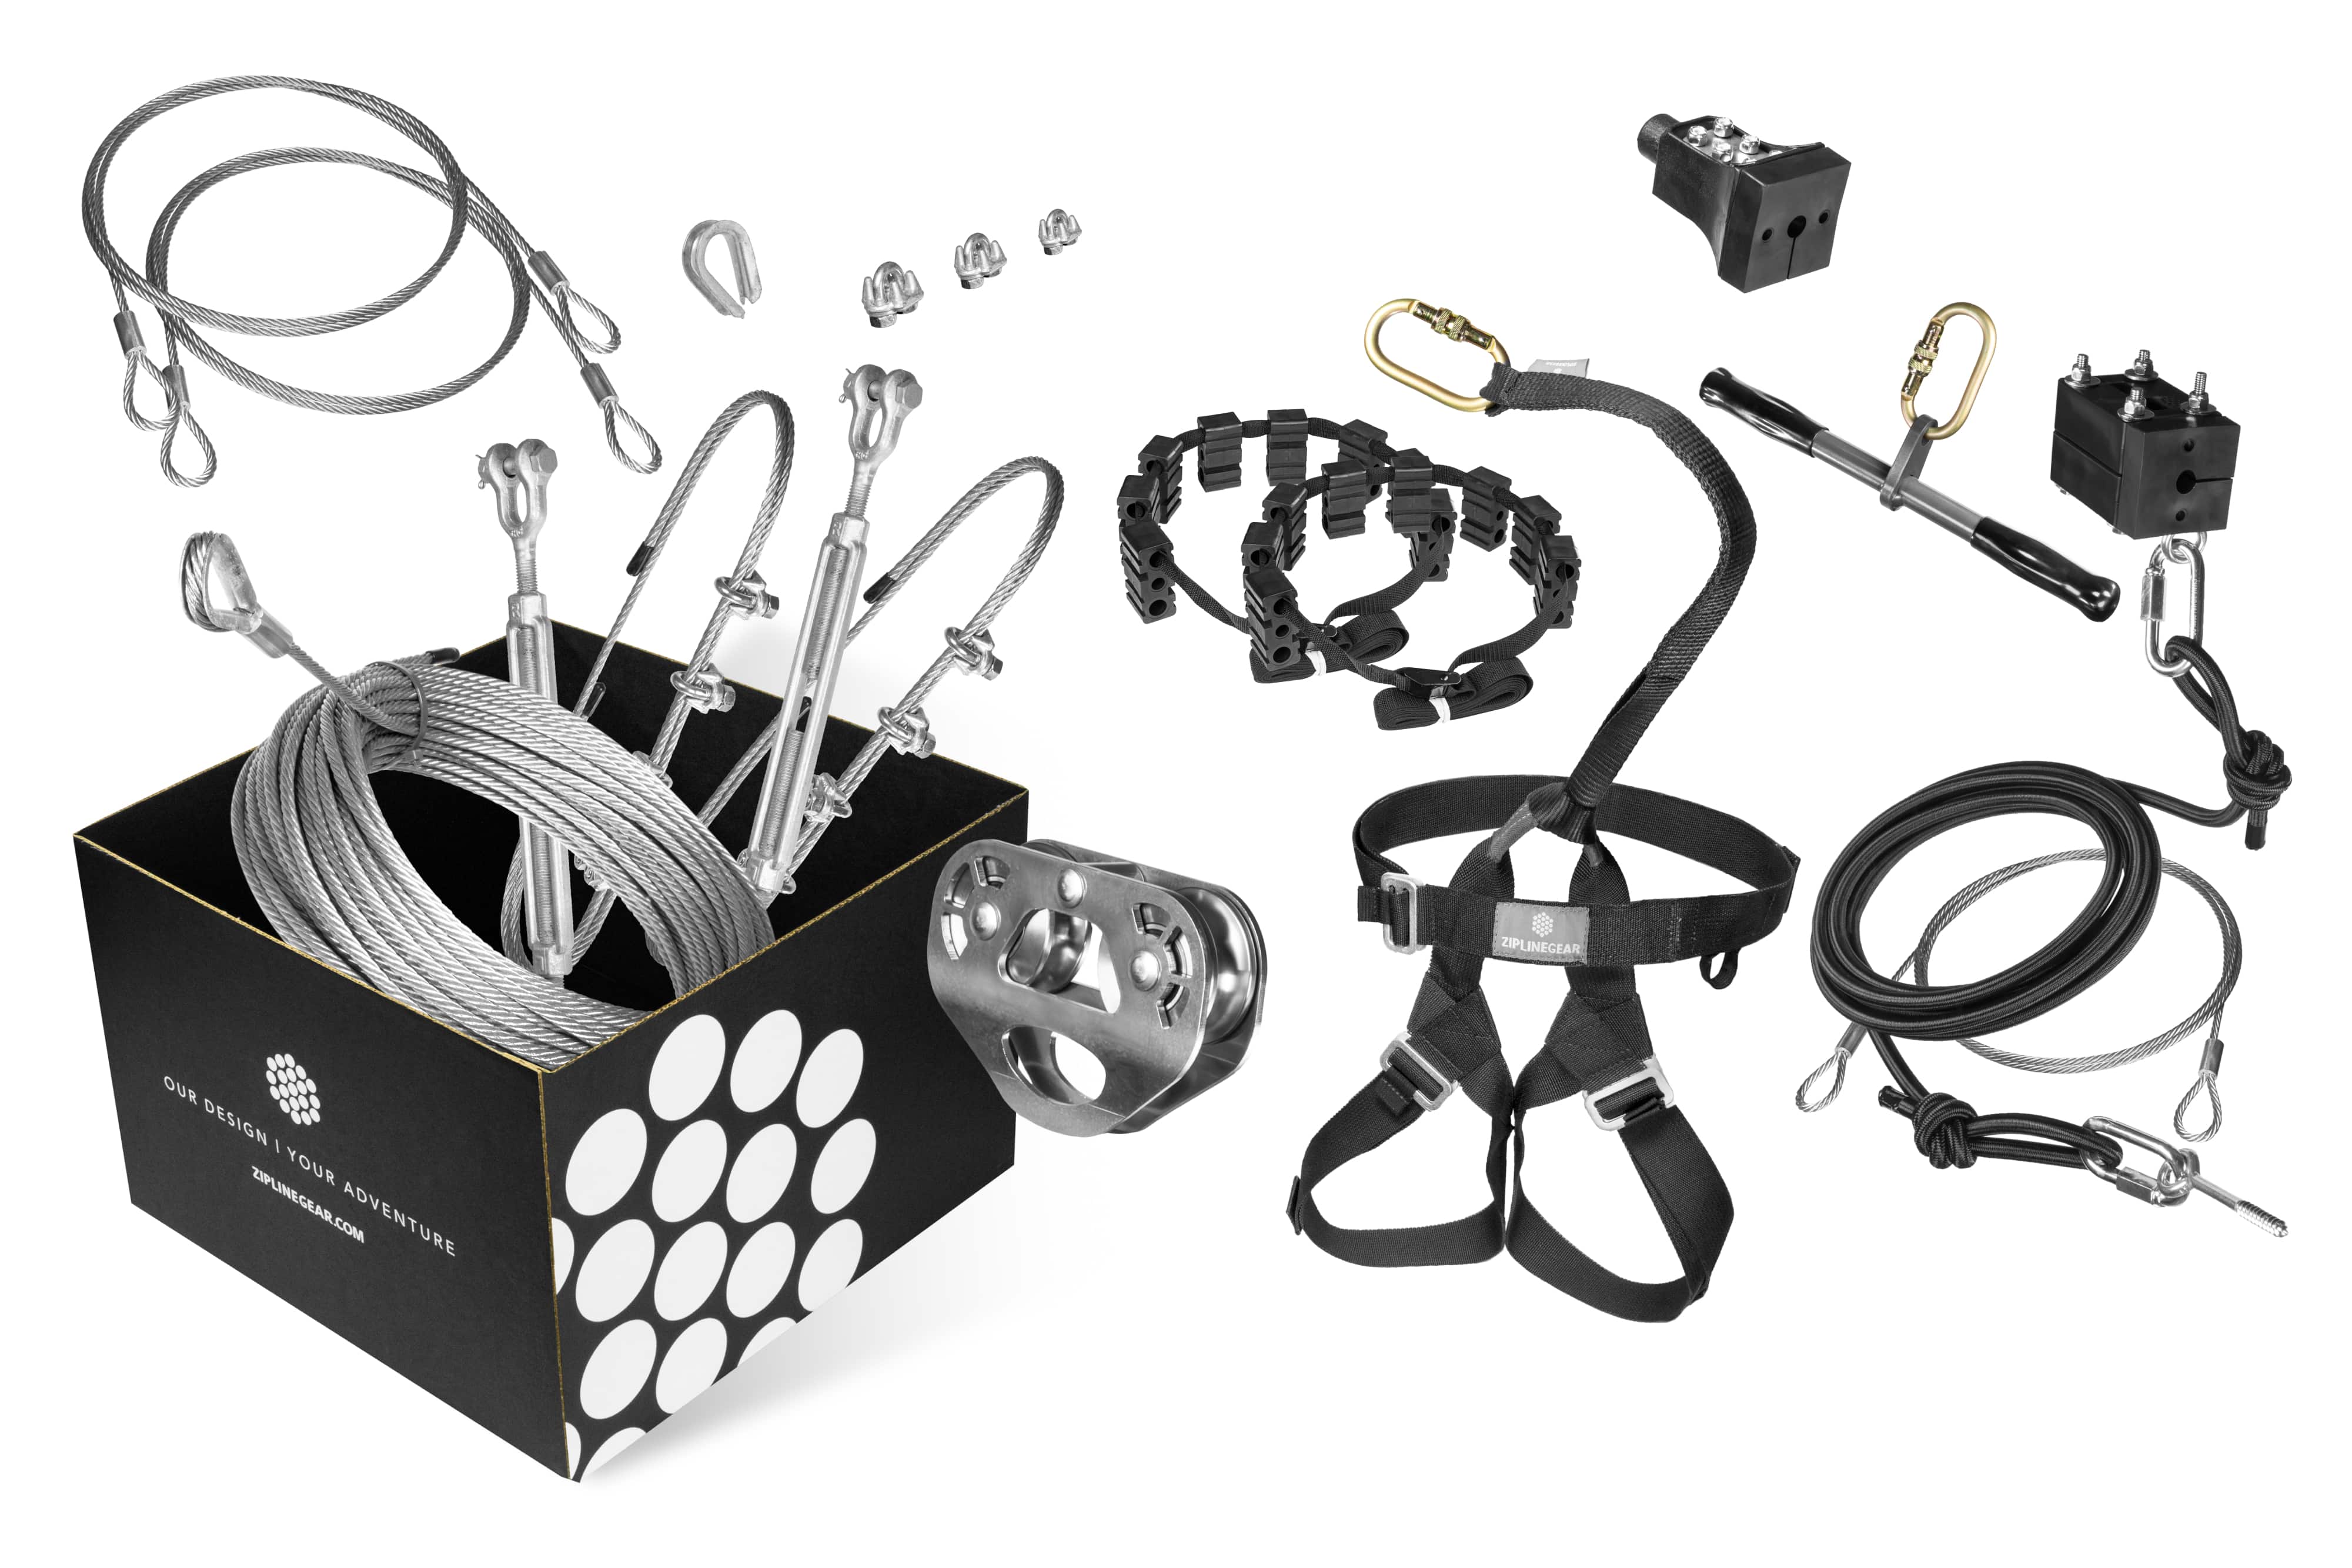
Prepare the essentials:
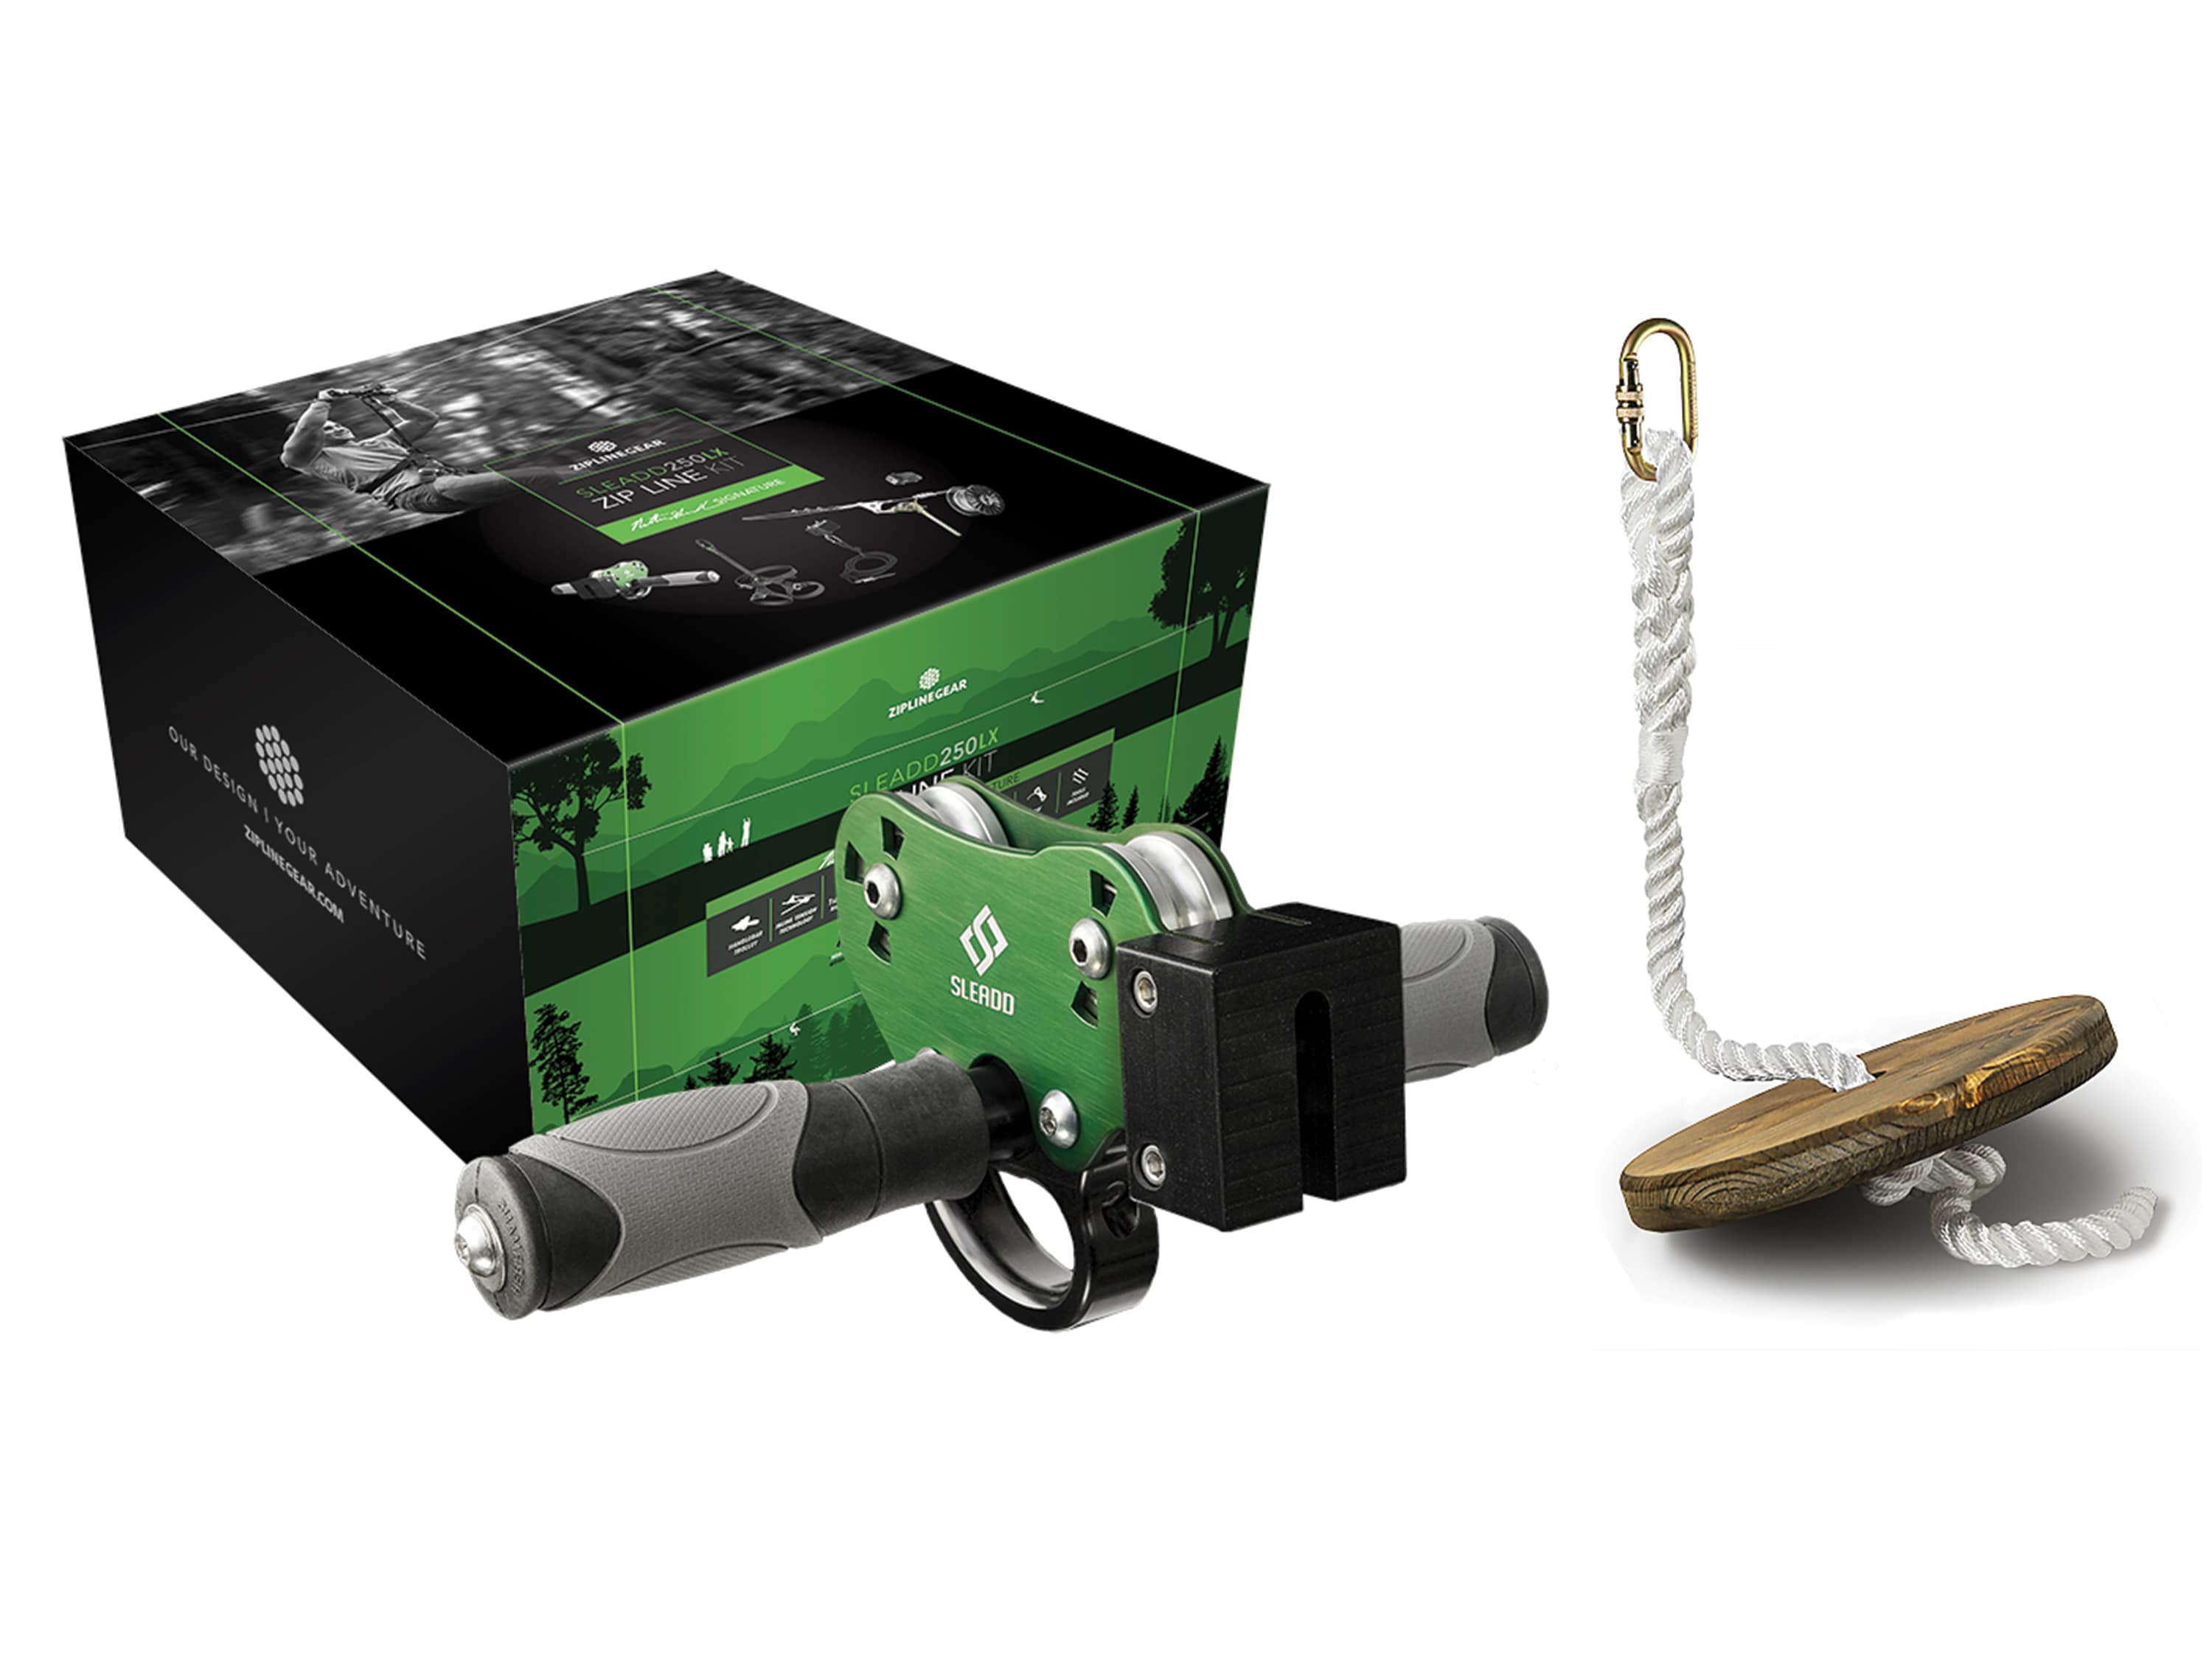
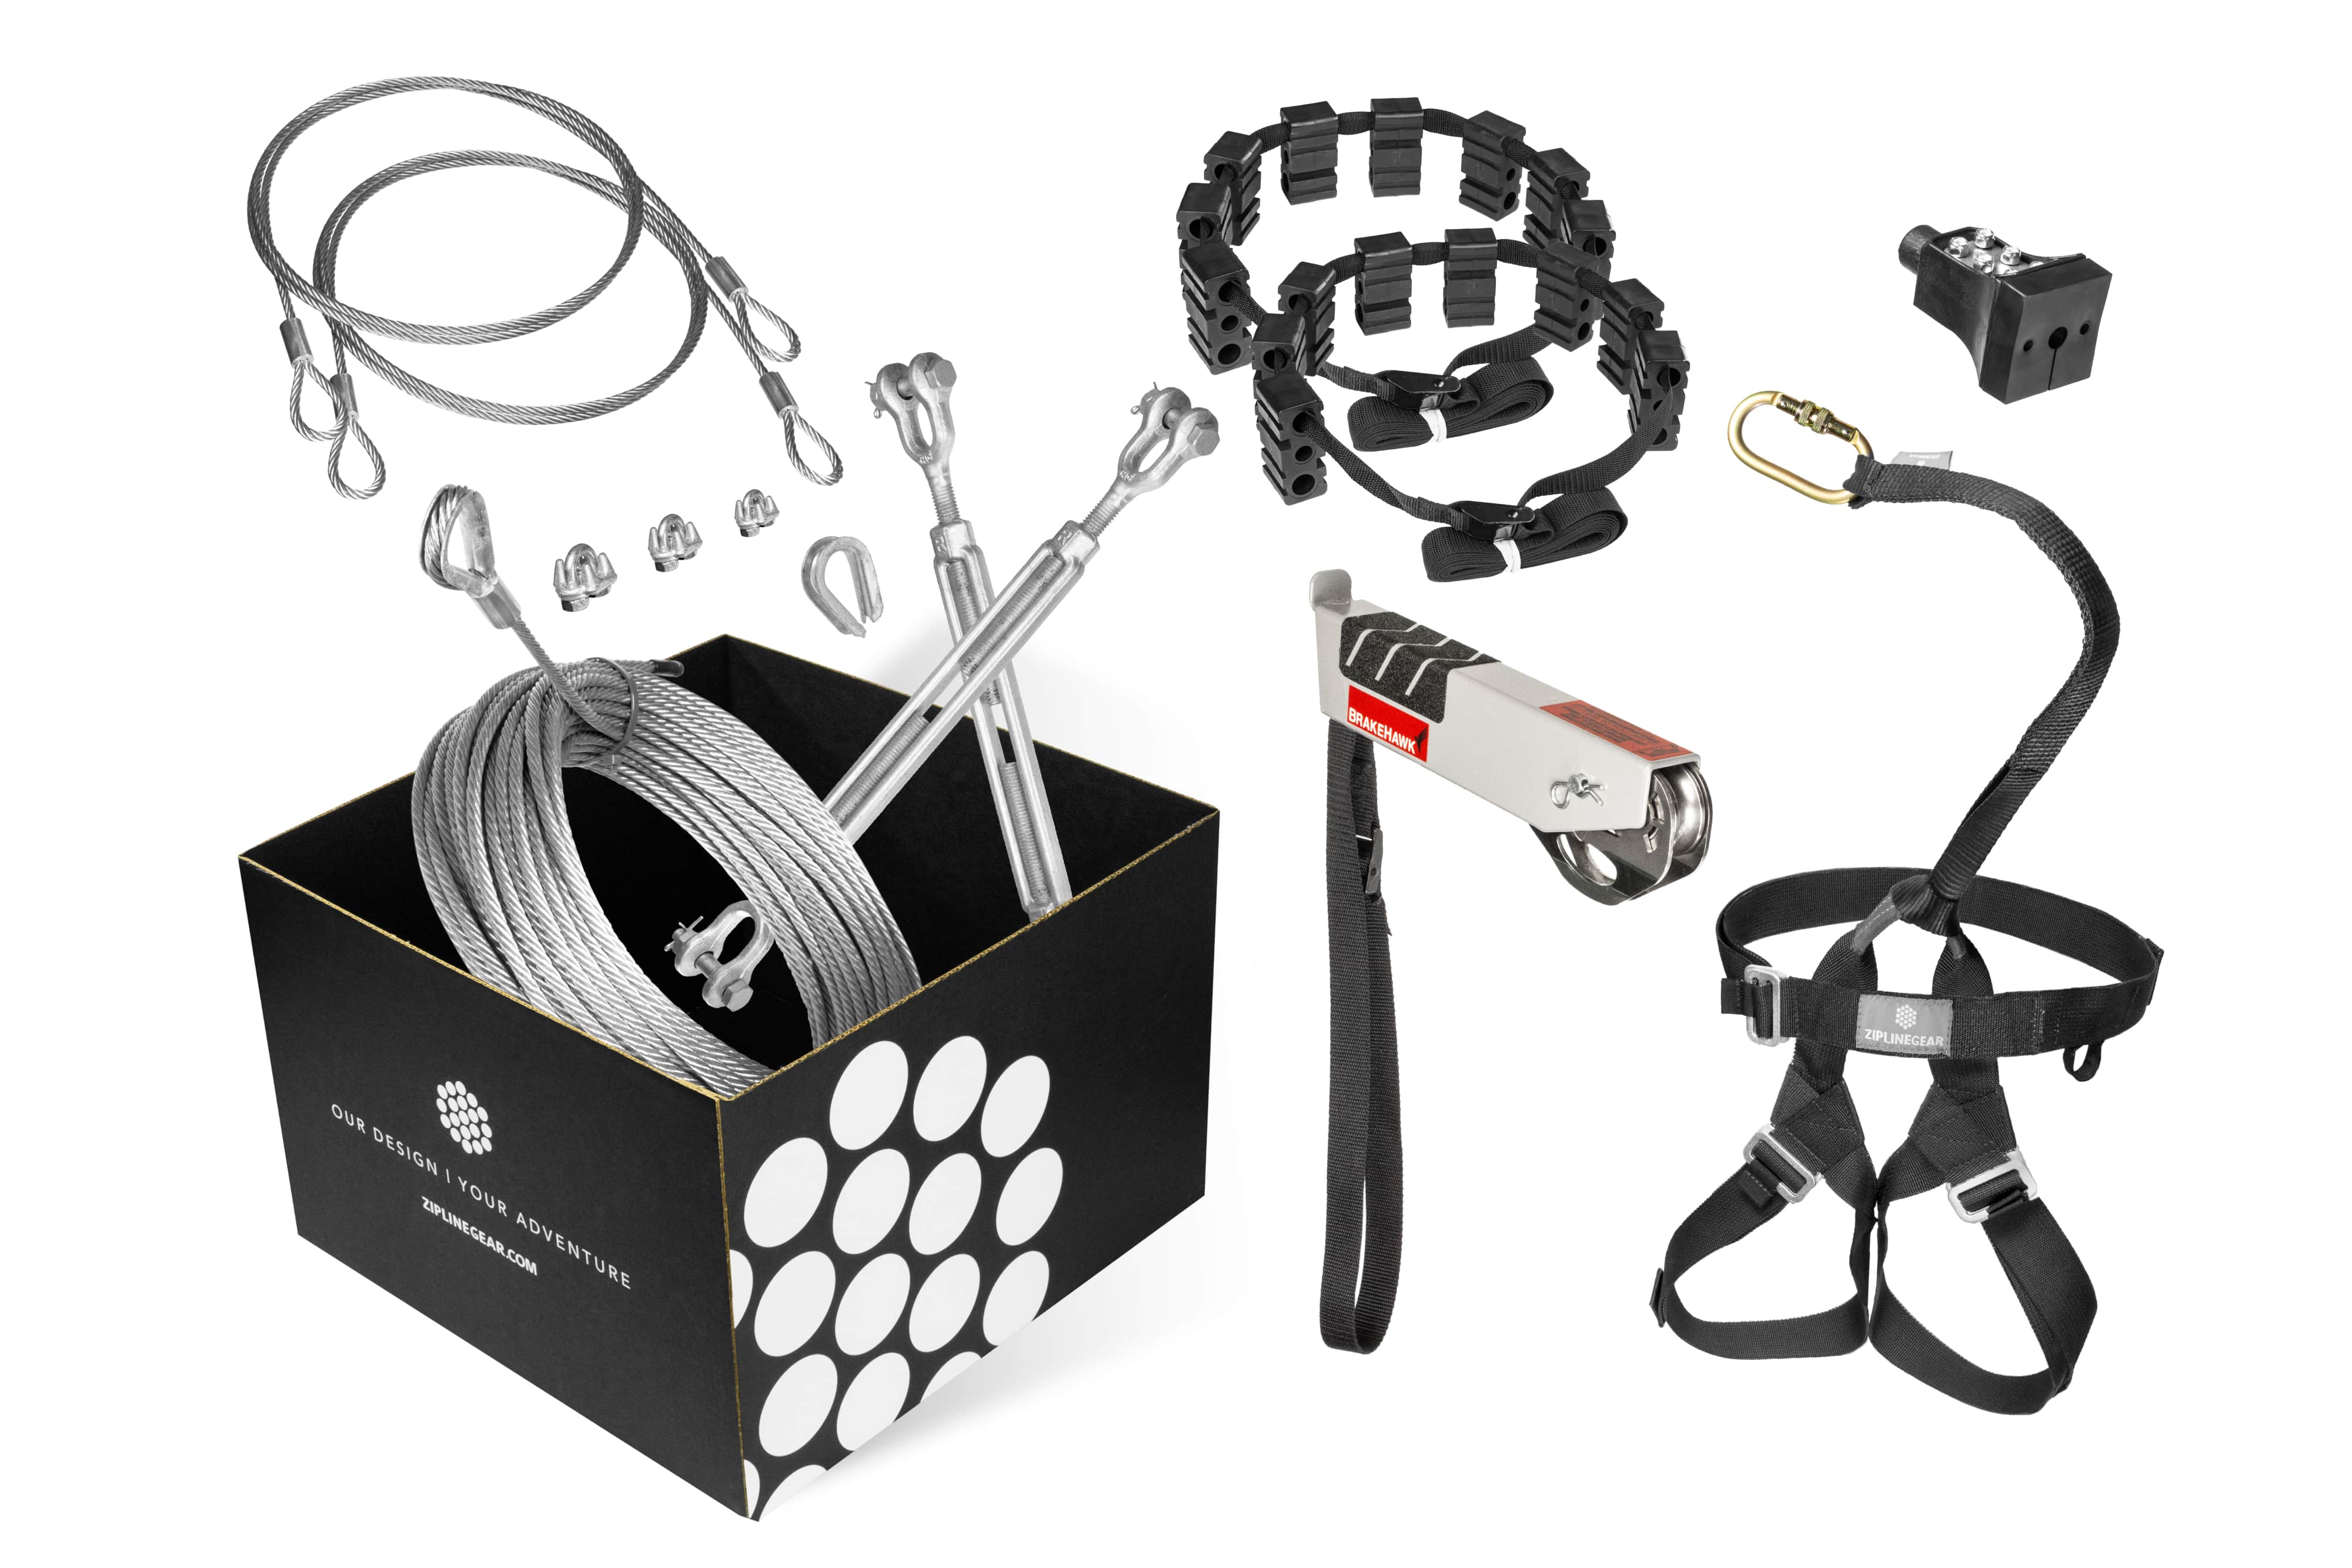
A complete zip line kit (cable, trolley, hardware).
Measuring tape, level, or altimeter app.
Wrenches, drill, and drill bits.
Concrete for anchoring posts.
Safety gear: helmets, gloves, and harnesses.
Recommended Add-On: Tree Saver Block Kit to protect your trees.
Galvanized cables are cost-effective and well-suited for dry, mild climates. Stainless steel offers better corrosion resistance—especially important in applications such as indoor swimming pools and within 10 miles from the ocean (including areas with salt air or near swimming pools where chemicals may be present). Choose the material that best fits your local conditions and long-term durability needs.
Enhance the experience with:
Braking Systems: Bungee brakes ensure allow for zip line slopes up to 6%, springs can be added on zip lines using a 3% slope to add a little cushion in front of the safety no-pass Stop Block. For advanced and commercial zip lines, take a look at the magnetic zip Stop braking system.
Platforms: Build a durable, weather-resistant launch platform with railings and steps for safety....AFTER your zip line is up and tested. It's much easier to adjust your zip line that it is to adjust your platform.
Harnesses: Adjustable harnesses add comfort and security, particularly for younger riders or longer zip lines.
Braking systems are essential for controlling speed and ensuring a safe stop. Bungee brakes are ideal for gentle deceleration, while spring stops are compact and effective for shorter lines. For steep or long zip lines, consider advanced braking solutions that absorb more force. For more technical specifications on choosing the right braking system, refer to this advanced guide.
Clear the Area: Remove branches, rocks, bushes, or any debris that could obstruct the cable or rider, and check for buried lines or water pipes before digging anchor points.
Measure Distances: Accurately measure the distance between the starting and ending anchor points.
Calculate Elevation: Use a level or altimeter app to measure elevation changes and plan the zip line’s slope.
Tree Anchors: Wrap the cable around mature trees and secure with tree saver straps and clamps.
Post Anchors: For posts, bury them at least 4 feet deep in concrete to ensure stability.
Securing the Cable: Use turnbuckles and clamps to attach the cable, leaving room for tension adjustments.
Maintain a slope of 3-6% depending on the braking system to be used.
Use a test weight to create a sag of 2% of the total cable length. The test weight should simulate the heaviest rider.
Adjust the tension with turnbuckles for optimal sag.
Attach a Test Weight: Use a weight equivalent to the heaviest rider to simulate real-use conditions.
Bounce Test: Gently bounce the weight along the cable to check anchor stability and ensure the hardware remains secure.
Monitor Sag: Ensure the sag remains at 2% of the total cable length for safe operation.
Tighten any loose clamps or turnbuckles.
Reposition the braking system for better stopping performance if necessary.
Verify that all safety gear is properly fitted.
Need a hand? Call our experts at 888-476-3701 or book a free 25-minute design consultation.
Inspect Regularly: Check cables, anchors, clamps, and braking systems for signs of wear or damage. Perform a complete inspection monthly during active use. For seasonal setups, inspect before the first ride of the season and after severe weather.
Cable Slippage: Tighten clamps and adjust turnbuckles.
Excessive Sag: Re-tension the cable to achieve the ideal 2% sag.
Braking Issues and Worn Parts: Replace worn components or adjust their positioning.
Unstable Anchors: Reinforce trees or posts as needed.
Reminder: Zip lining is inherently risky. Maintenance reduces risk but does not remove it.
Building a backyard zip line isn’t just a weekend project—it’s a chance to bring joy, adventure, and connection to your home. ZIPLINEGEAR™ takes the guesswork out of what you need, while still giving you full control over the build. Our kits are Designed & Assembled in Oregon, USA and trusted by families who want quality, convenience, and support.
For in-depth technical details, explore the comprehensive guides at our website.
Ready to ride? Explore our most popular kits, book a free design consultation, or call us anytime at 888-476-3701.