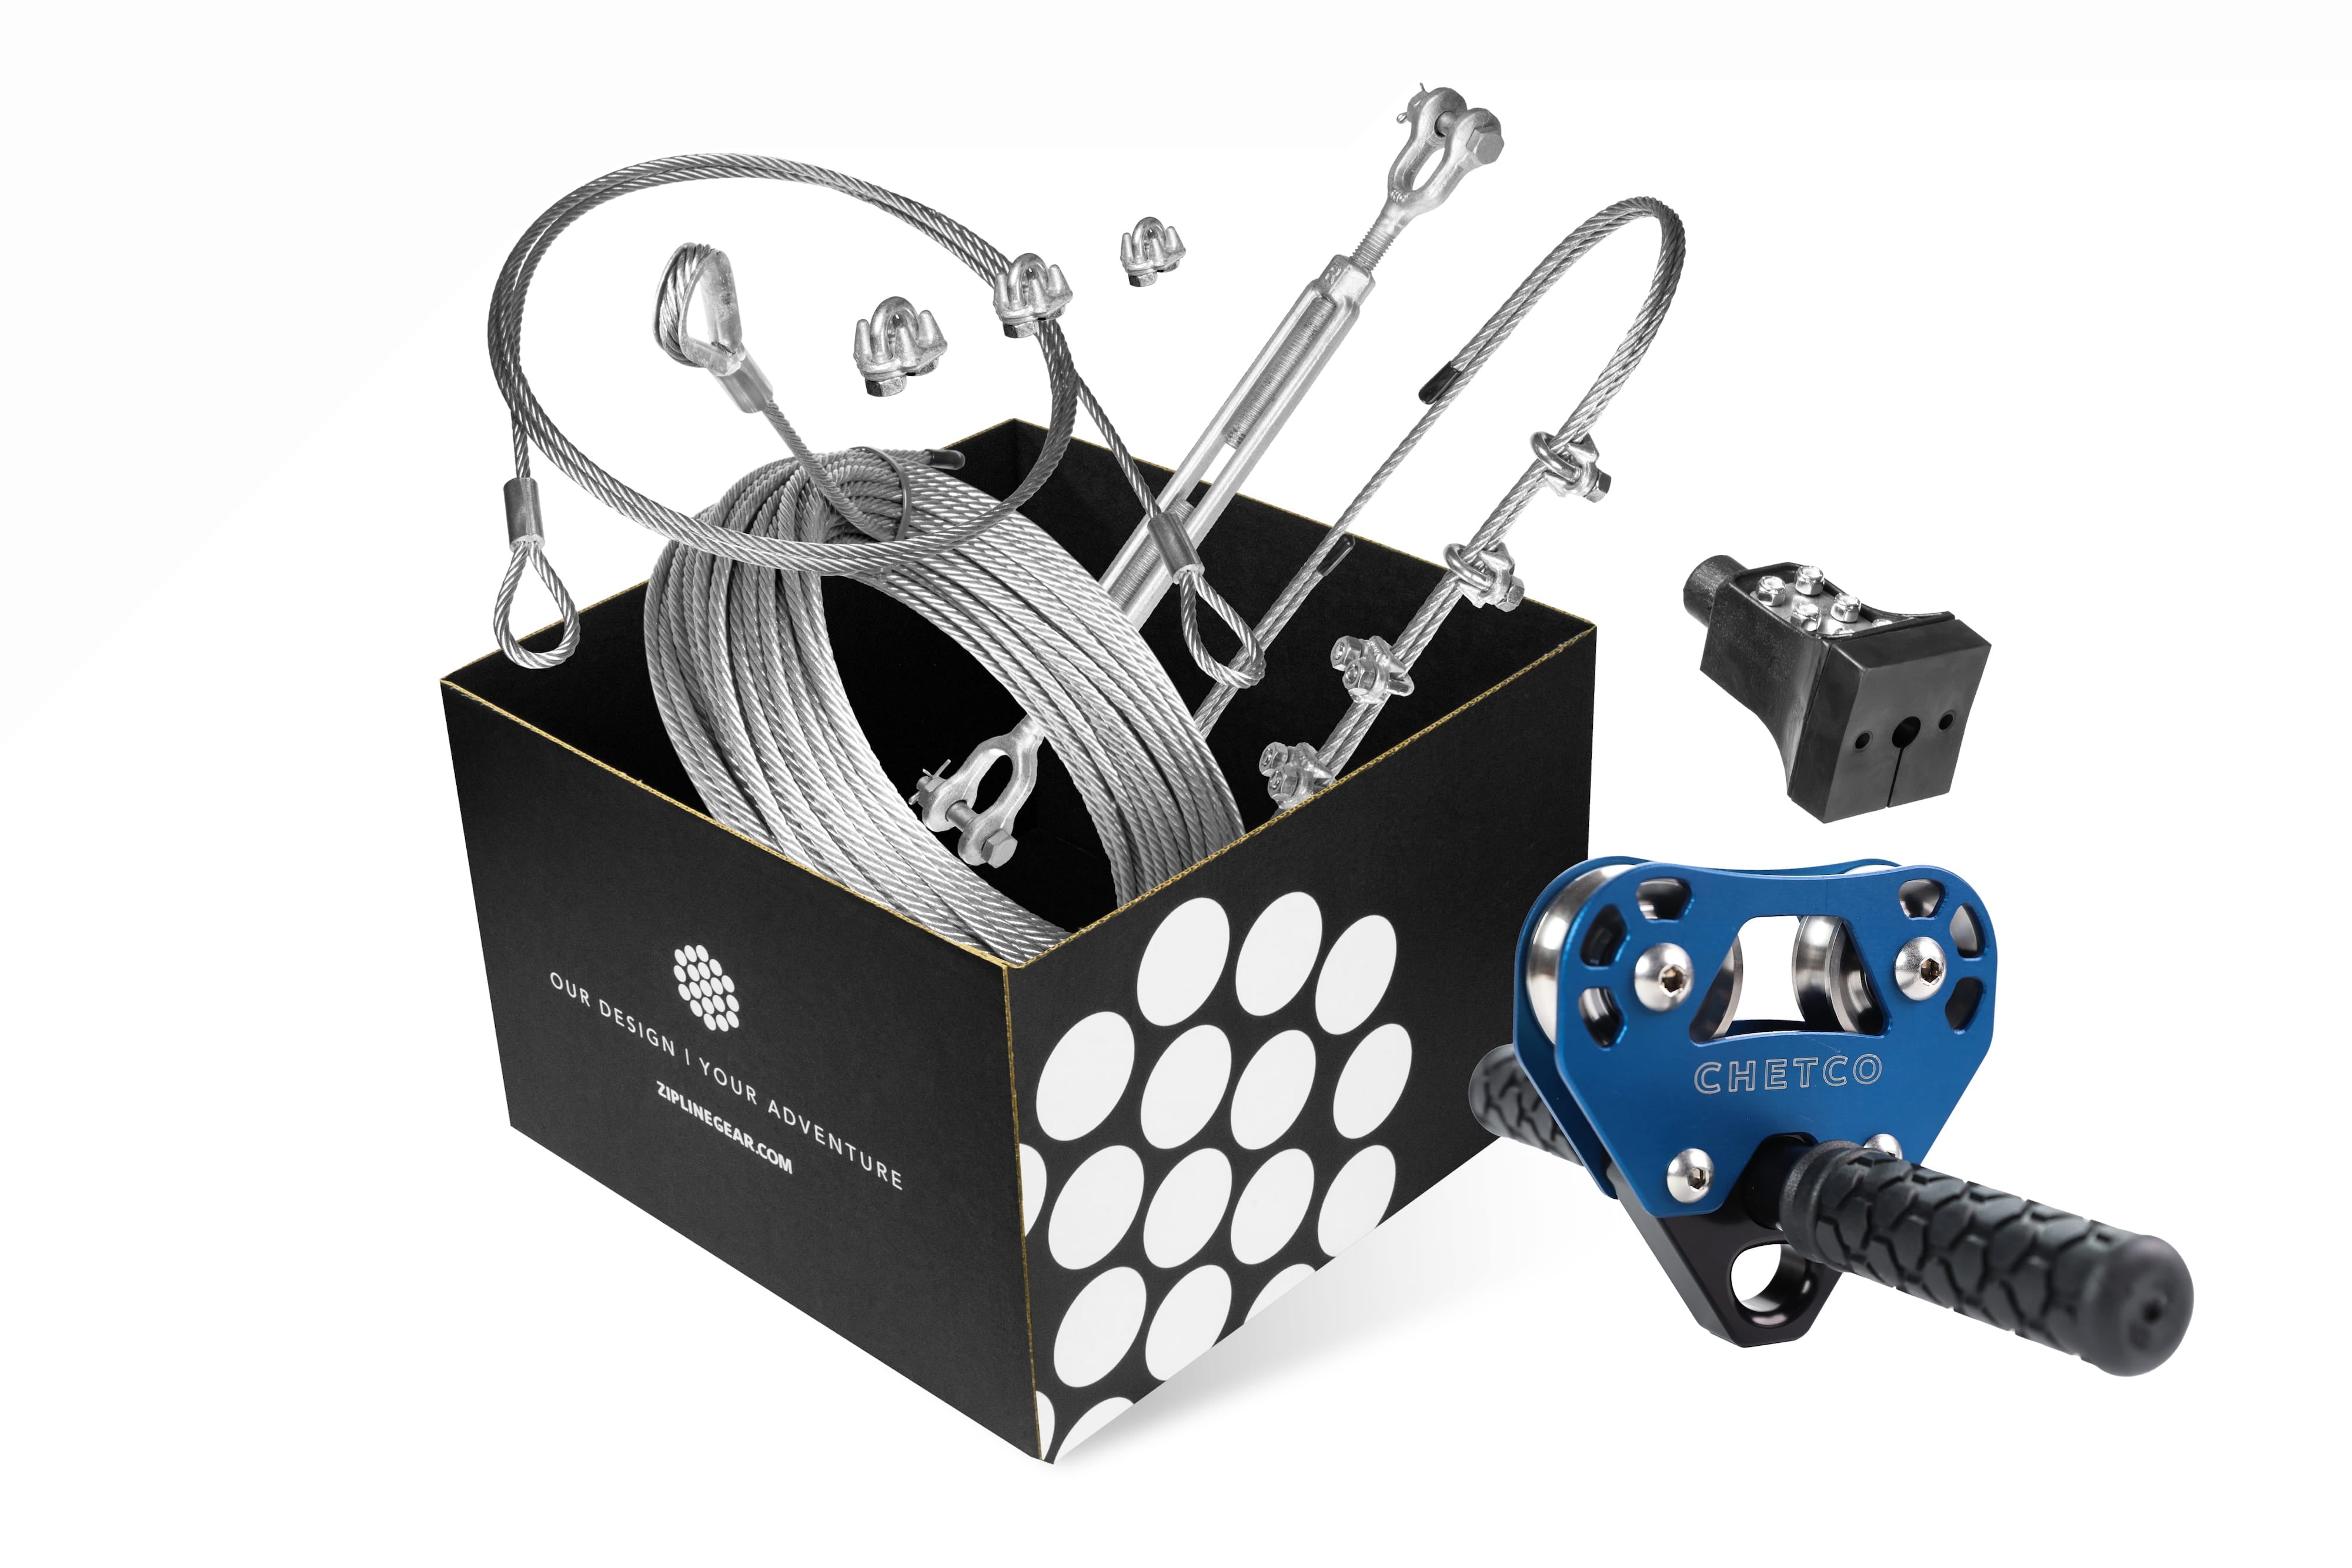
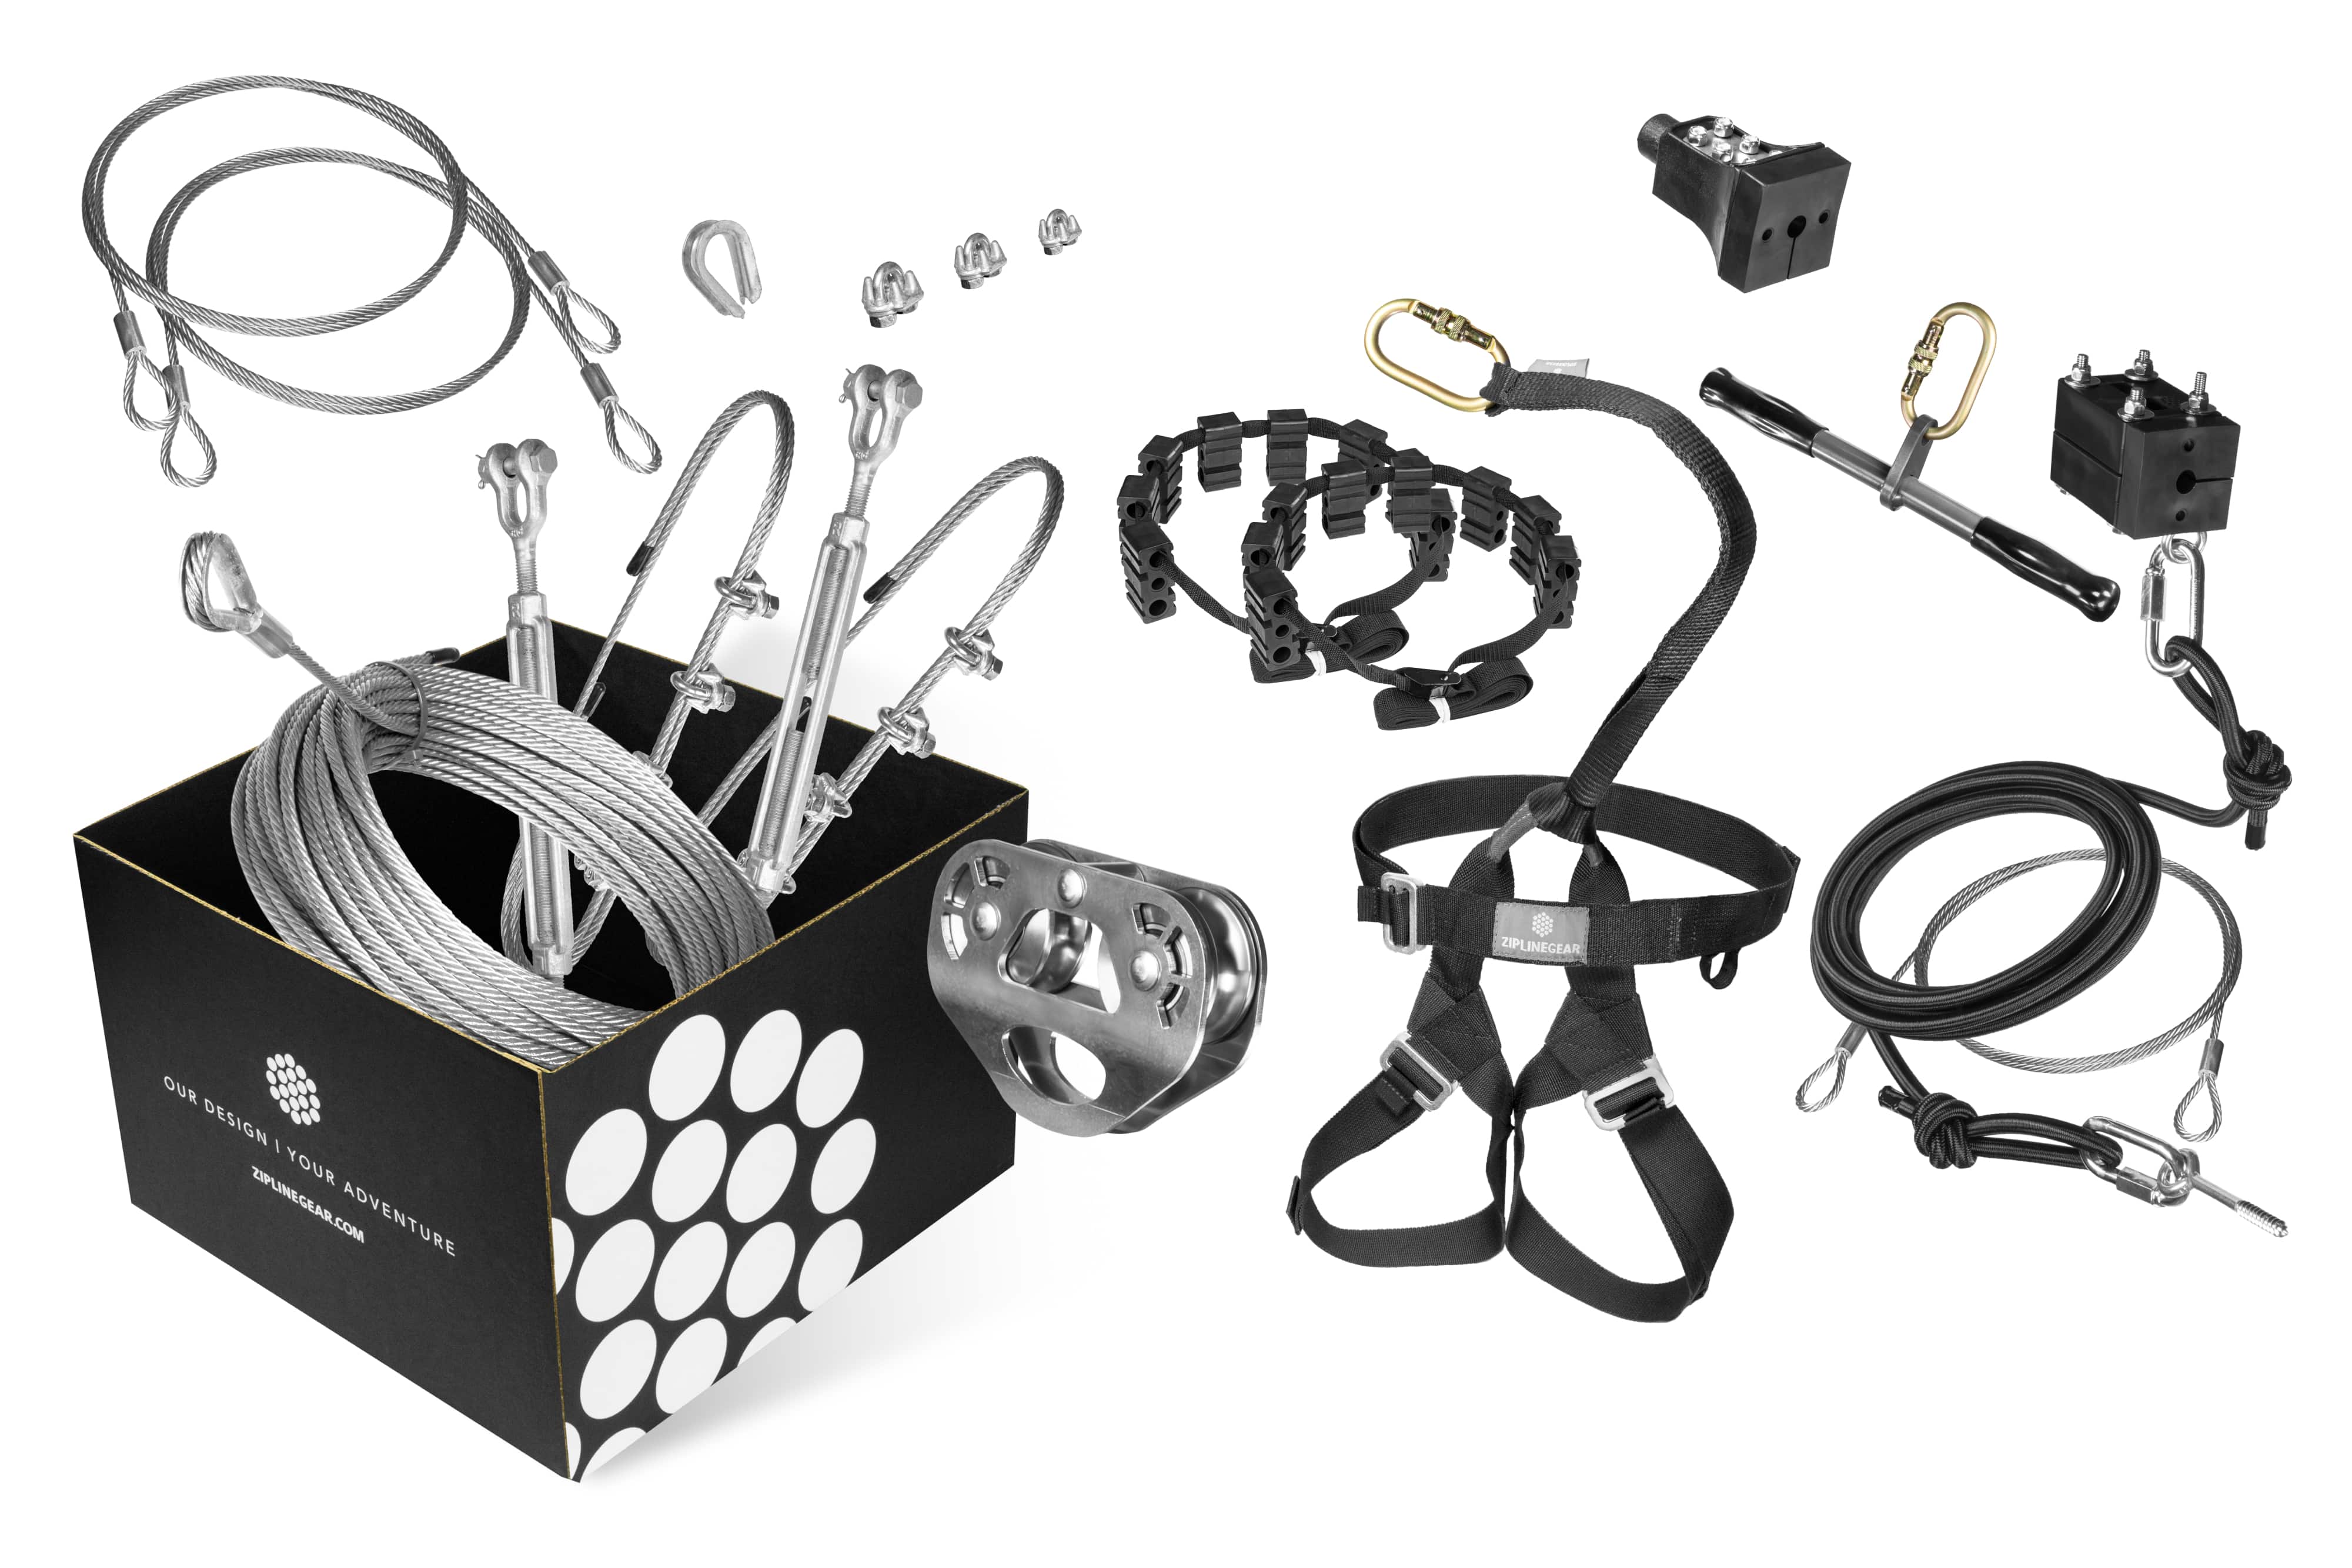
The Importance of Weight and Speed Testing
Weight and speed testing of zip lines are integral components of the safety protocols required for the proper functioning of zip lines. Before allowing participants to use the zip line, it's essential to ensure the system can handle the maximum anticipated weight and control the highest possible speed. This guide will provide you with step-by-step instructions for executing weight and speed tests on your zip line system.
Section 1: Weight Testing Procedure
Weight testing is the process of assessing the zip line's capacity to handle the weight of your heaviest anticipated rider. A successful weight test is NOT a replacement for good engineering and equipment choices, but should be performed as a final sanity check before anyone is allowed on the ride.
- Marking the Cable: Begin by marking the zip line cable next to each cable clamp or fist grip. These marks will later serve as indicators of any clamp slippage during the test.
- Applying the Test Weight: Attach a test weight equivalent to your heaviest participant's weight, up to 350 lbs, to the trolley mounted on the cable. Bar weights or sandbags can serve as convenient test weights.
- Bounce Test: Bounce the test weight up and down, observing anchors at either end of the cable for excessive movement.
-
Assessing Cable Sag: Let the test weight settle at the cable's lowest point. Cable sag is measured from this lowest point to the cable's attachment height on the ending anchor, or approximately, from the unloaded height of the cable, to the loaded height of the cable at this point. Zip lines should have a sag equal to or greater than 2% of the overall length of the zip line, read our Slope and Sag article for more information.
- Inspection: Remove the test weight and inspect the termination hardware and anchors for appropriate configuration and strength. Check the clamps and fist grips for cable slippage and anchors for any deformation.
Remember, do not use the zip line if any potentially hazardous conditions are found during the test, such as slippage, deformation, or inadequate cable sag. These issues must be addressed before any participant is allowed on the zip line.
Section 2: Speed Testing Procedure
After completing the weight test, you can proceed to speed testing, which involves incrementally increasing the starting position of a rider on the cable to ensure the speed at the end of the ride remains within safe limits.
- Initial Position: Start with the rider near the center of the zip line. Use a tow line to position them for each run.
- Incremental Increases: Conduct several subsequent runs, each time starting the rider slightly higher up the cable.
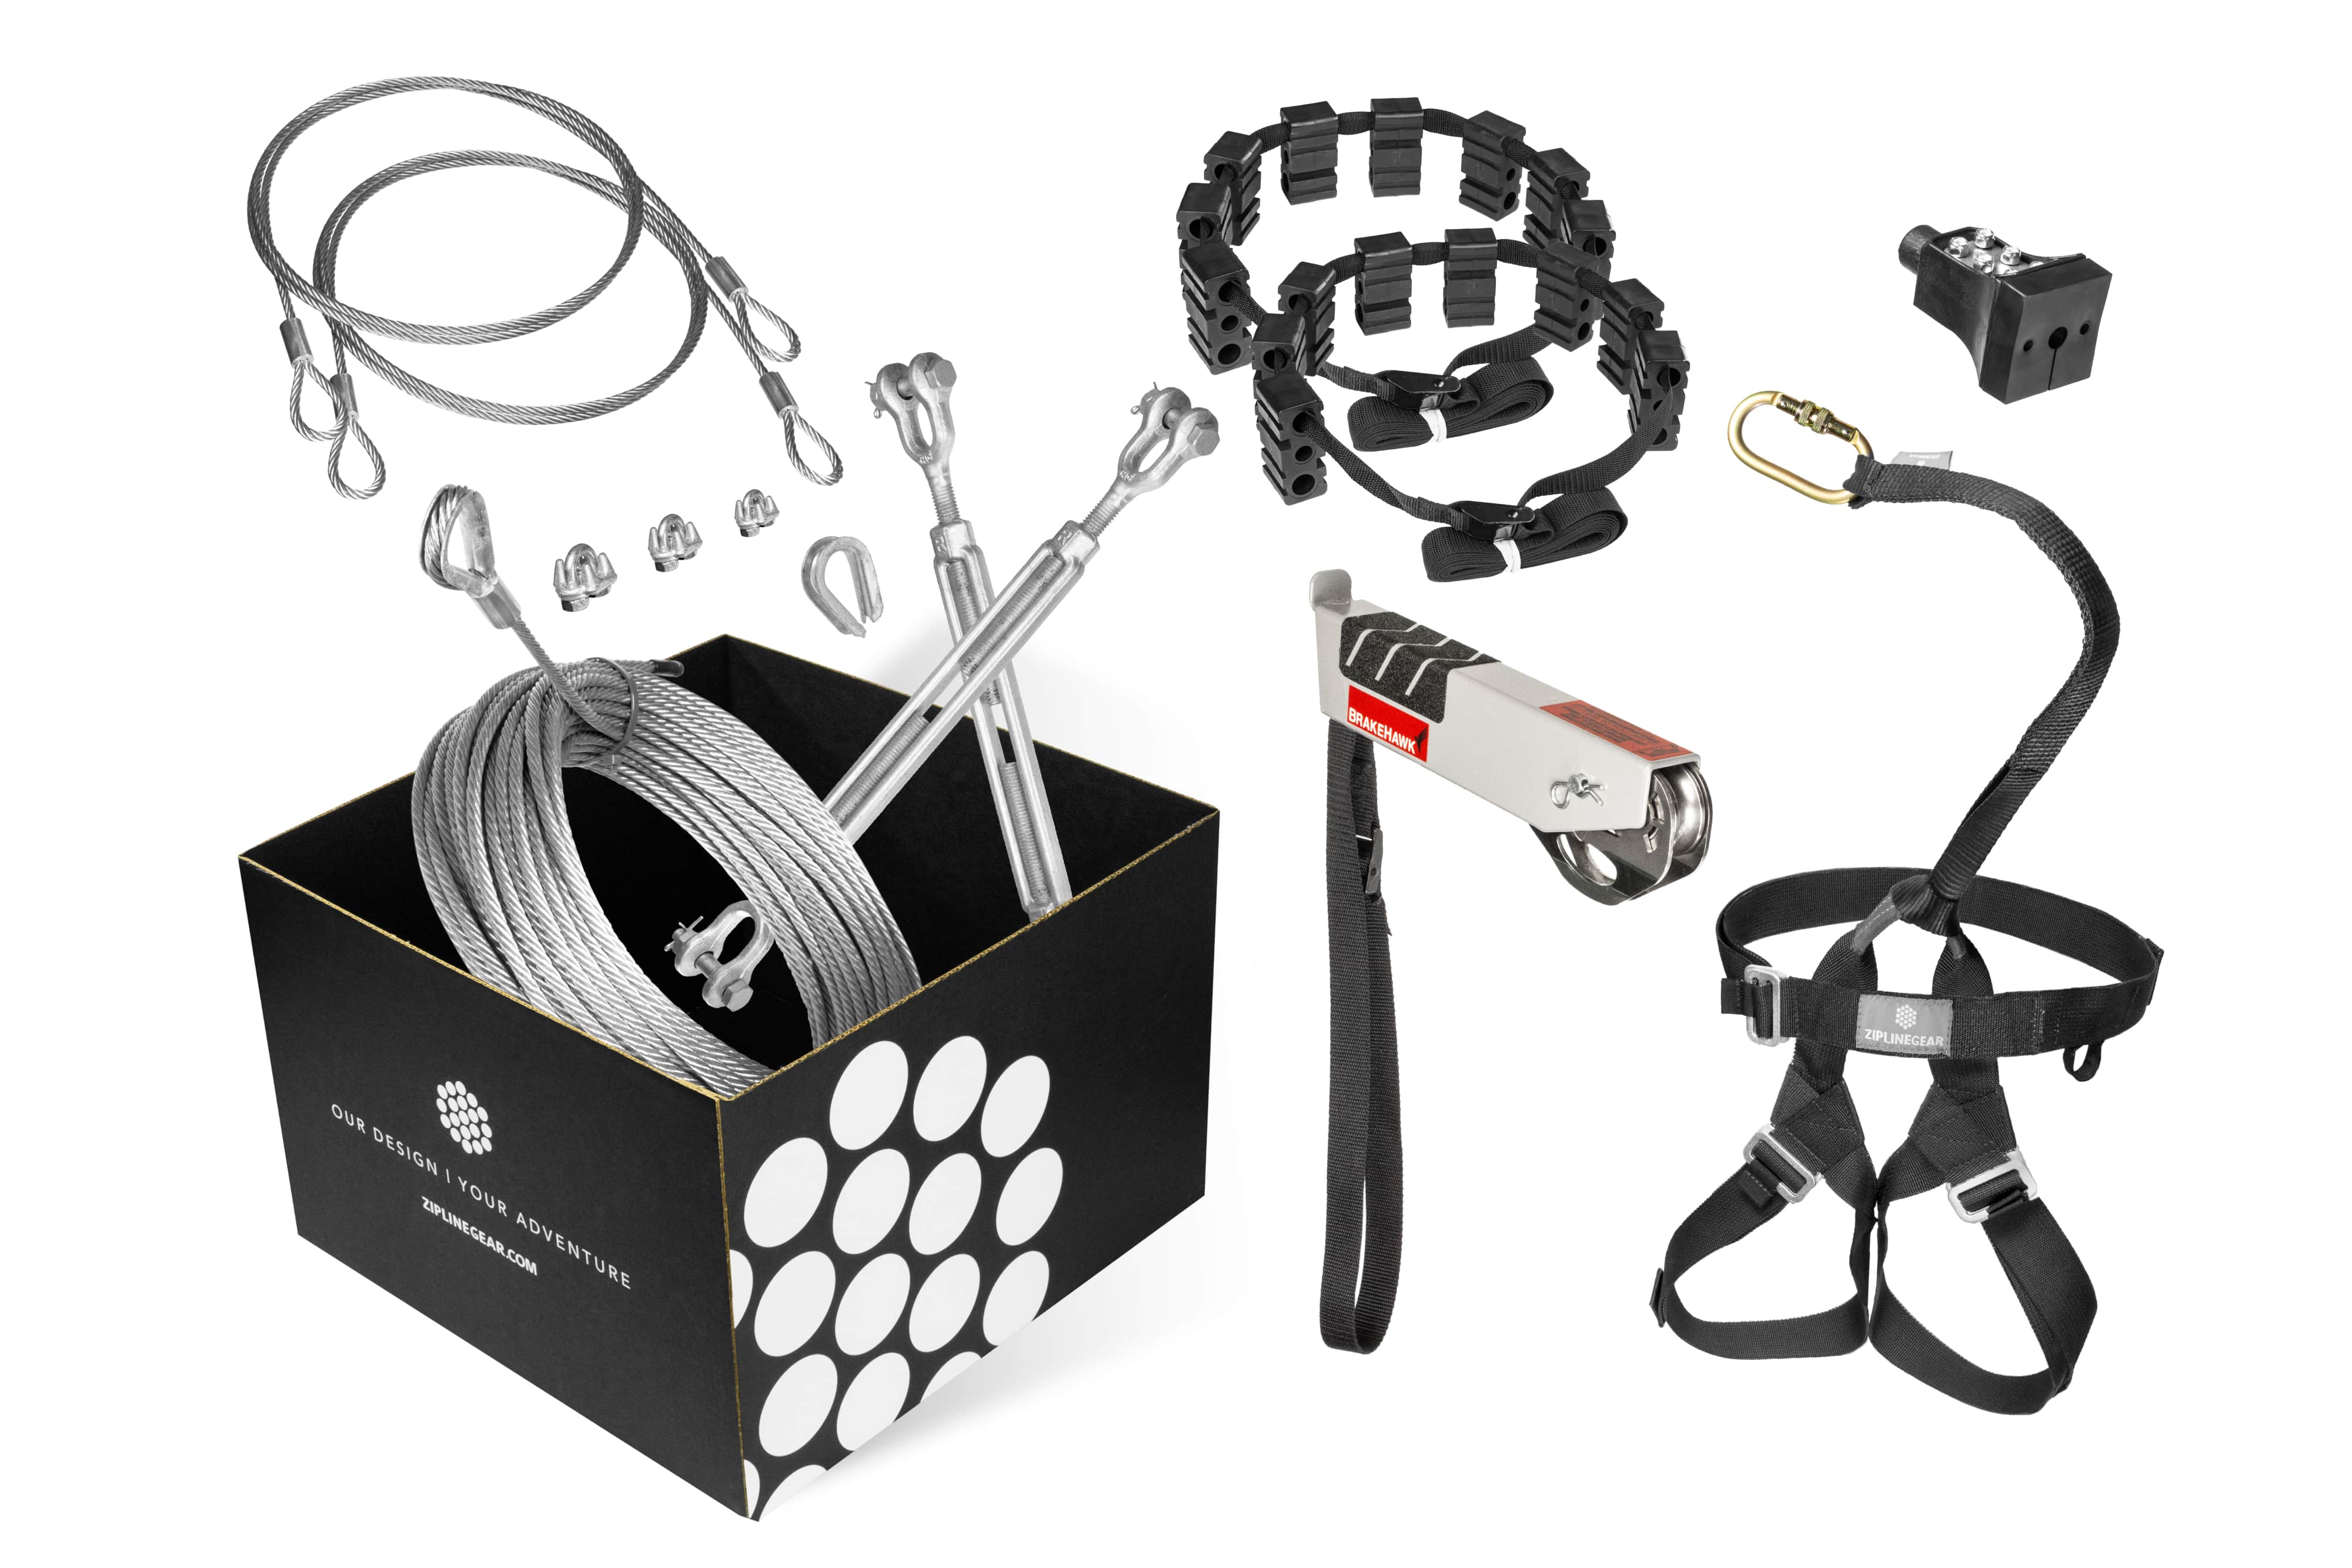
- Active Braking: It's highly recommended that the rider have an active braking method (leather glove, BrakeHawk, etc) during the speed test. If the rider starts to approach the end of the zip line with too much speed, stop the test immediately and adjust the slope or tension of your cable as necessary.
- Brake testing: if using a passive braking system, the same incremental testing process may be used, observing the performance of the brake each time to ensure that it is operating within its specified ranges.
By conducting rigorous weight and speed tests, you ensure a zip line experience that reliably slows and stops every rider, every time.