If you're building a zip line for heavier riders, simply checking the zip line weight limit isn't enough. For most zip lines designed for adults or kids, there is much more to consider than just whether the system can hold the load. Let's dive in.
Quick takeaway:
Strength ratings tell you if the gear can handle the load. Performance determines how the ride actually feels and behaves.
How do strength ratings and zip line performance work together?
One part of the equation is confirming that your equipment and riding gear can safely support a rider weighing over 200 pounds. This is the easy part. Every piece of equipment, from the cable to the trolleys and seats, has a Strength Rating. To ensure an item is strong enough for a full-grown adult, look for the Minimum Breaking Strength (MBS) on the item itself or on the product description page. You should confirm that the MBS is at least three times the weight of the heaviest anticipated load (a 3:1 safety factor). Commercial settings often have even more stringent requirements, with safety factors of 5+ and a minimum 22kn (~5000lb) MBS for all components used in supporting human loads.
Because each component has its own MBS, we've standardized our gear to handle riders up to 350 pounds, which saves you the trouble of checking each individual part. However our stated weight limit is typically only a fraction of the actual Strength Rating of each item. For example, our Rogue trolley has an actual MBS of 10,000 pounds.
The other side of the equation, and it's just as important, involves the dynamics of the ride itself and how the zip line performs for different riders. For instance, a 50-pound rider will travel at a slower speed than a 200-pound rider. This becomes especially important when dialing in the zip line slope for heavy riders, since both slope and sag directly affect speed and stopping distance. Also, the cable will sag closer to the ground with a 200-pound rider compared to a 50-pound rider.
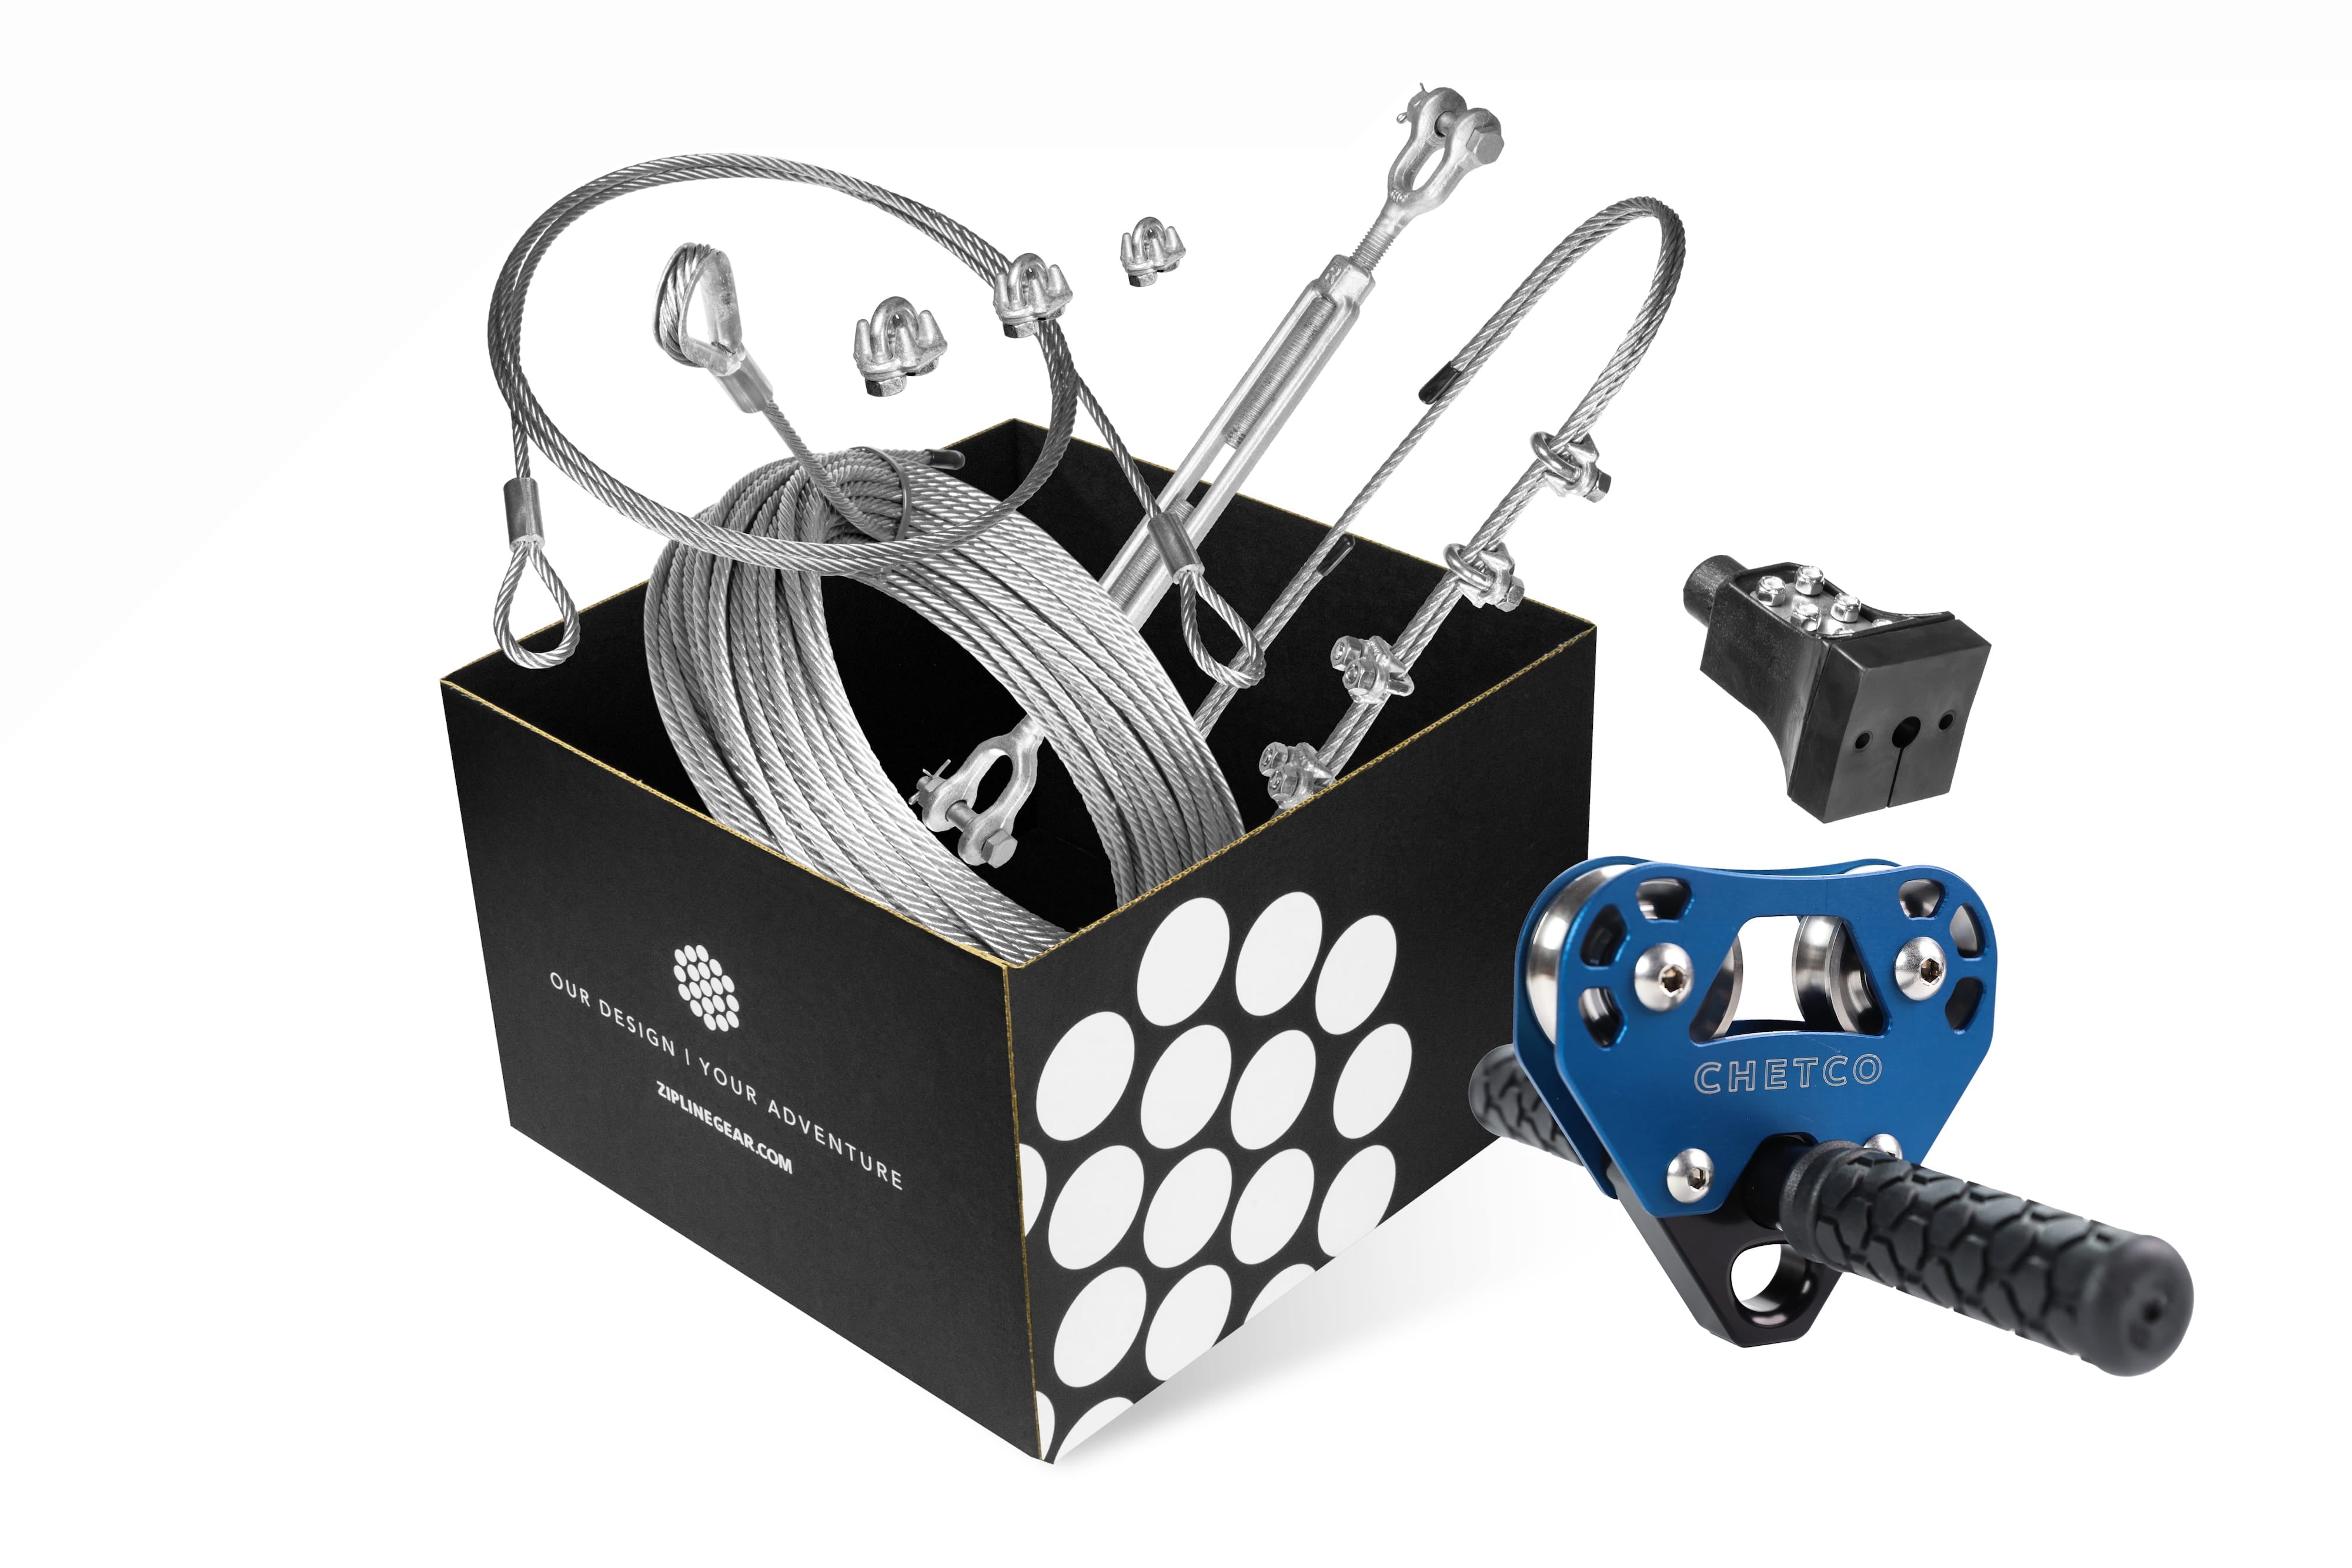
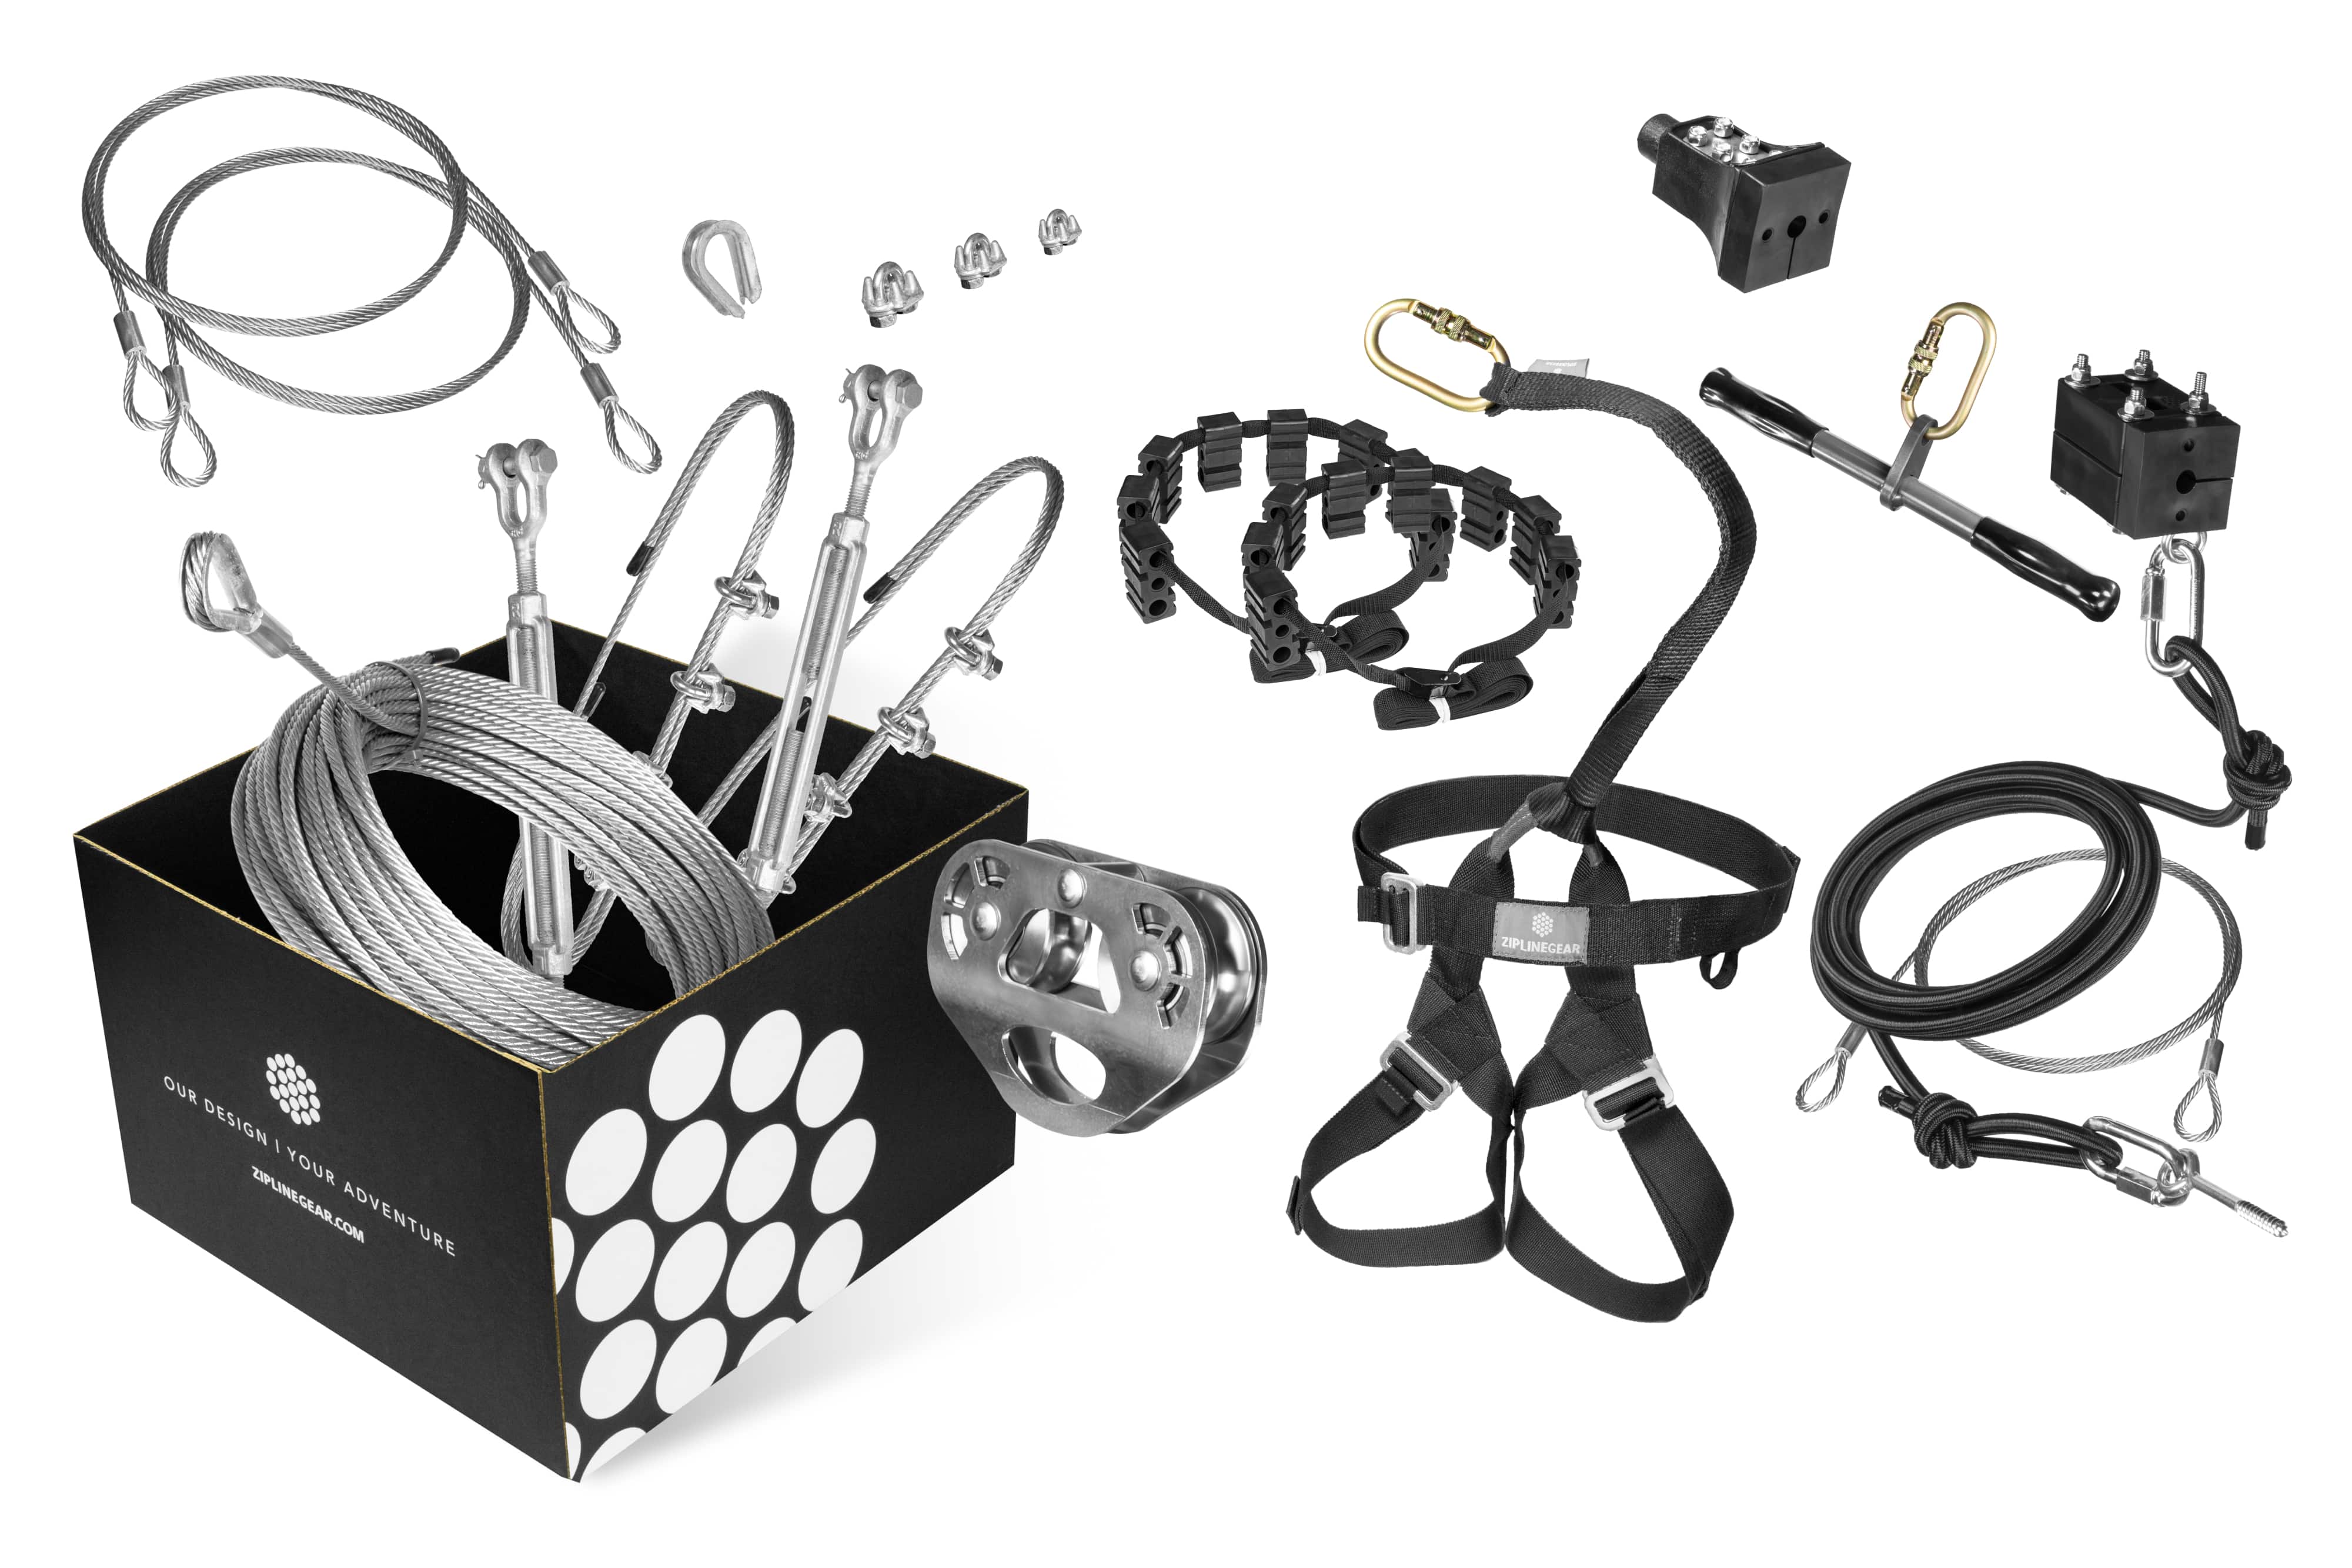
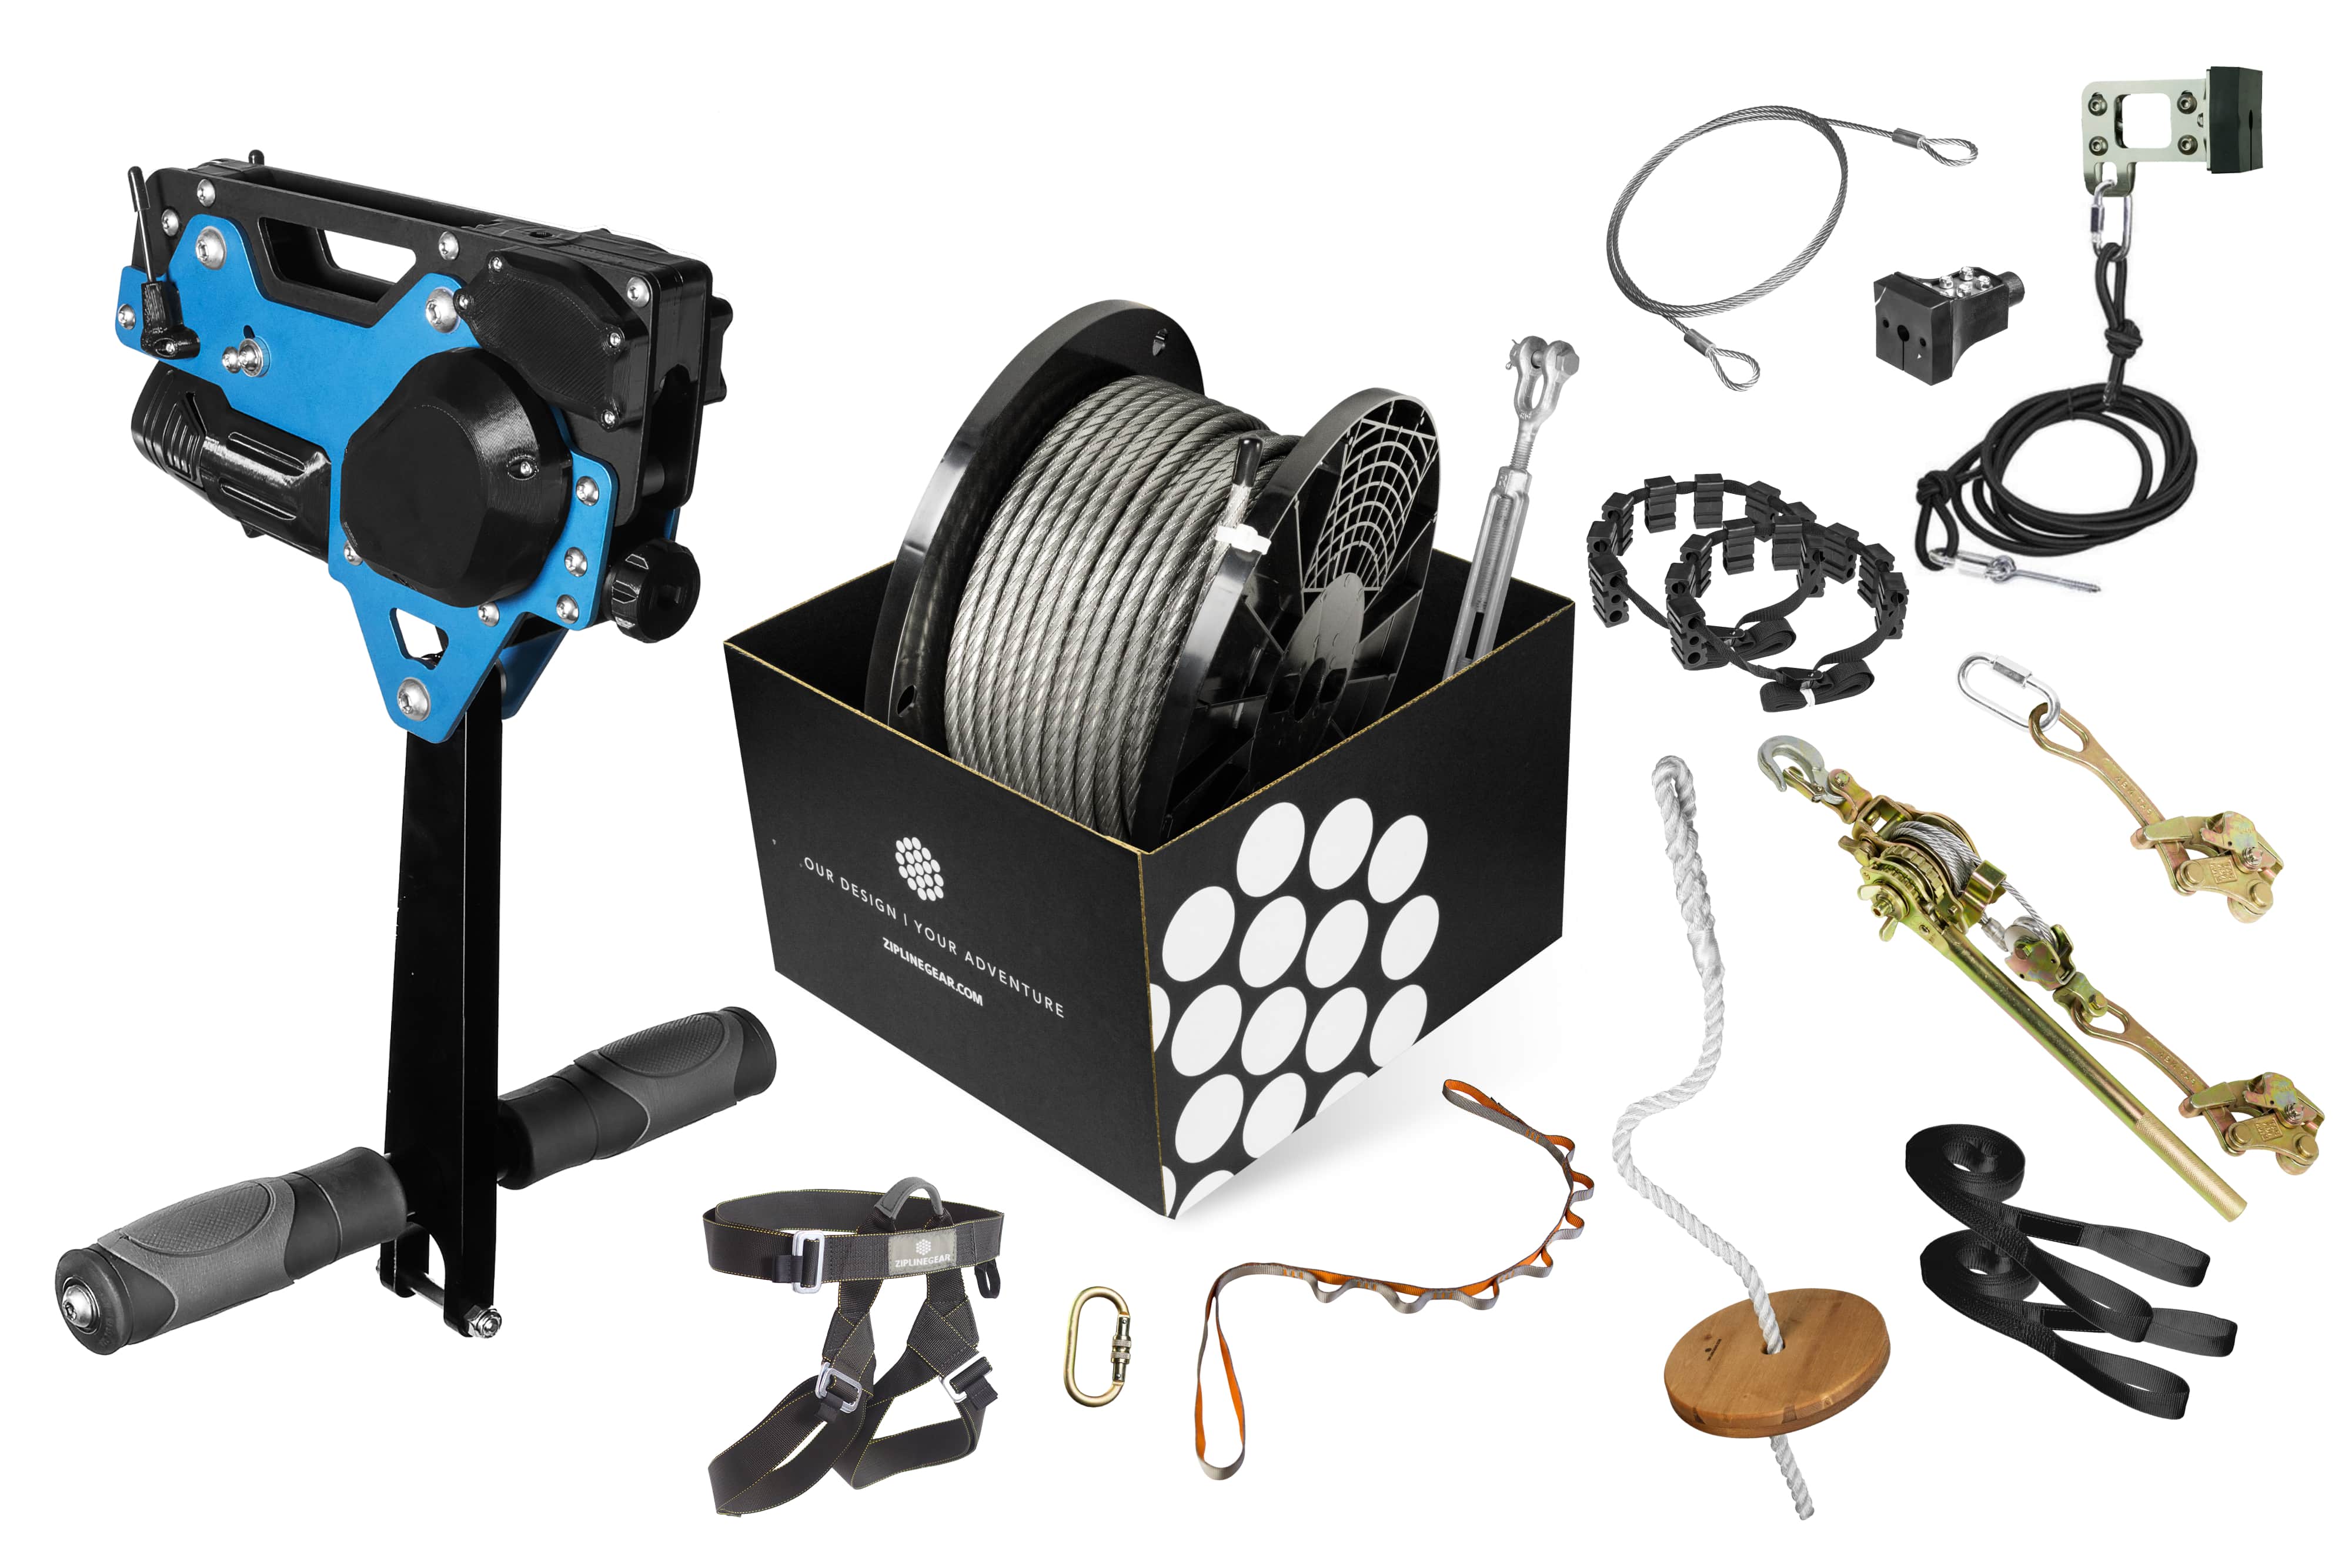
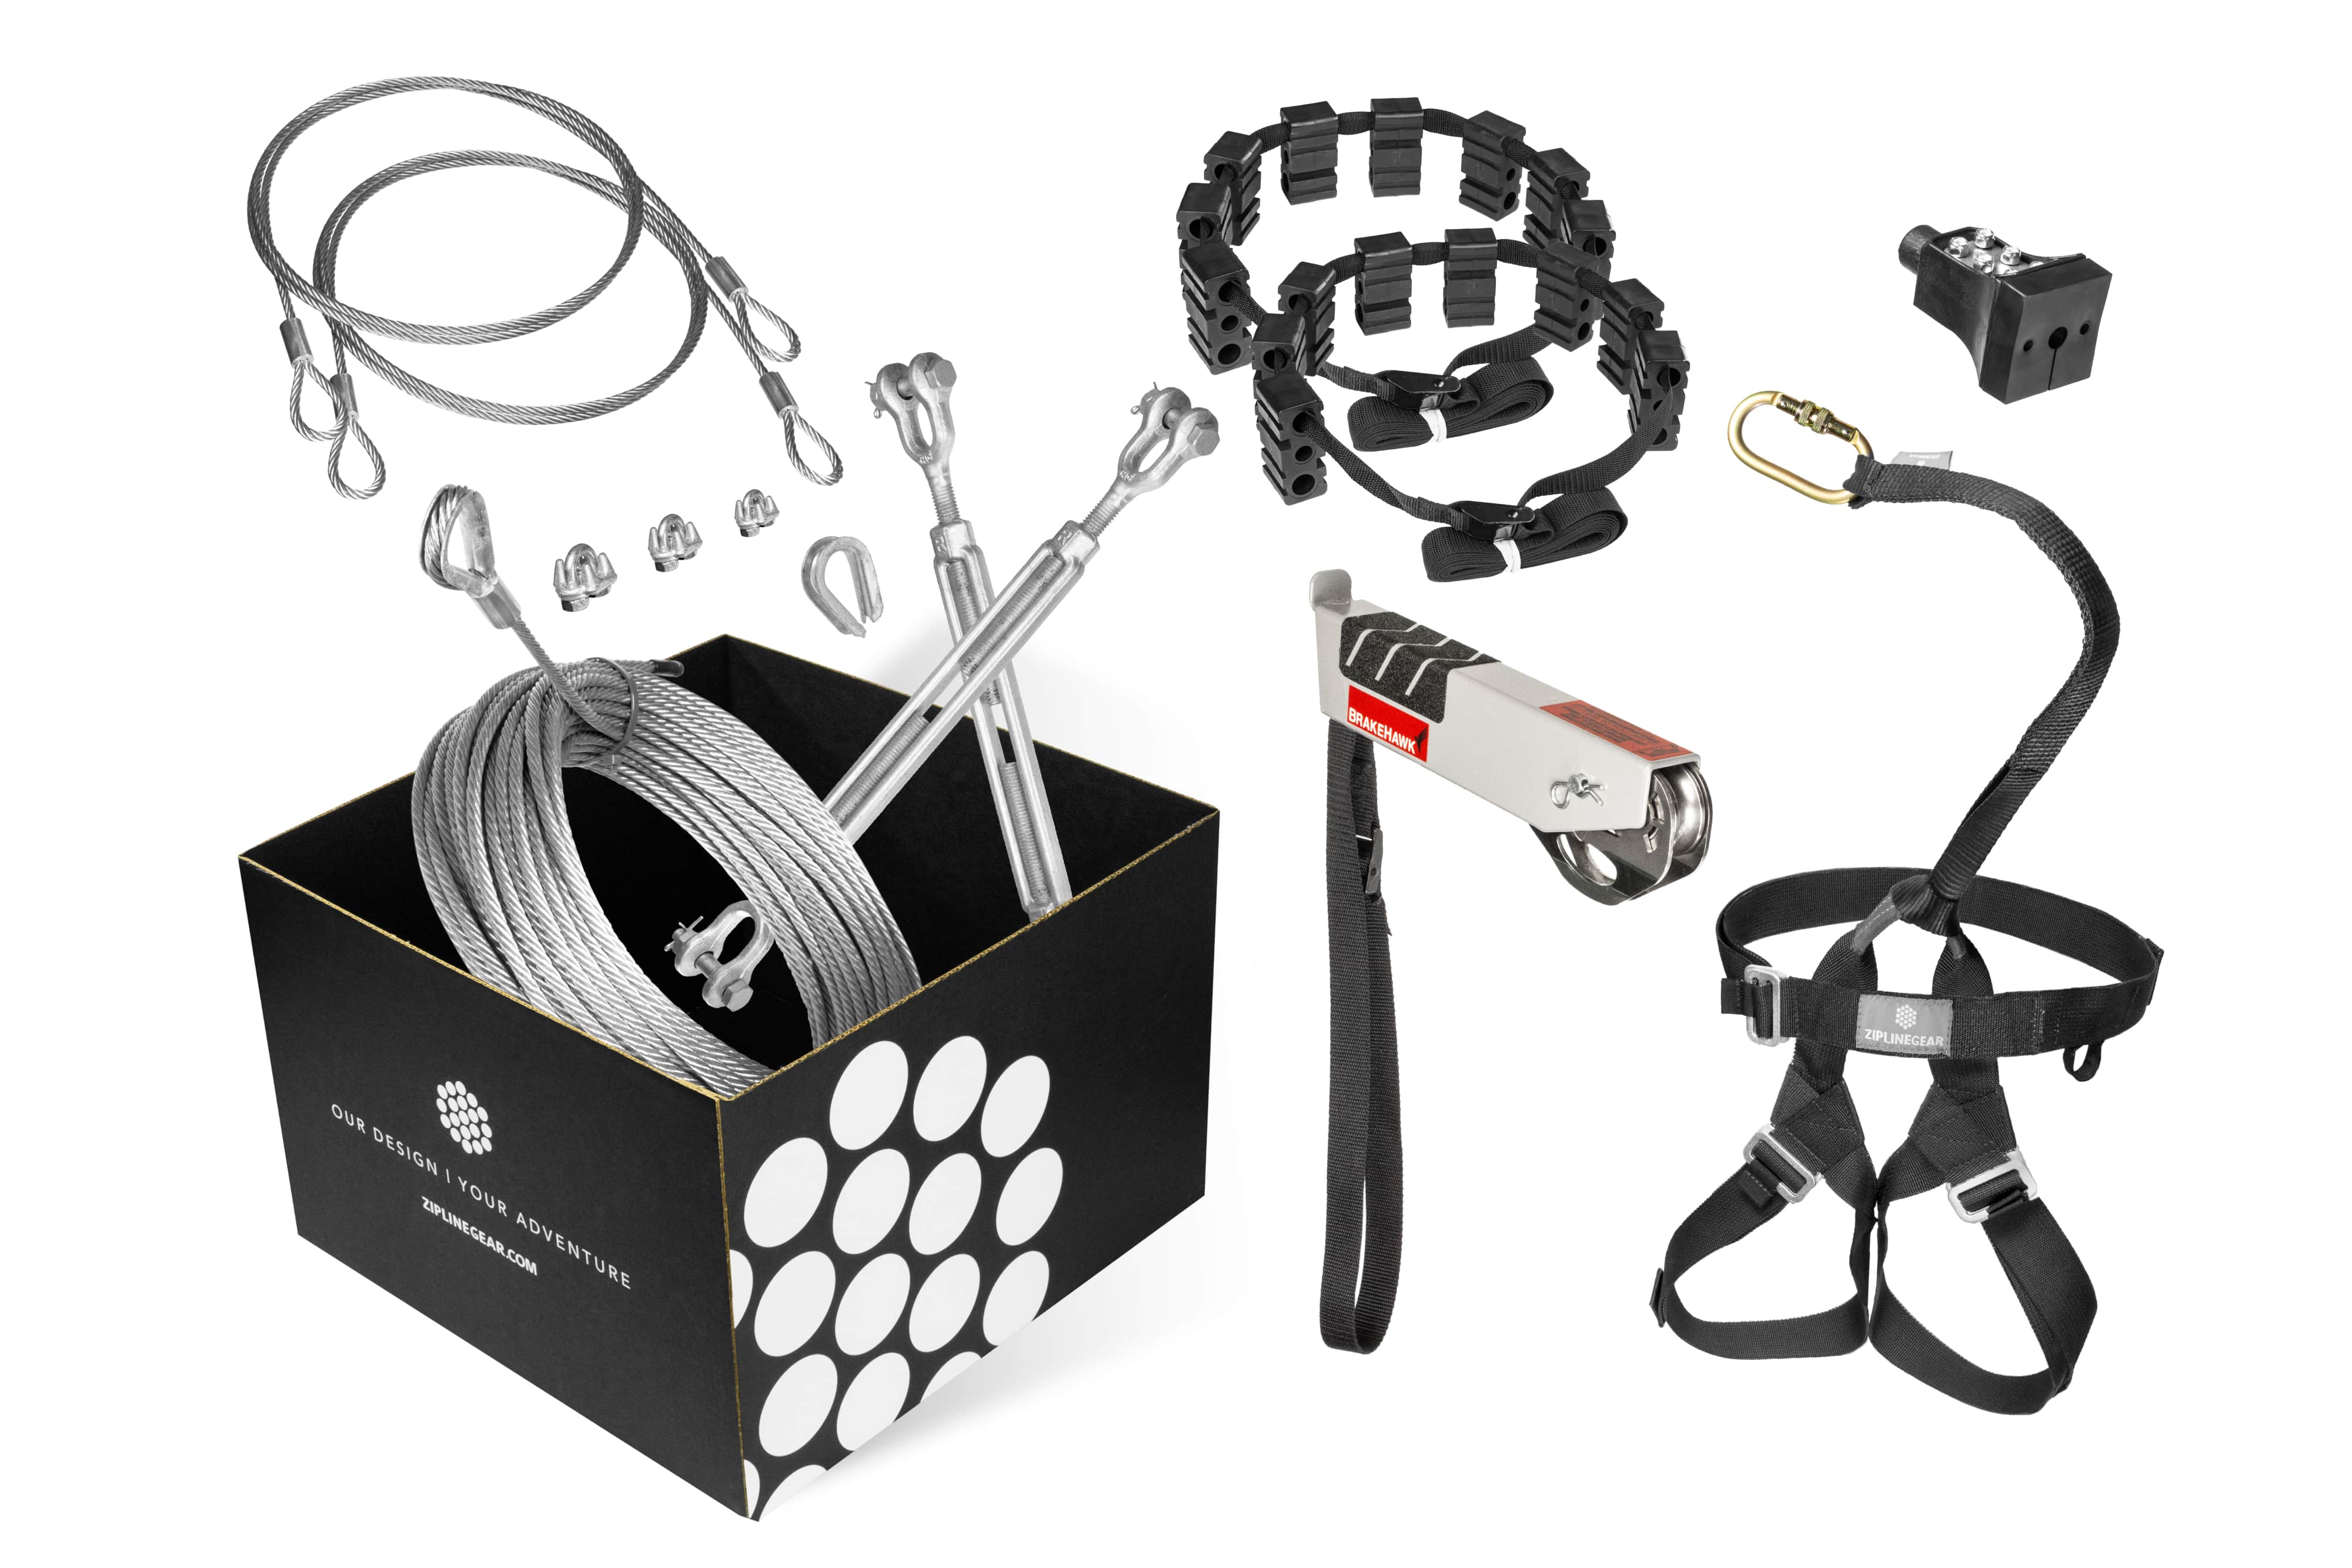
Since all the products found on Ziplinegear.com have a 350-pound weight limit, we have carefully put together various collections of cables, trolleys, and other riding components that we would want if we were purchasing a zip line. When it comes to cable, our favorite is the ⅜” Super Swaged Cable because of its professional-grade quality and smooth, quiet ride. Another advantage of the ⅜” super swaged cable is its extreme durability and strength. It starts as a ½” cable that is compacted to a ⅜” diameter, which allows for installations up to 1000 feet long. Be sure to check out the Boomerang Kit as it includes a great bundle of our best gear. As excellent as this kit is, there are some situations where this specific trolley isn't the right fit. Give us a call, and let's discuss your ideas for your unique property so we can help you choose what's best for you.
Now we'll test to confirm how your newly installed zip line actually performs under real rider weight, not just what the specs say. This step doesn't require a second formal zip line sag calculation if you've already done that during your initial installation, but you should pay close attention to how the line behaves under load and make adjustments based on what you observe.
Step 1: Clearance check under full load
Once the zip line cable is installed and weight tested, have your heaviest expected rider put their full weight on the zip line at any points where clearance might be a concern. Never allow a rider who is heavier than what the zip line has been tested for, to ride the zip line from the top. Check for clearances first and then perform a speed test.
Step 2: Speed Test
Confirm that your ride has a safe arrival speed for your heaviest potential rider. Your line should never exceed a 6% slope. After doing a weight and clearance check, your heaviest expected rider can begin a speed test. This essentially involves starting the ride near the middle, then moving the starting point further and further up the line, keeping a close eye on the arrival speed at the end, until you are confident that riders can start from the very top without coming in too hot at the end.
Acceptable arrival speeds depend on the type of braking method employed. The trolley should have little to no speed when it hits a stop block. If a Spring is used, the trolley should only lightly compress the Spring as it impacts the Stop Block with minimal speed. Individual coils of the spring should not be crushing against each other. If a Bungee Brake is used, the bungee cord should stretch to absorb all of the rider’s momentum before they reach the Stop Block, without stretching to more than 175% of its original length.
If your heaviest rider cannot start from the top without overpowering the brake method:
Decrease the slope (do NOT exceed 3% without a Bungee Brake system) by lowering your cable starting height, or raising your cable ending height.
Decrease the tension of the cable to create more sag. This gives the cable a deeper belly with more uphill climb towards the end. Just make sure to retest for rider clearance.
c) Upgrade the braking method. Add a bungee brake if not previously used, increase the length or number of bungee cords, etc.
If the weighted object doesn't make it to the end of the zip line, you need to increase the slope of the cable by raising your starting cable height or lowering your ending cable attachment height. If you use this method, retest the rider clearance again.
Every zip line is a unique combination of cable, hardware, riding gear, and slope, all of which determine how a rider travels and stops. With careful planning and thorough testing, you can build a high-performance zip line that adults over 200 pounds can safely enjoy for years. Whether you choose one of our pre-selected kits or want to custom-build your own collection of equipment and gear, we’re here to help. No bots, no scripts, just real people ready to talk shop.