
Rogue Pro Zip Line Kit

Price
$ 2,020.00
Taxes and shipping calculated at checkout
Length:
250

FREE US Ground Shipping on orders over $395 (up to 150lbs, excludes AK, HI & Freight)

THE STORY

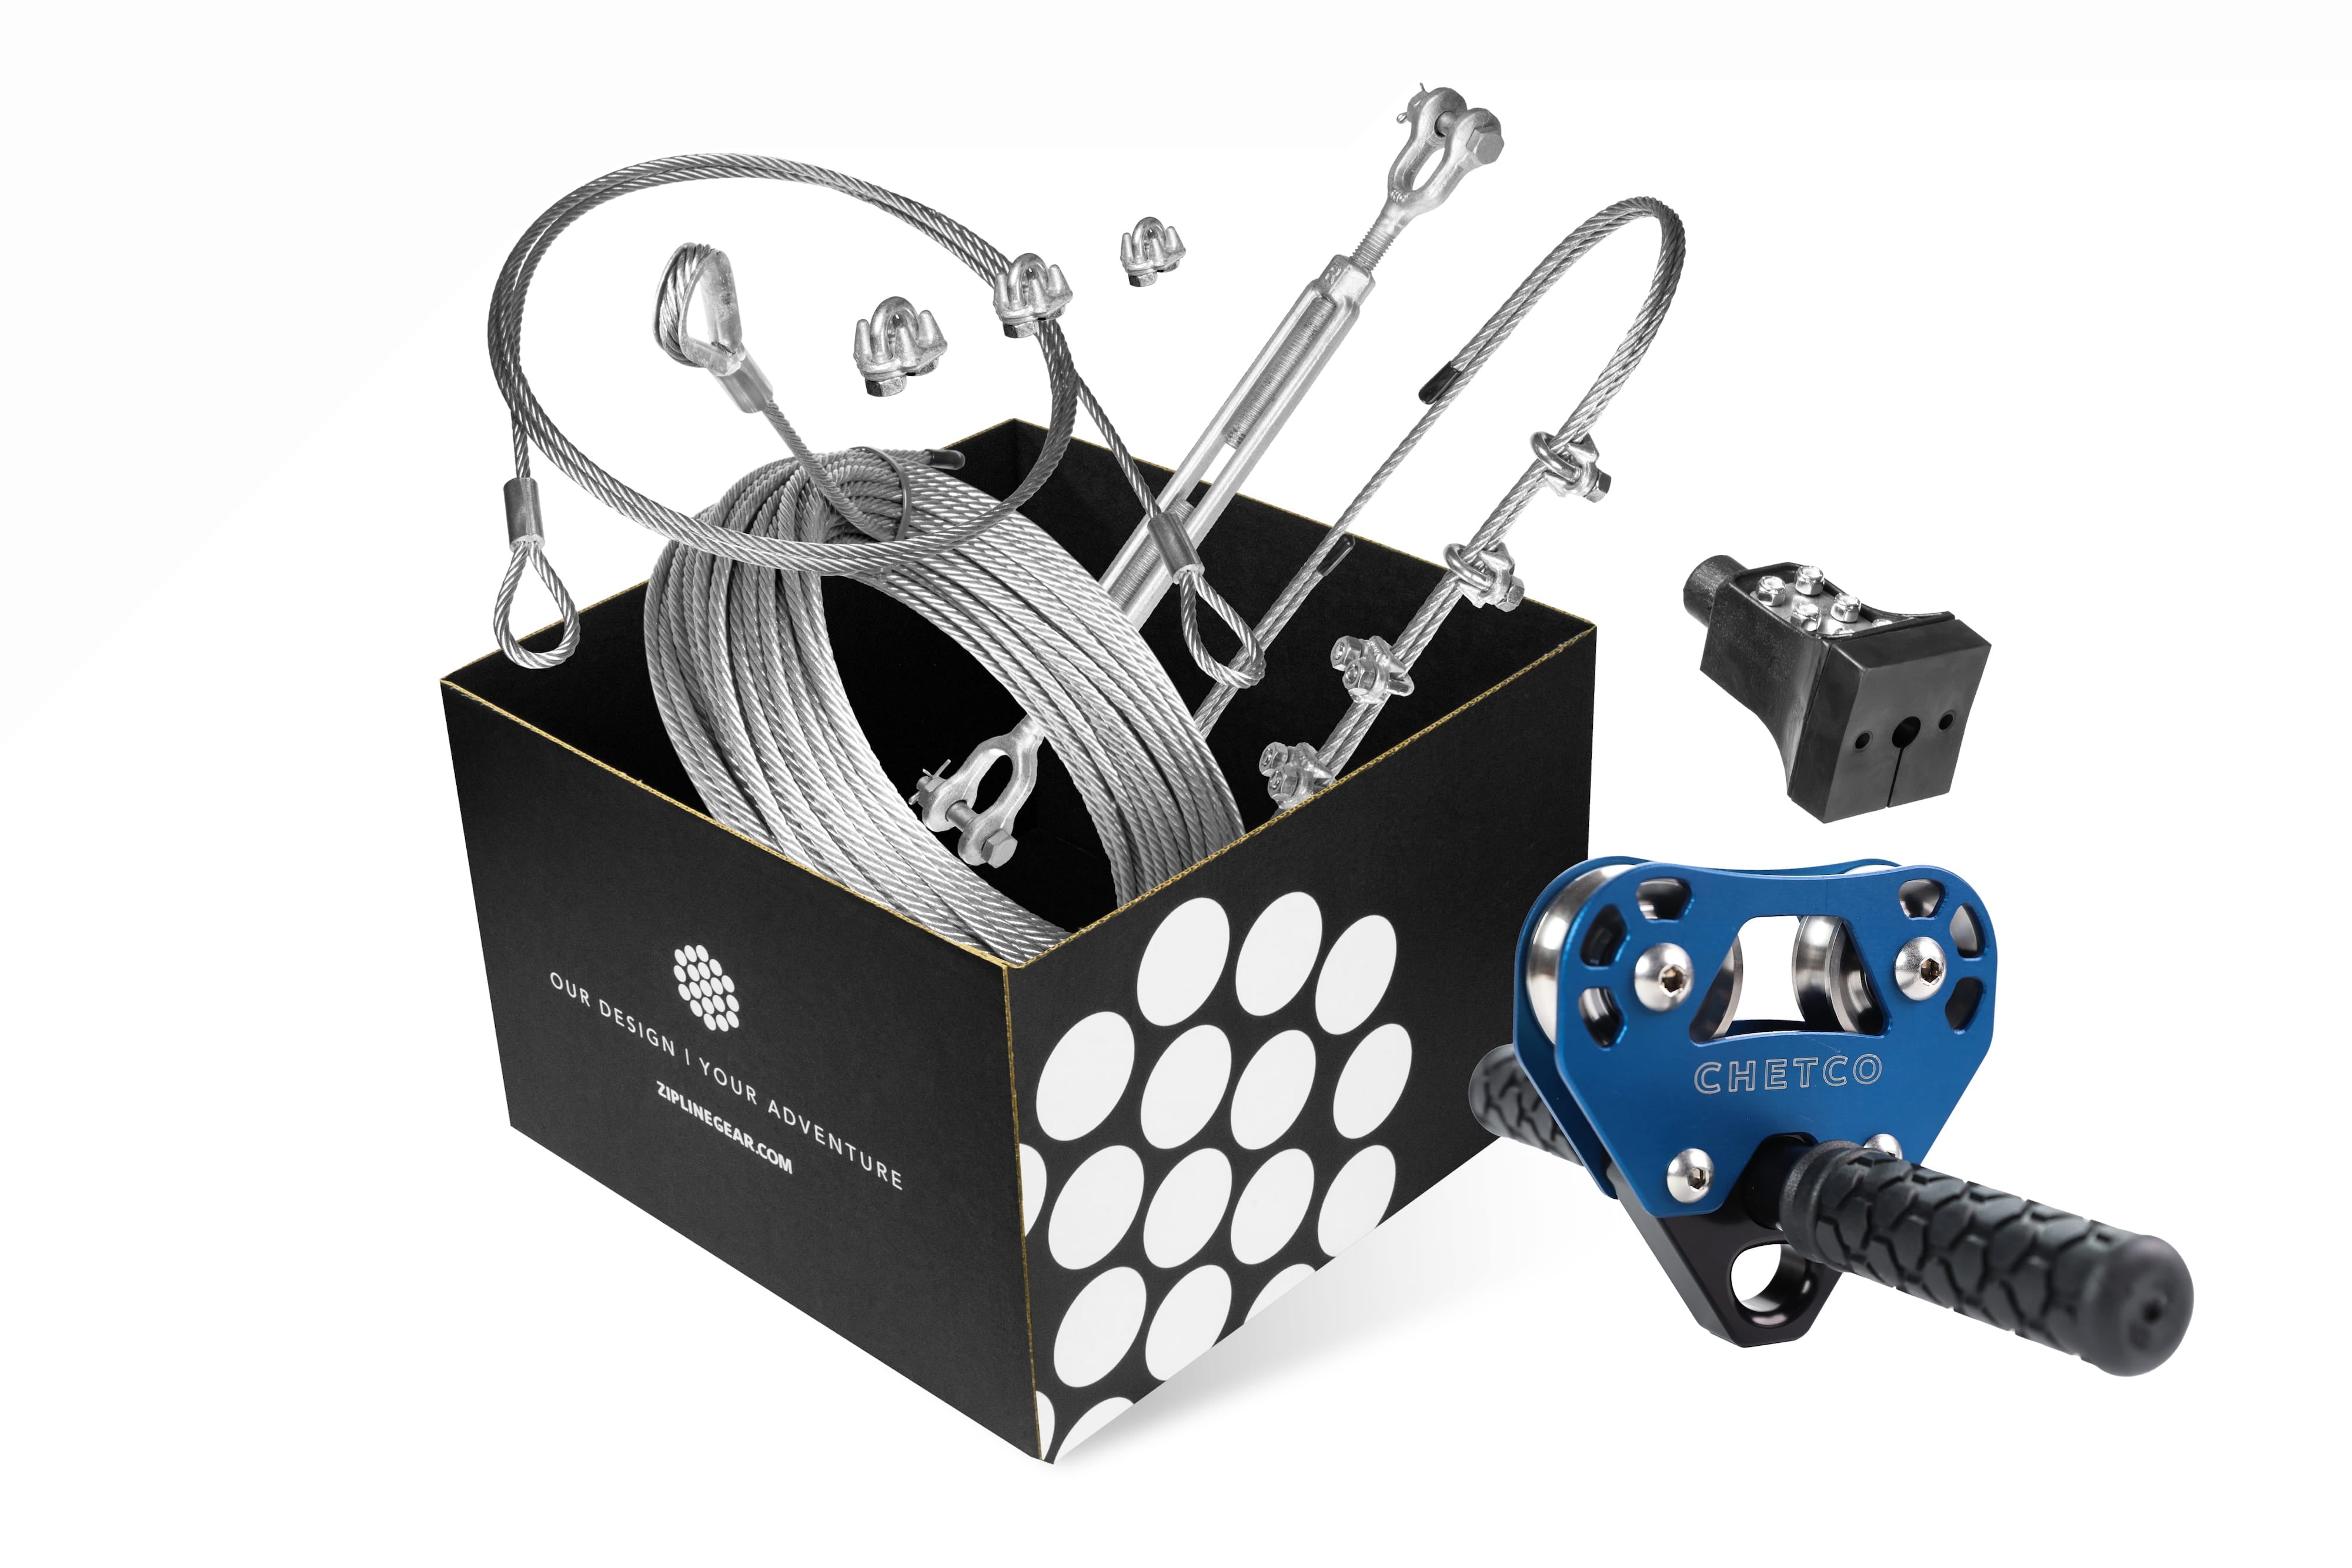
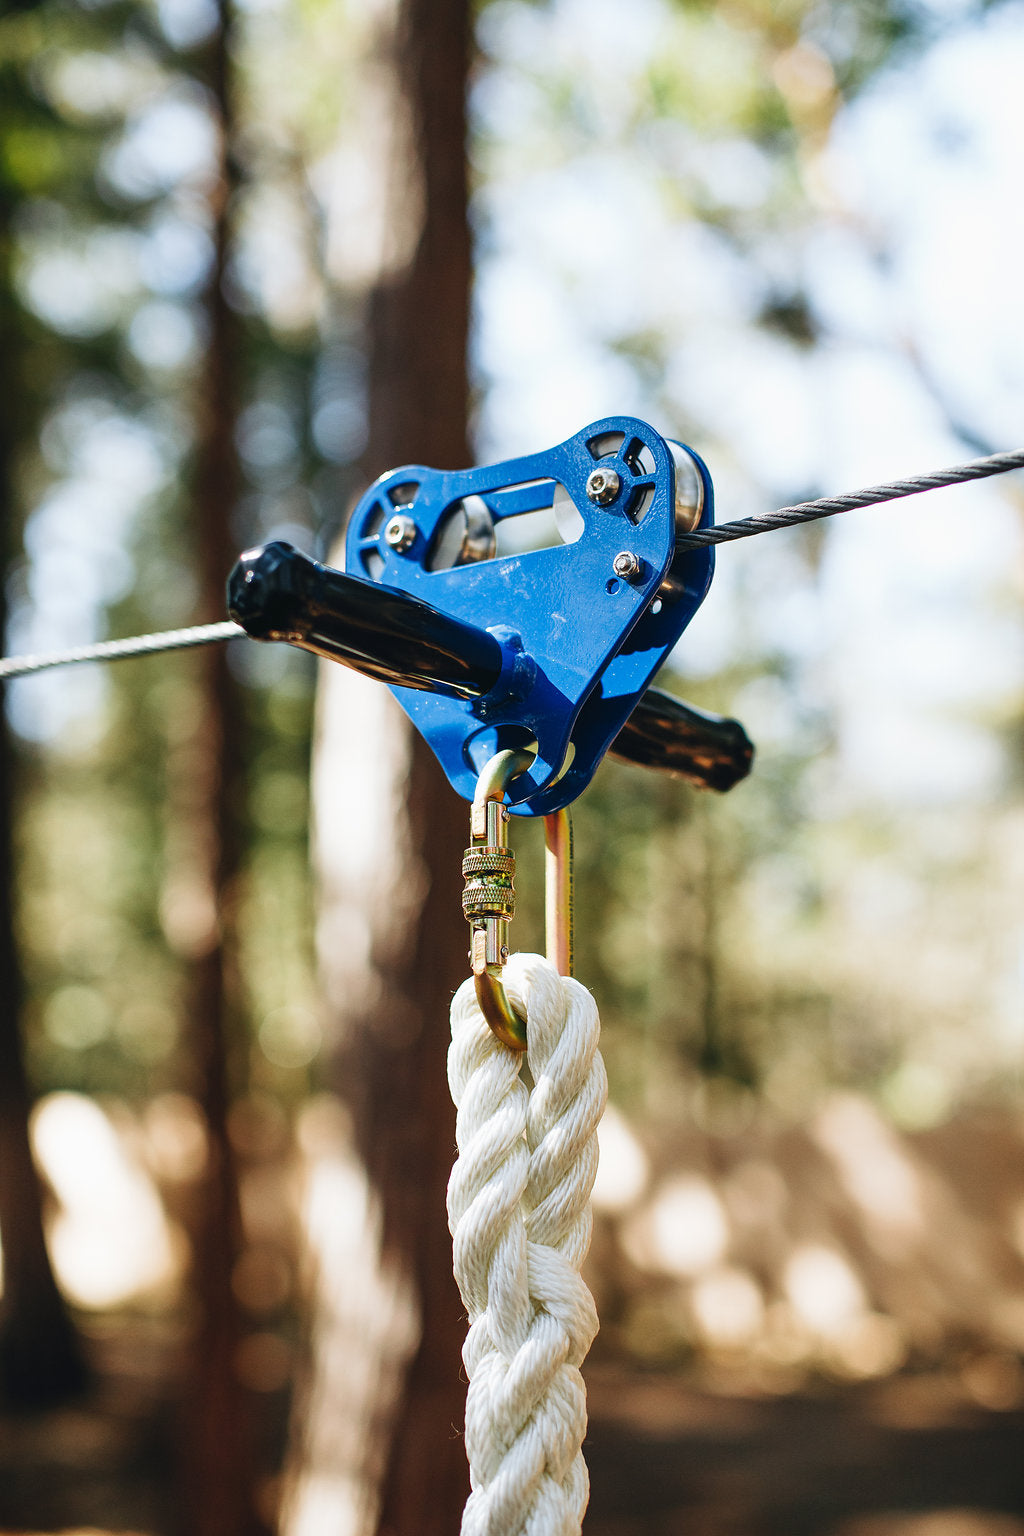
The Rogue Pro Trolley represents a break-through in trolley design that we (and other designers) have been chasing for a couple decades now. Many rider-operated braking trolleys have made their debut in the zip line industry, only to quietly disappear a few years later. The problem of creating a reliable, aggressive braking action on the tiny surface area provided by a steel cable has tempted and foiled many inventors, ourselves included. Our testing archives are littered with prototypes that just weren’t quite good enough. Until now. With the recent development of impact-swaged cables that provide a more consistent contact surface, a little materials science on the brake pads, and a clamp-action brake caliper design, we’ve accomplished a dynamic speed control that rivals that of a high-end street bike.

The Rogue Pro is the apex canopy-tour trolley. While other trolleys and braking methods struggle to integrate with platform-to-platform cable sequences, the Rogue Pro was born for it. With a little practice, riders of all weights and sizes are able to traverse cables of varying angles and land gently, with precision, every time. Switching to the next cable and continuing on is as easy as unclipping and reclipping the carabiner. Rogue Pro Kits are built exactly with this flight mode in mind: a 3/8" diameter swaged cable kit complete with anchoring hardware and a full set of one-size-fits-all riding gear. Add a cable kit for additional spans, add a rider kit for additional riders. If you know how to ride a bike, you’re already overqualified.

WHO IT’S FOR

  • Teens and adults who want to be in control of their ride: speed, braking, and landing, rather than being passengers on a bungee catch.

  • Property owners with long, steep, or varied terrain (canyons, slopes, treed hillsides) where a passive brake is hard to tune and a rider-controlled brake is the better answer.

  • Anyone planning more than one span: platform-to-platform sequences, tour-style layouts, or a line they intend to extend later.

  • Not the first pick for young children or for customers who want the simplest possible setup, please take a look at the Signature or Bandit Kits. 

THE YARD AND THE RIDE

Picture the canyon line: a long run with real elevation change, maybe a change in angle partway down, and a landing that would be hard to hit with a passive brake. The rider clips in, controls their speed with bike-style levers the whole way, and settles onto the platform on their terms. When there is a second span, they unclip, reclip, and keep going.

This is the kit for the ambitious backyard, the acreage with a view, and the family that wants a ride that feels like a sport.


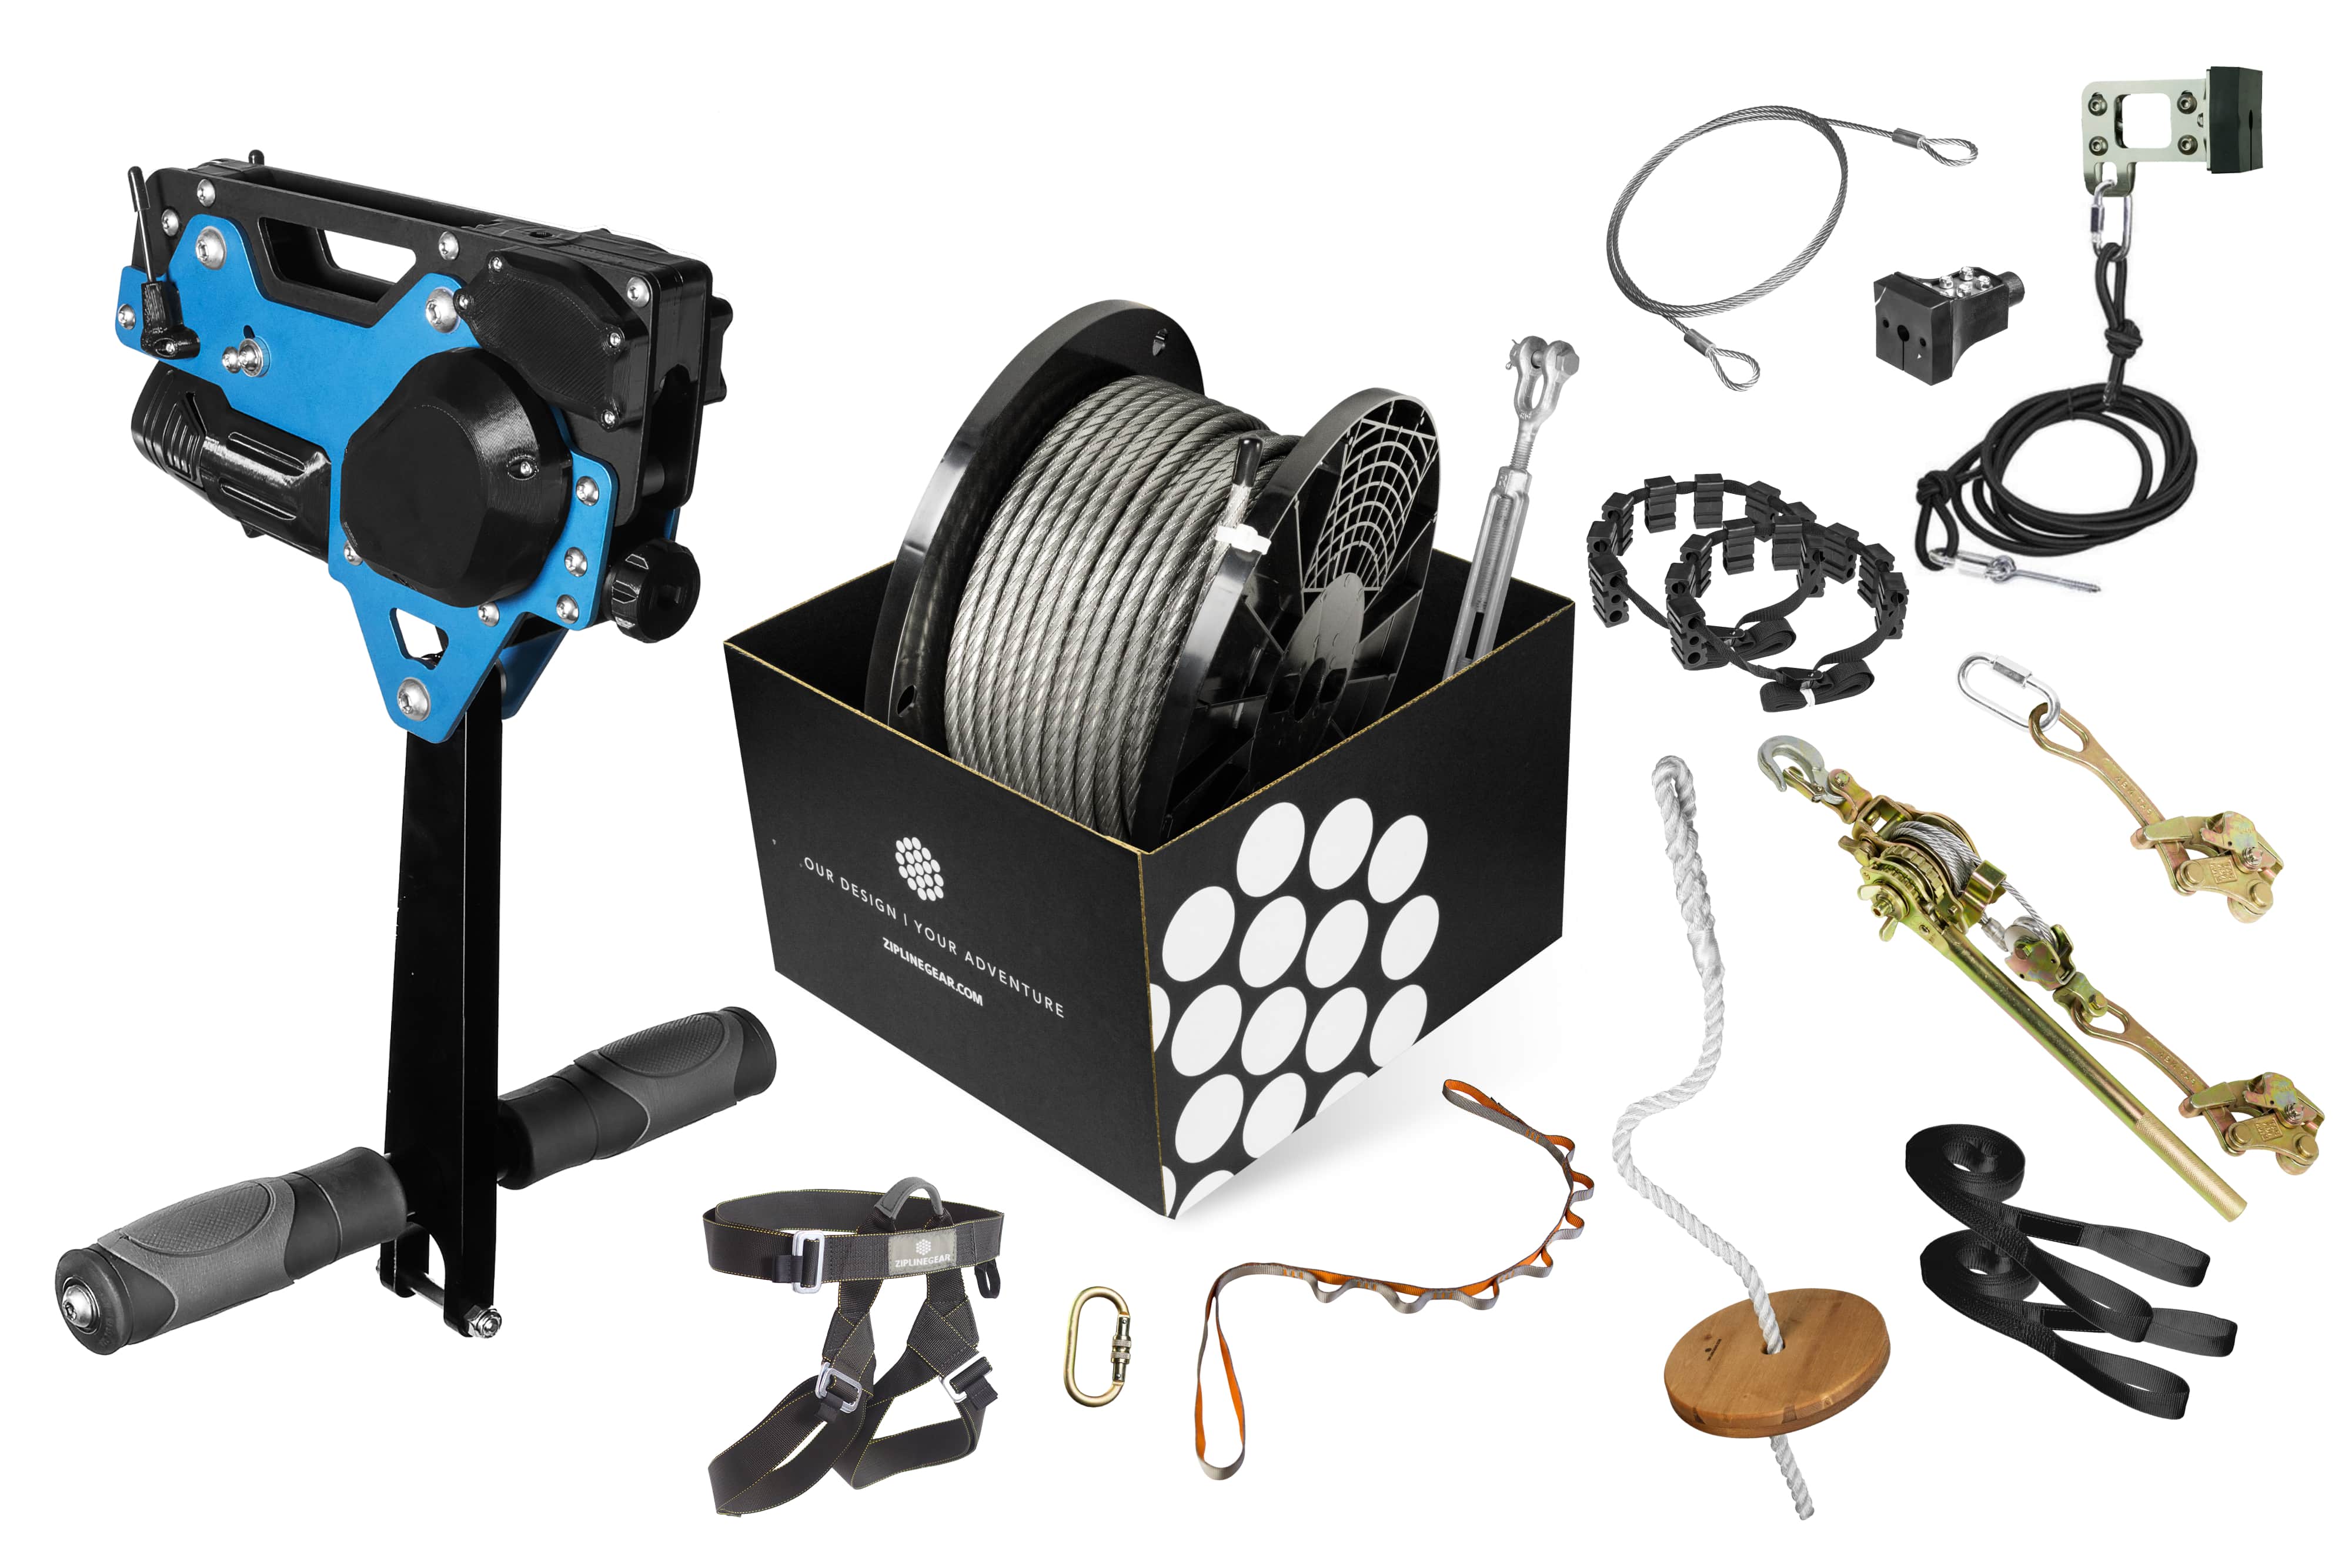
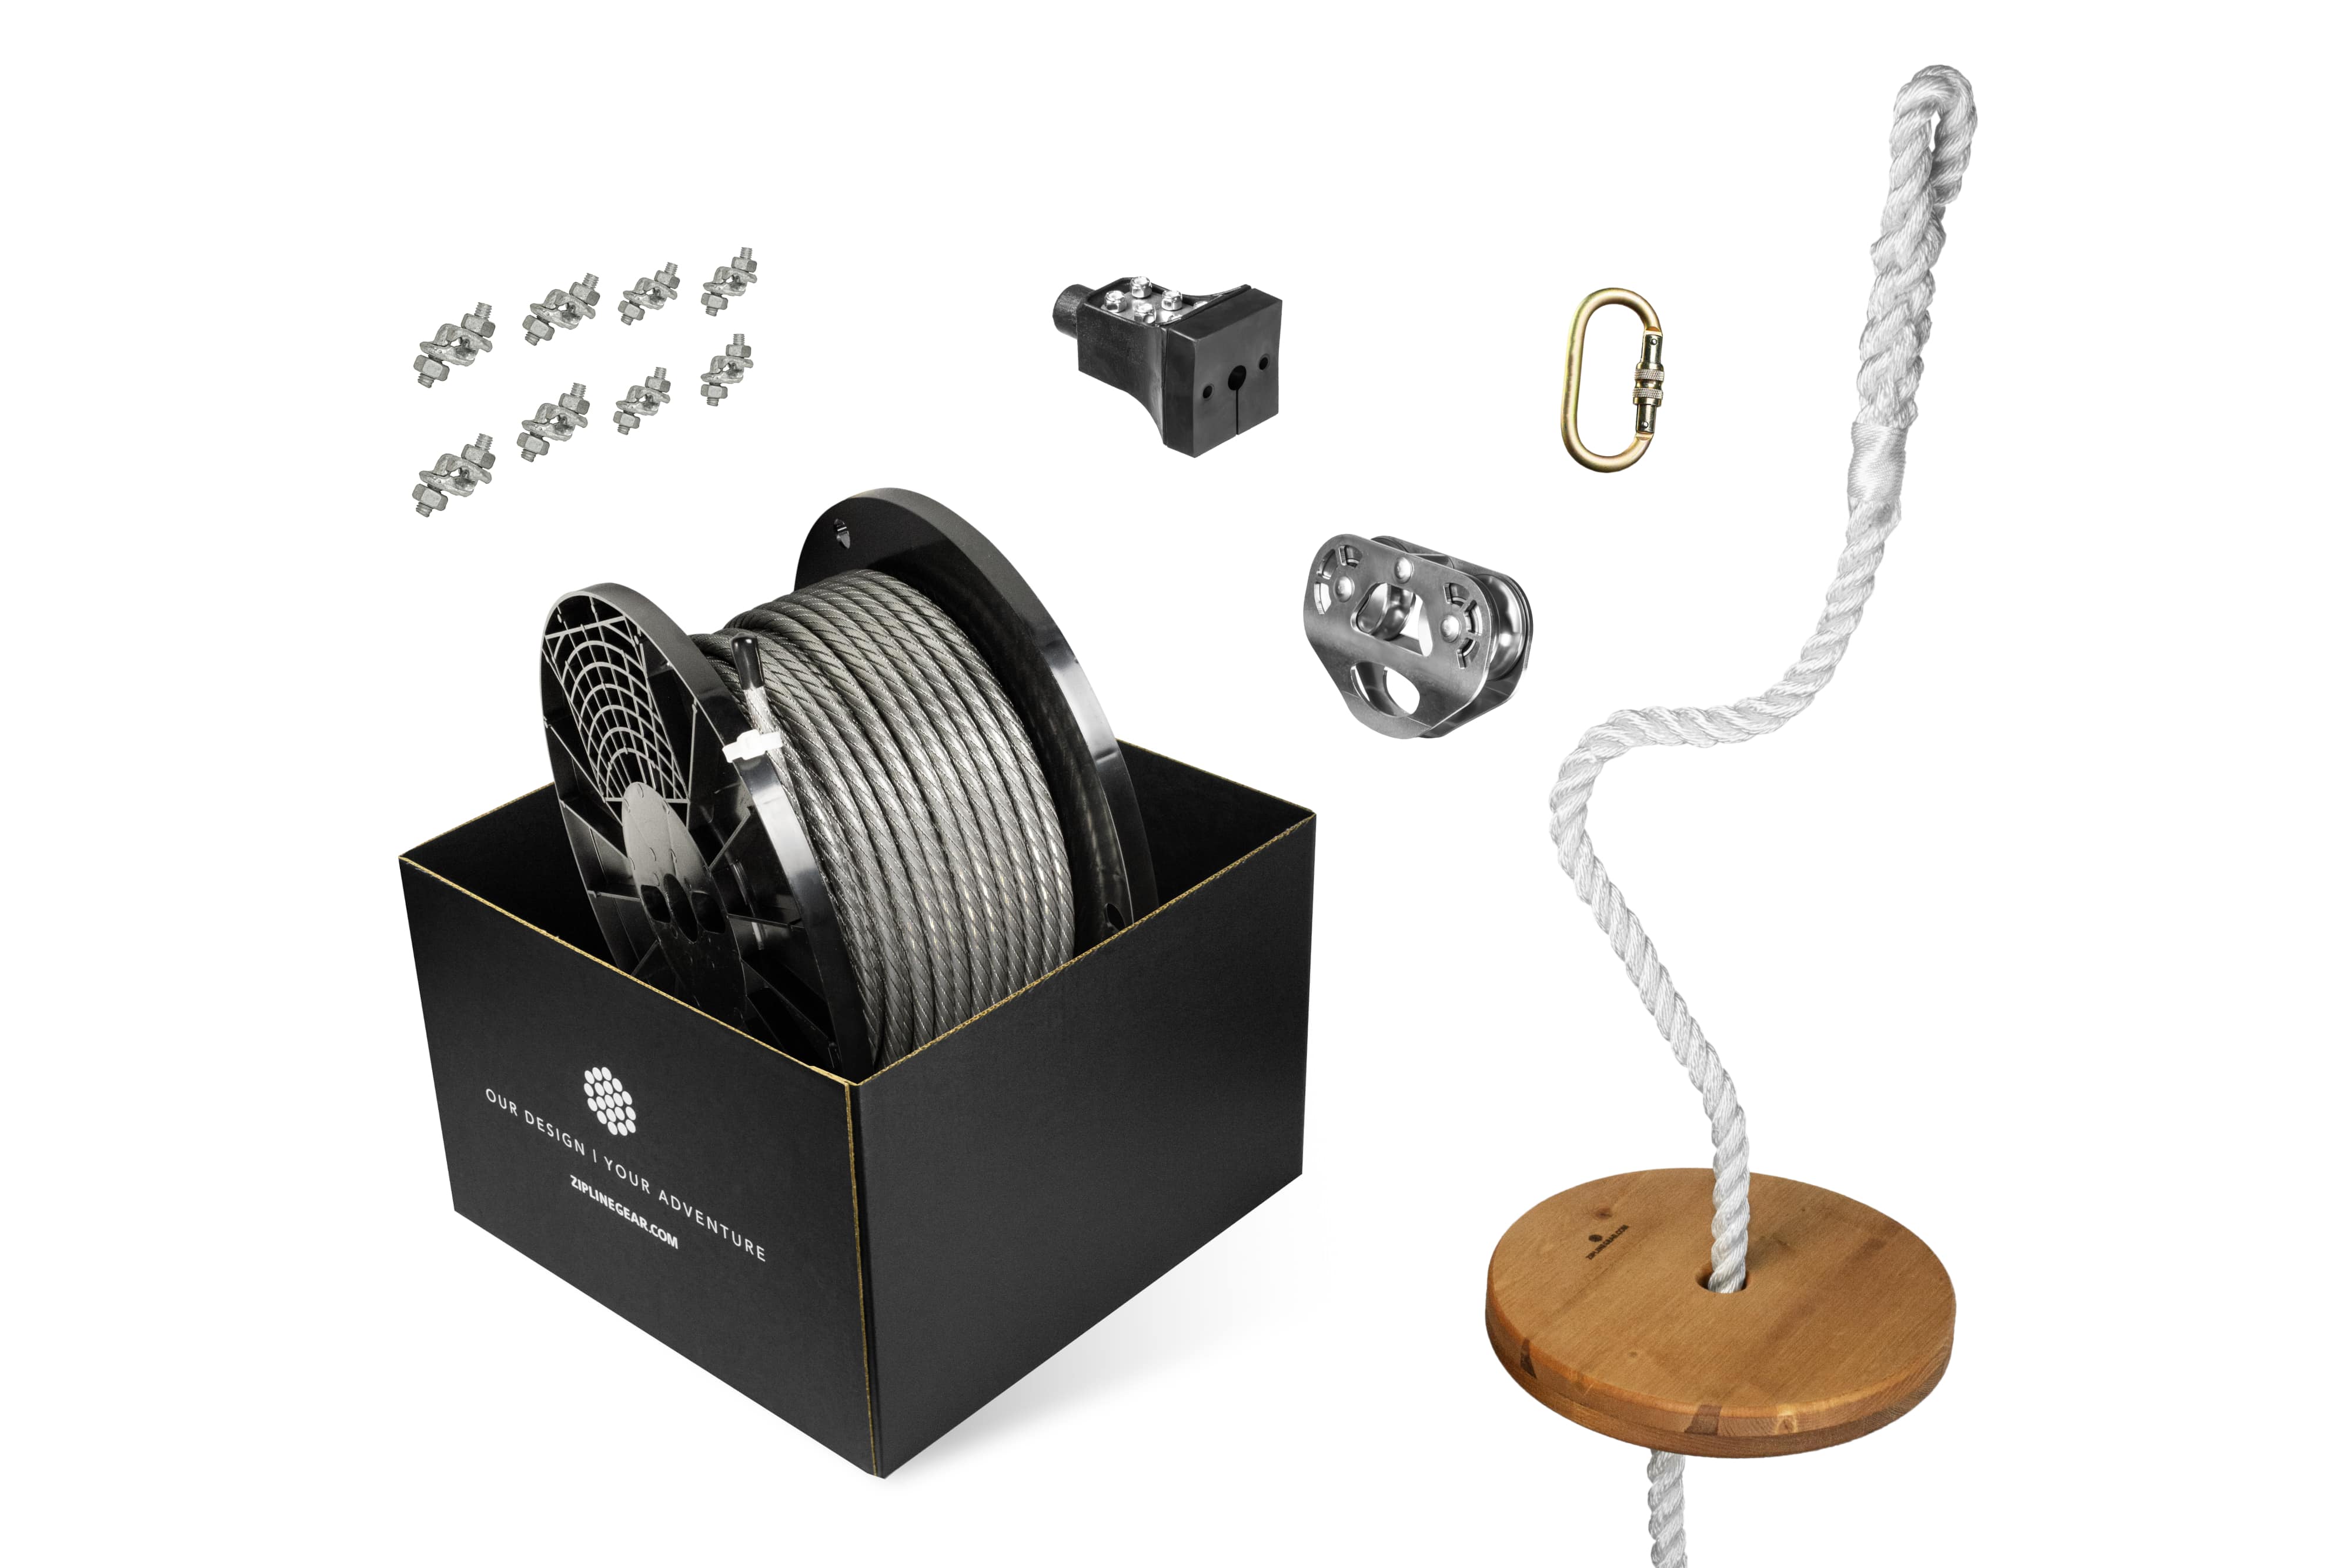
  • 3/8" Super Swaged Cable
  • Copper Sleeve & Thimble
  • 3/8" x 8' Cable Sling
  • 3/4" x 18" Turnbuckle
  • 4 × 3/8" Fist Grips
  • Universal Stop Block
  • Tree Savers for 2 trees
  • Tensioning Kit+
  • Rogue Pro Trolley
  • Daisy Chain Lanyard
  • 2 × Carabiner
  • Harness
  • Drifter Seat

Kit Installation Guide
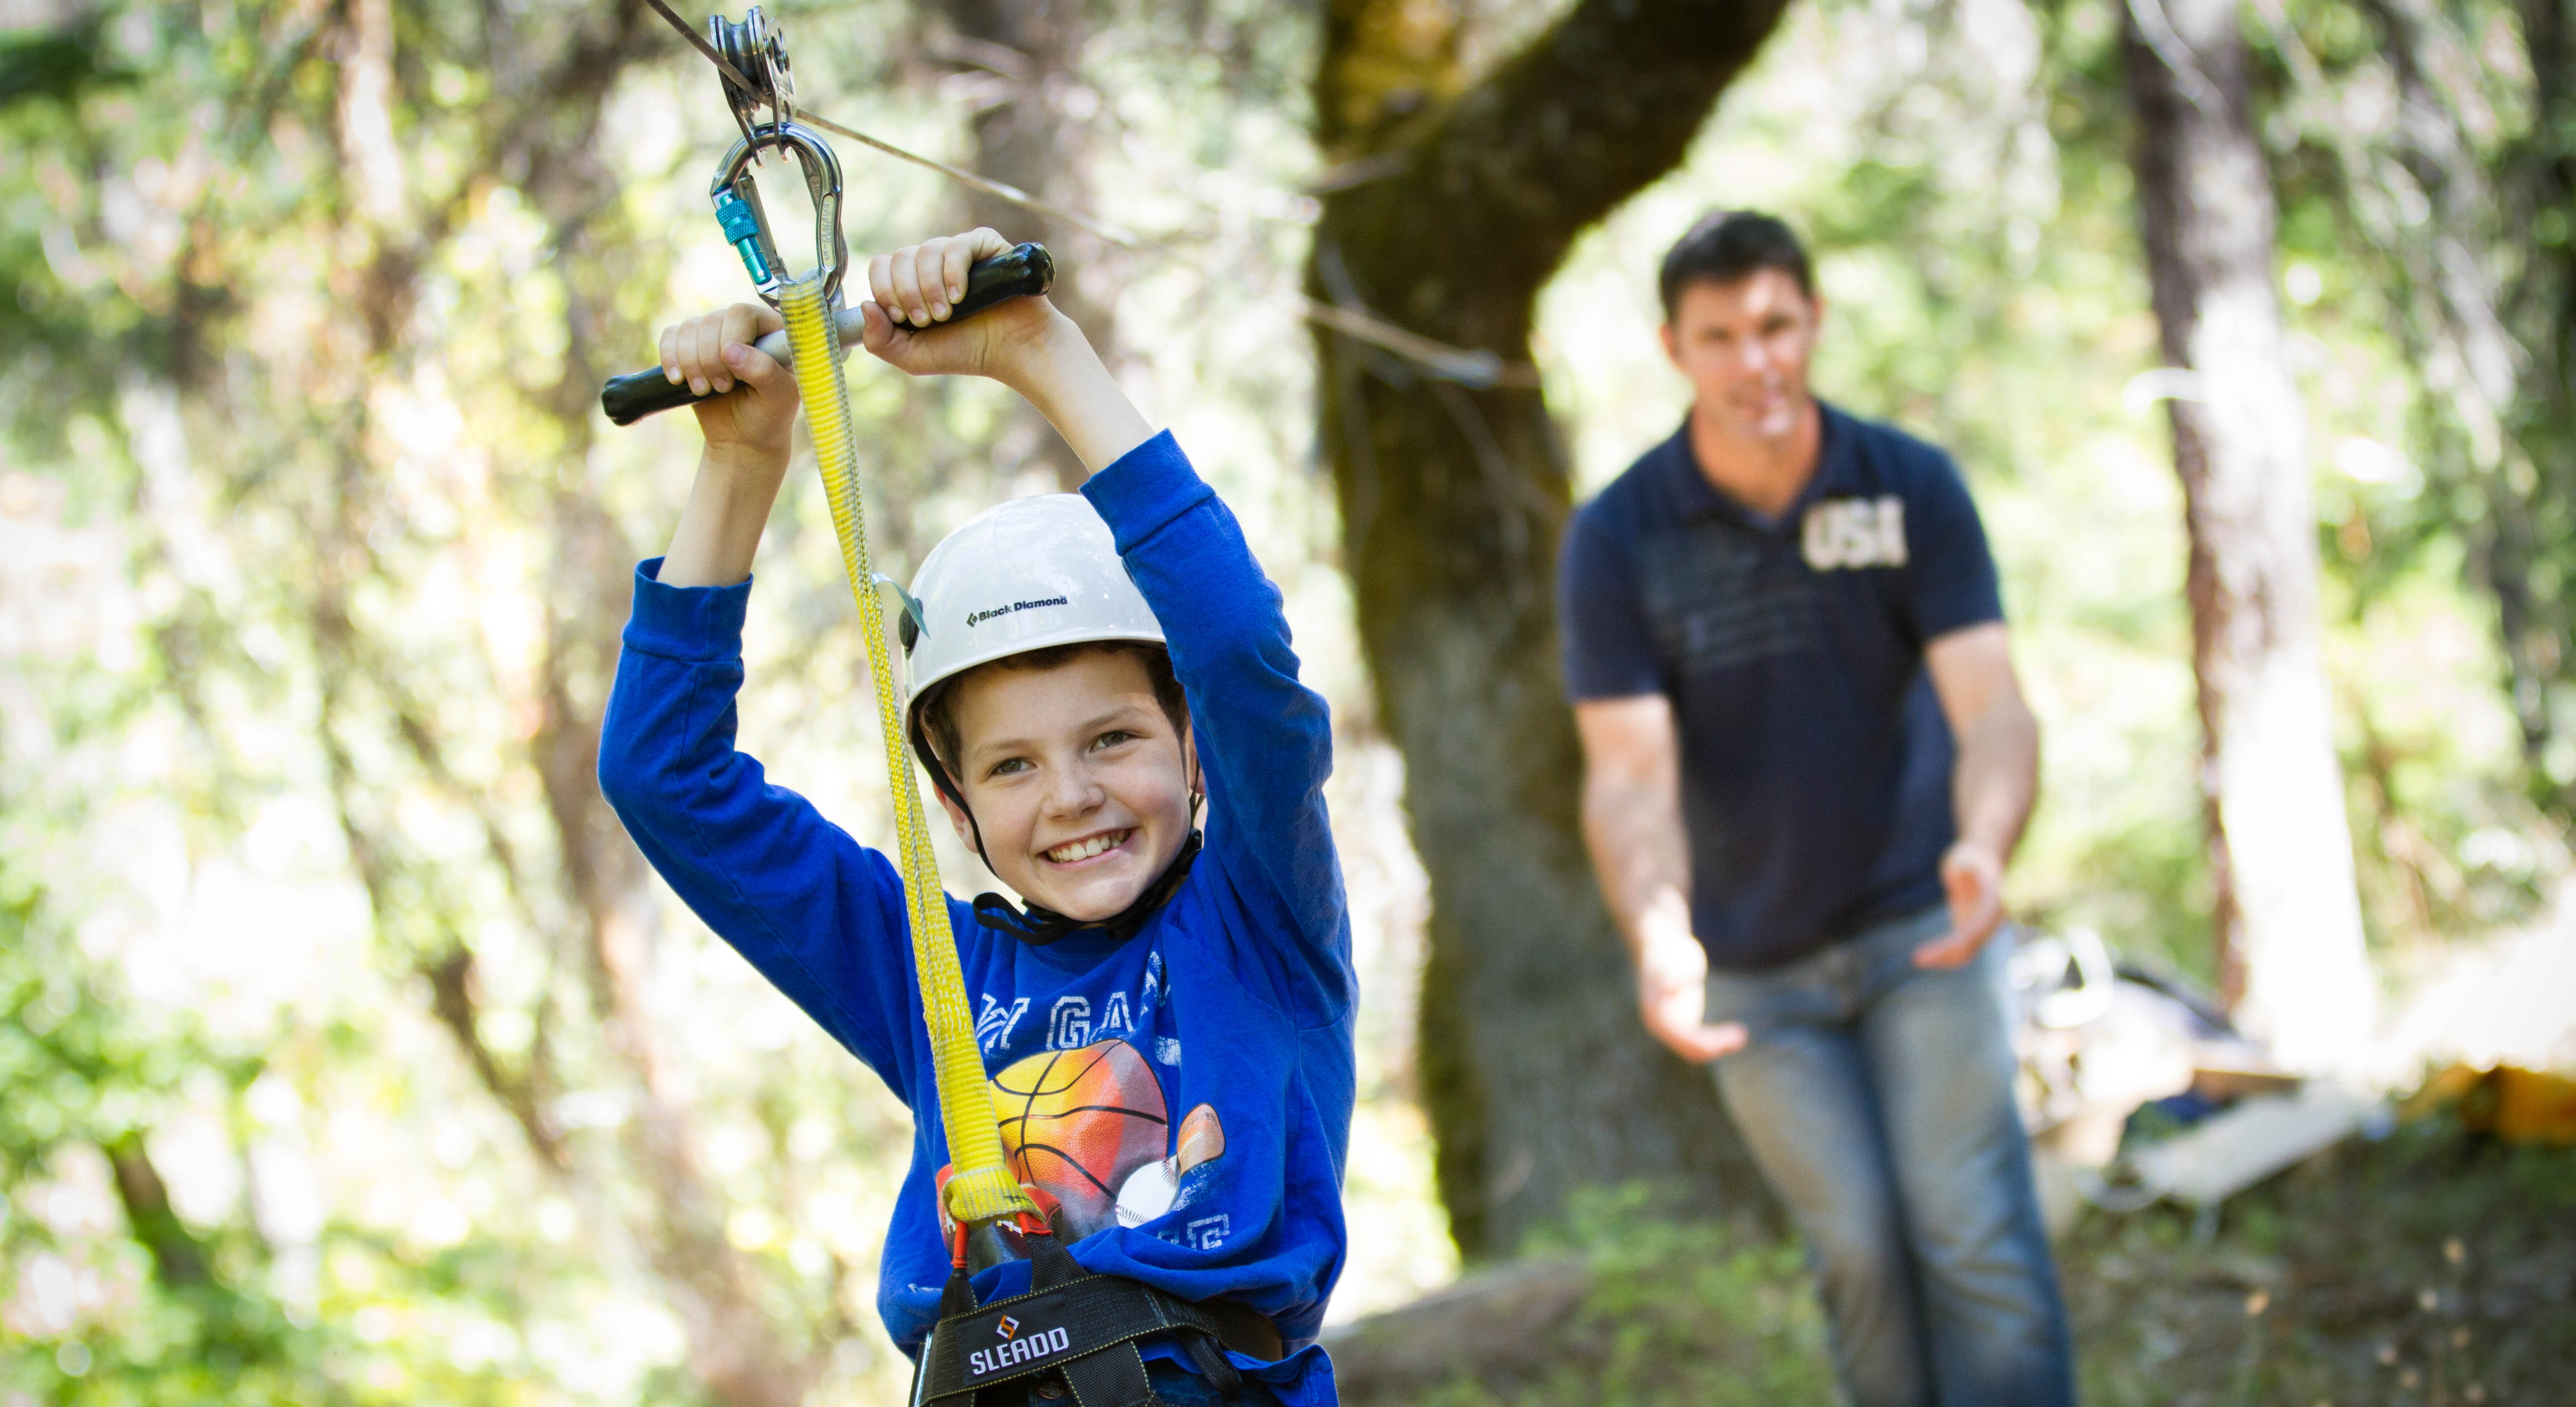
FREE Design consultation

Want to talk with a specialist about your project?

Schedule a free 25 minute consult to help you plan your zip line project. 
Zip Line University

Explore Our Knowledge Base

Installing a planning a zipline can seem like a daunting project. We're here to demystify the process!

Learn more about zip line installation

FAQ

How do I measure elevation change in my backyard?

Please refer to the manual that comes with your kit for specific installation instructions. 

Stand at the end tree and hold a 4 FT Carpenter’s Level like a rifle.  Holding one end up to your eye, point the opposite end at the base of the starting tree, right where the dirt and tree meet. Make sure the bubble is between the two hashes indicating level (crouch down if your yard has a minimal slope or climb a ladder if your yard has lots of slope).  

Once you have the level aiming at the base of the starting tree, measure from the Carpenter’s Level down to the ground.  This measurement is your natural elevation change.

If you have questions, please do not hesitate to give us a call at 888-476-3701

How do I figure out the slope for my zip line?

Please refer to the manual that comes with your kit for specific installation instructions.

The slope determines the speed of the zip line. Essentially this is the angle you set the cable at between the two trees. The slope is calculated by multiplying the distance between your trees times .03 or 3%.

More details on Slope can be found in the Zip Line Gear handbook included with your purchase. You can also view a digital version of the “Cable Slope & Sag” right here. We recommend finding a landscape with a natural slope of 3% to 6%, This is a 3’ - 6’ foot drop per 100’ feet. 

For zip lines that will NOT utilize a Bungee Brake System, (a Stop Block is NOT a braking system) the maximum allowable slope is 3%. For zip line setups that include a Bungee Brake, the maximum allowable slope is 6%. 

!!WARNING!! Zip line must never exceed 6% (6’ foot drop per 100’ feet) riding slope. High speed collision with end point may cause injury or death.

I don't have trees. Can I use posts?

Yes you can, but you need to carefully read the instructions for how to select, and install posts in the Backyard Zip Lines handbook included with your purchase. Alternatively, you can review the information in the digital version of our handbook right here.

If you are in any doubt as to how to properly select and install a wood post, please do not hesitate to contact us at 888-476-3701.

Recommended for You