


One Year Guarantee
Here it is in plain English, we offer a 1 Year 100% Satisfaction Guarantee, and you just pay for the return shipping. No strings attached.
Free Design Consultation
We know the process can be a bit overwhelming and we're here to help. Schedule a free 25 minute consult to help you plan your zip line project.
Free US Ground Shipping
Free US Ground Shipping on orders over $395 (up to 150 lbs, excludes AK, HI & Freight)
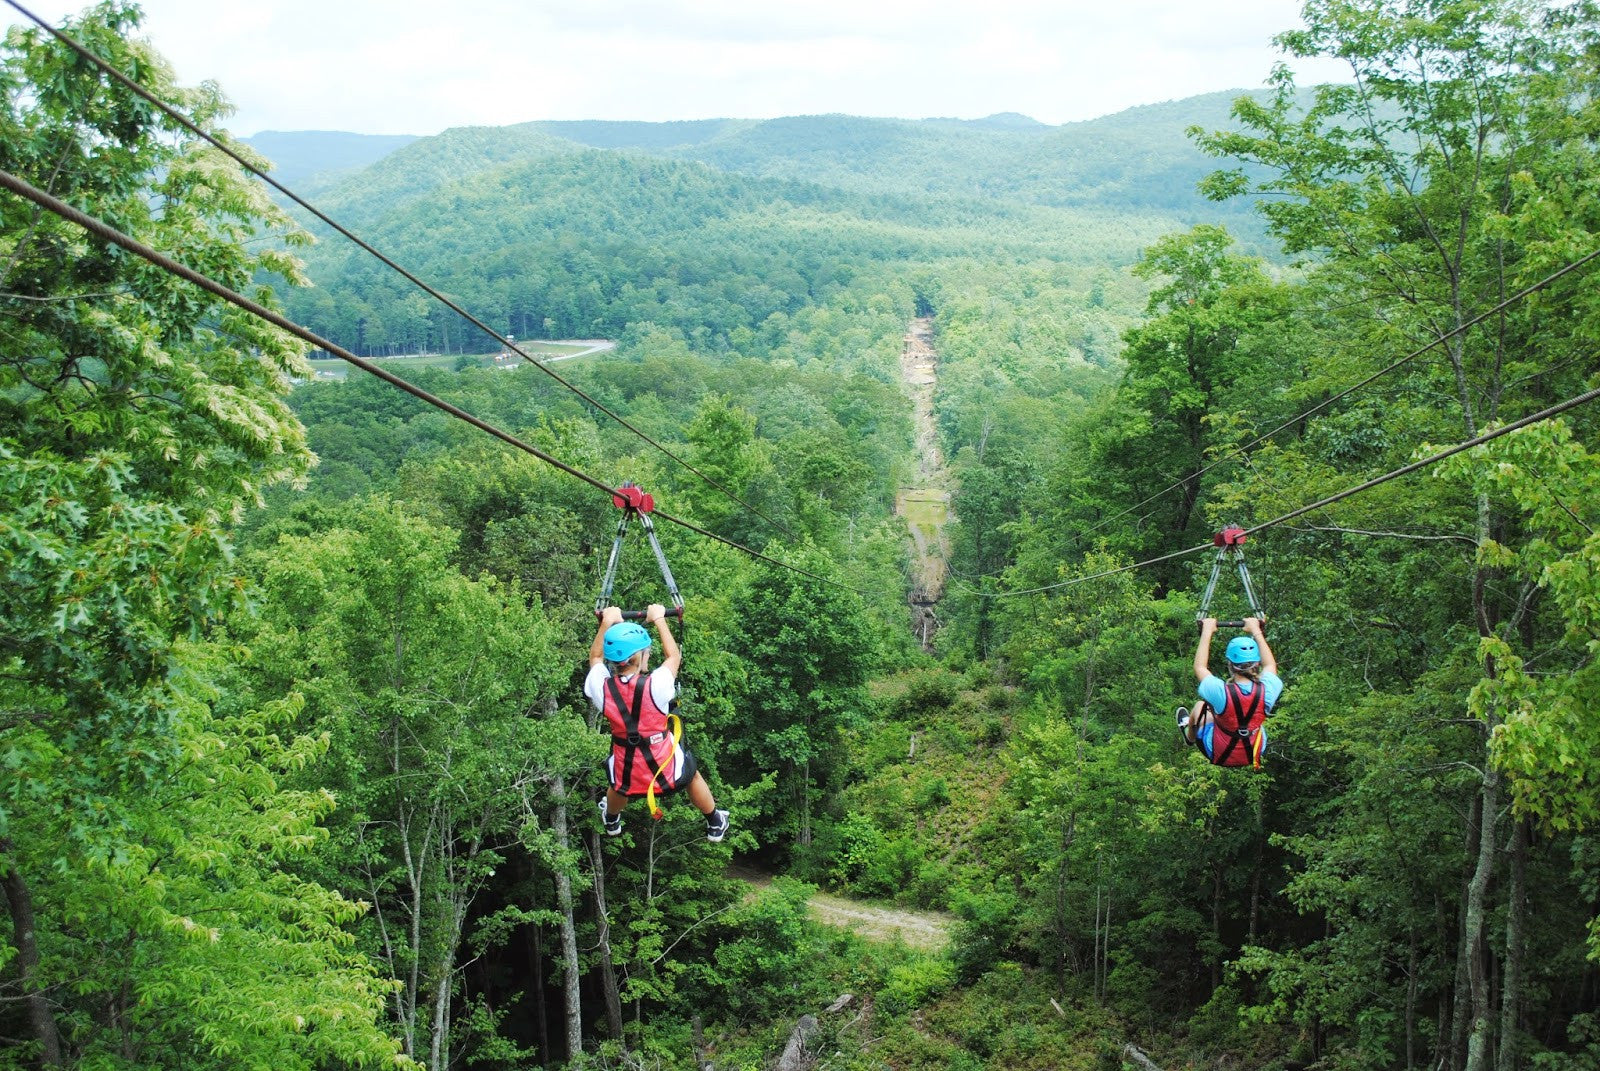
So you want to build a zip line. Let's get you started!

Boomerang Trolley Return
If you’re planning to build a zip line that runs over water, rough terrain, or sits too high for a regular trolley walk-back, then the Boomerang is for you.
Rerun Return System
The Rerun is designed with a pulley system that uses a counterweight to bring your trolley automatically back up to the top of your zip line after each ride.

In The Beginning...
When Nathan Sleadd launched off his first Zip Line platform, the thrill propelled him into the dream that became ZipLineGear. From install to airborne, his innovative design set industry standards and created a process that empowers each customer.
Frequently Asked Questions
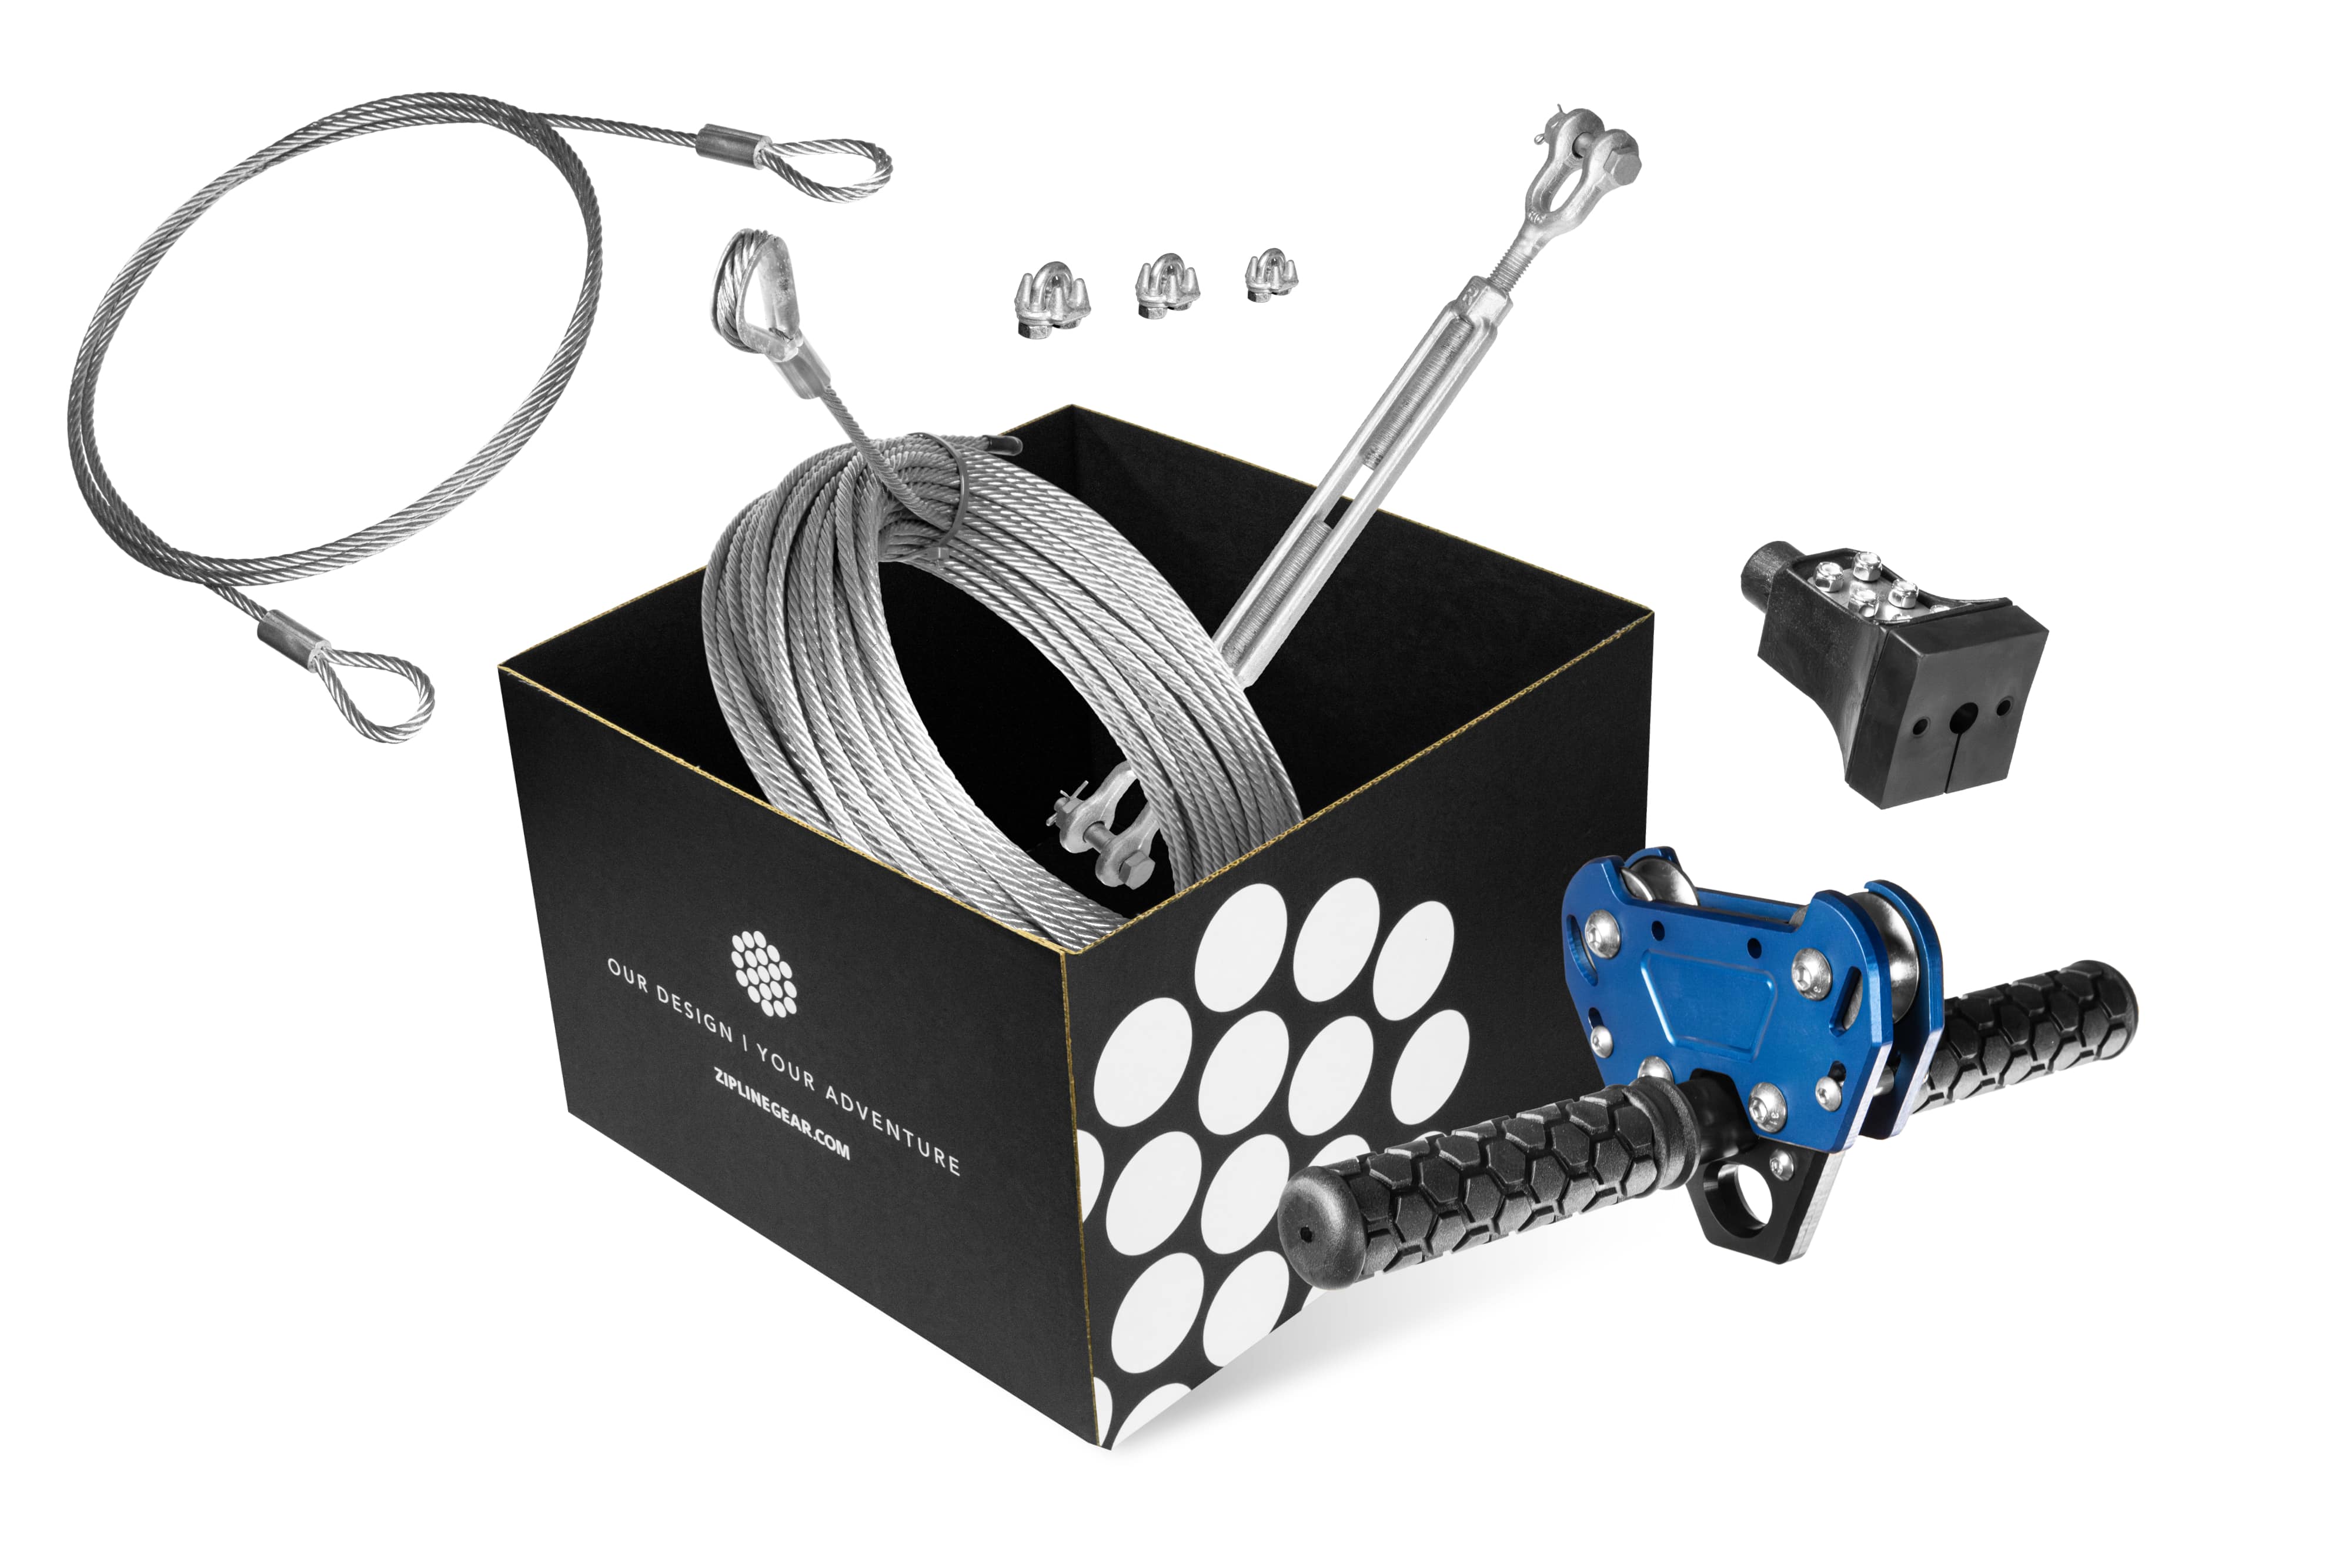
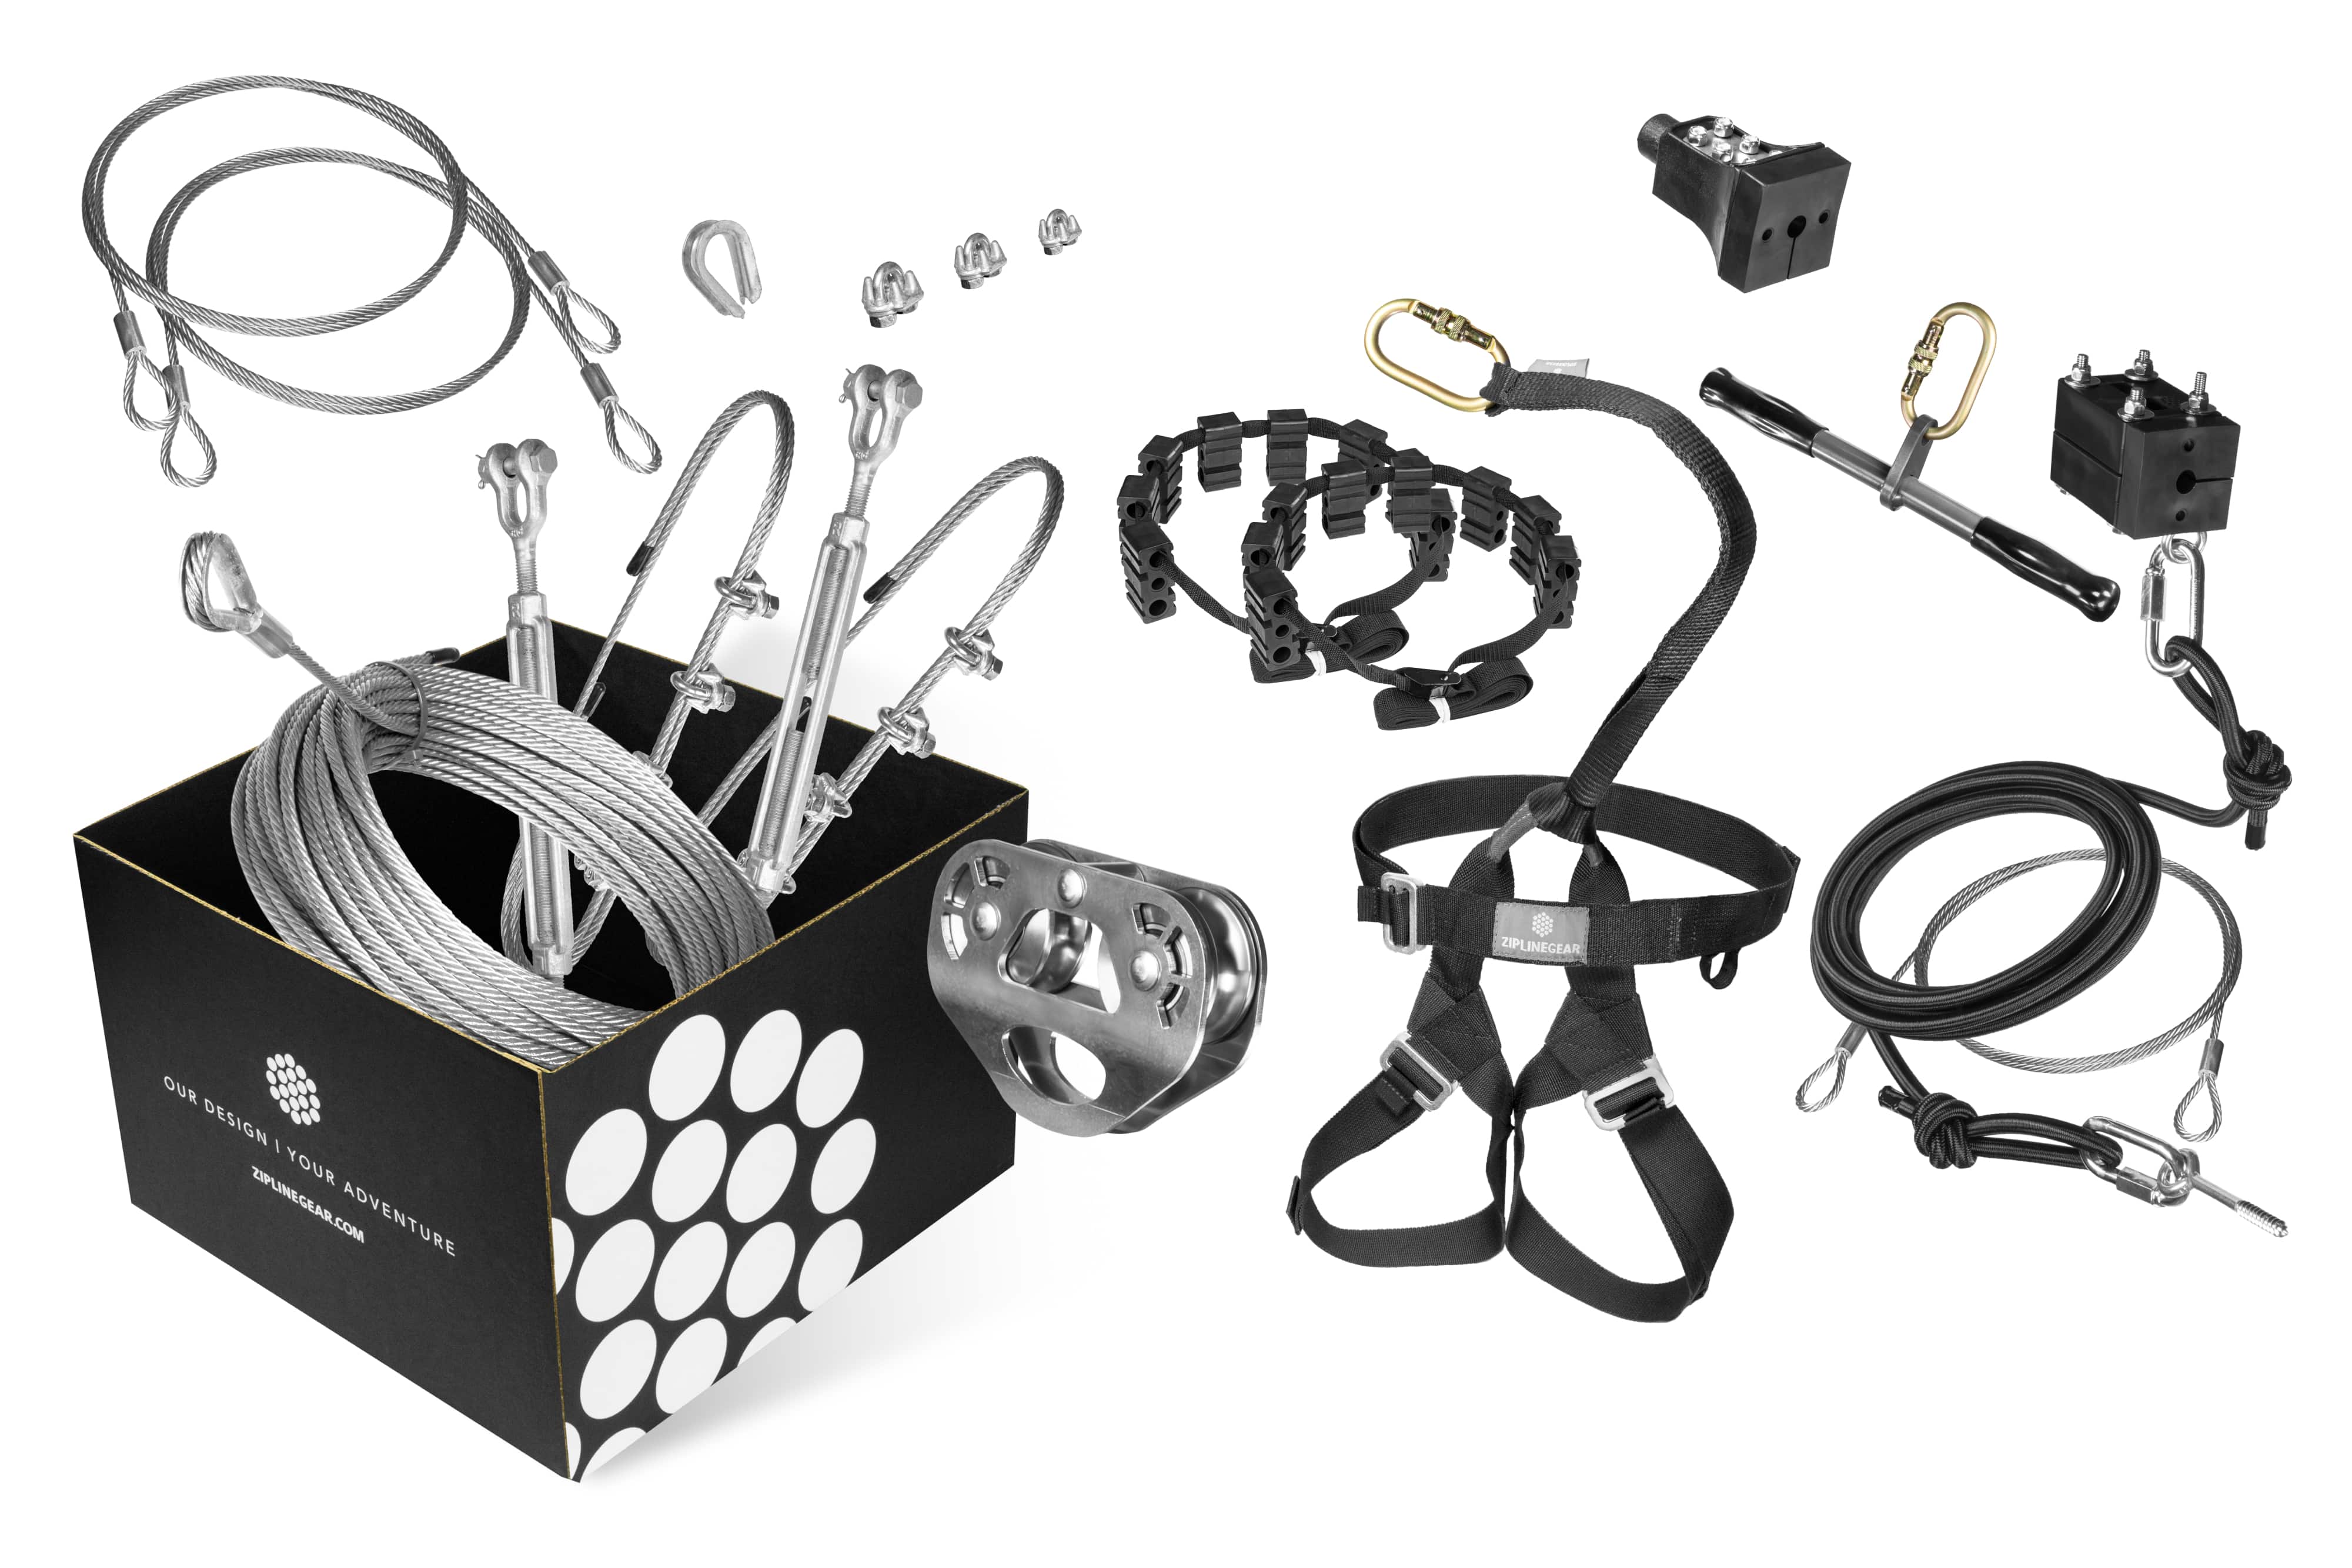
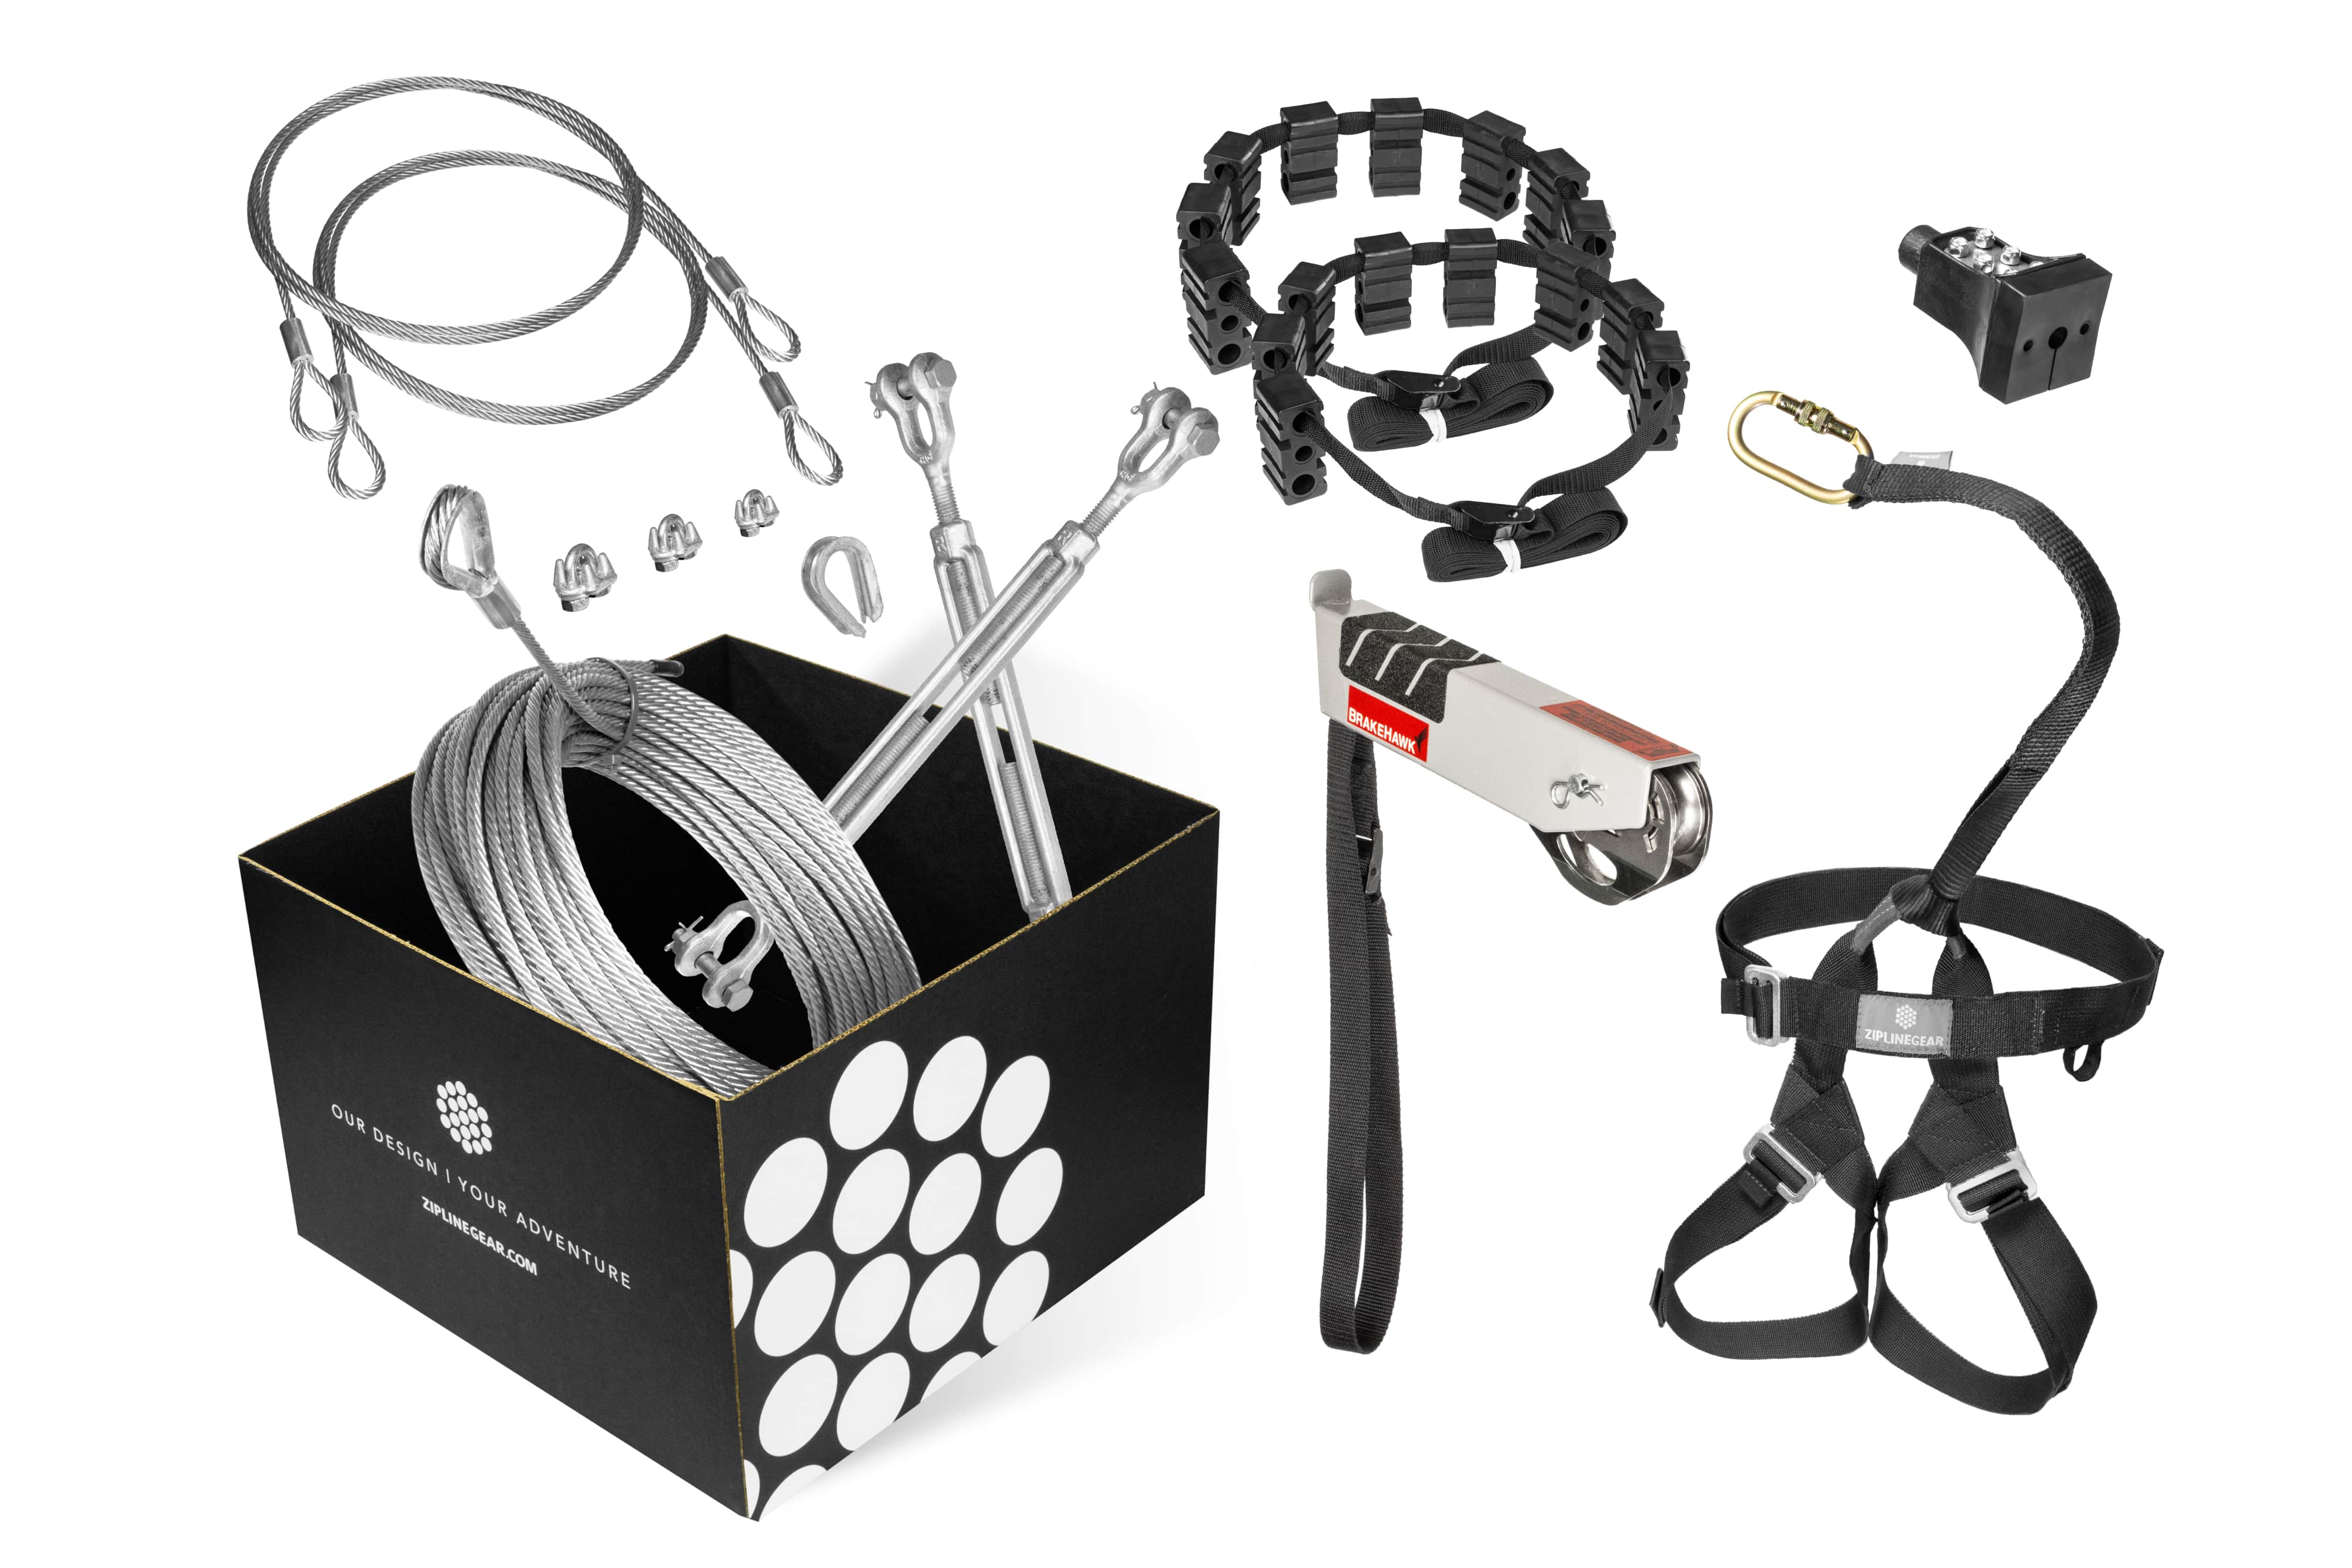
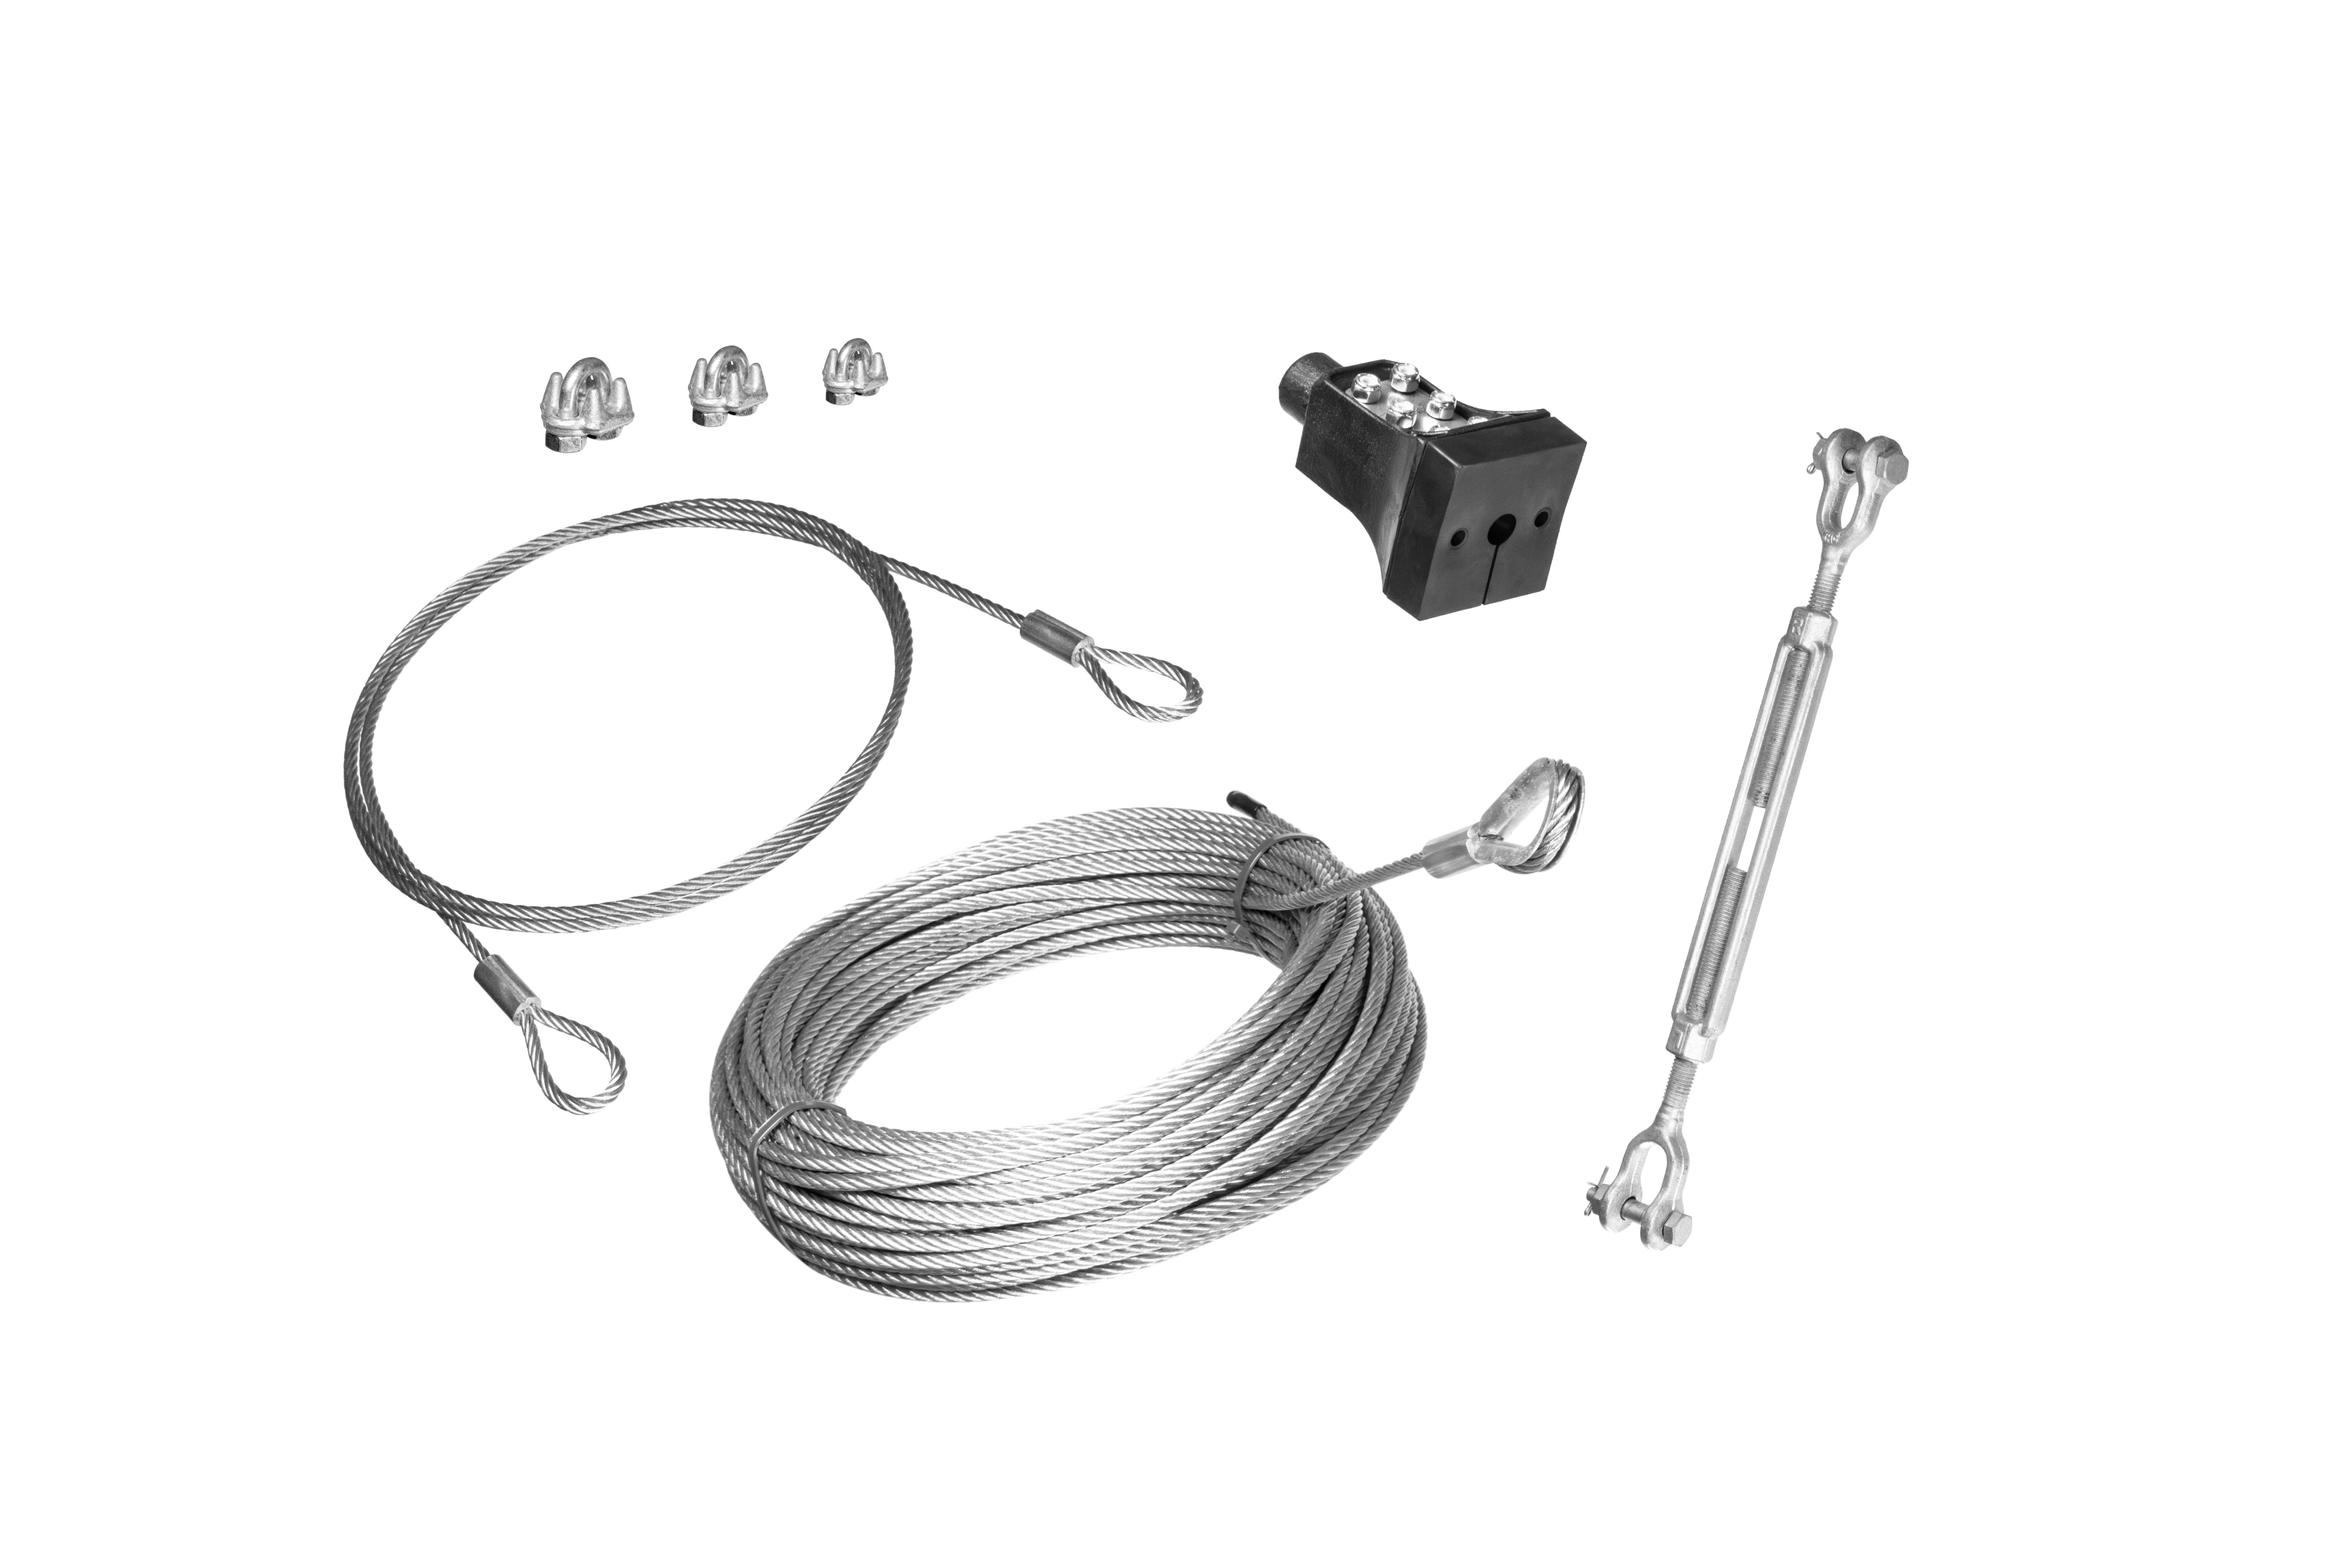
What is included in a zip line kit?
While kit contents can vary, a basic zip line kit generally includes the main cable, a trolley, and hardware for attachment to anchors. Other components like cable slings, turnbuckles, cable clamps, thimbles, stop blocks, and tensioning tools may also be included depending on the specific kit. Accessories such as handlebars, seats, harnesses, and braking systems like spring brakes or bungee brakes are often available separately or included in more comprehensive kits.
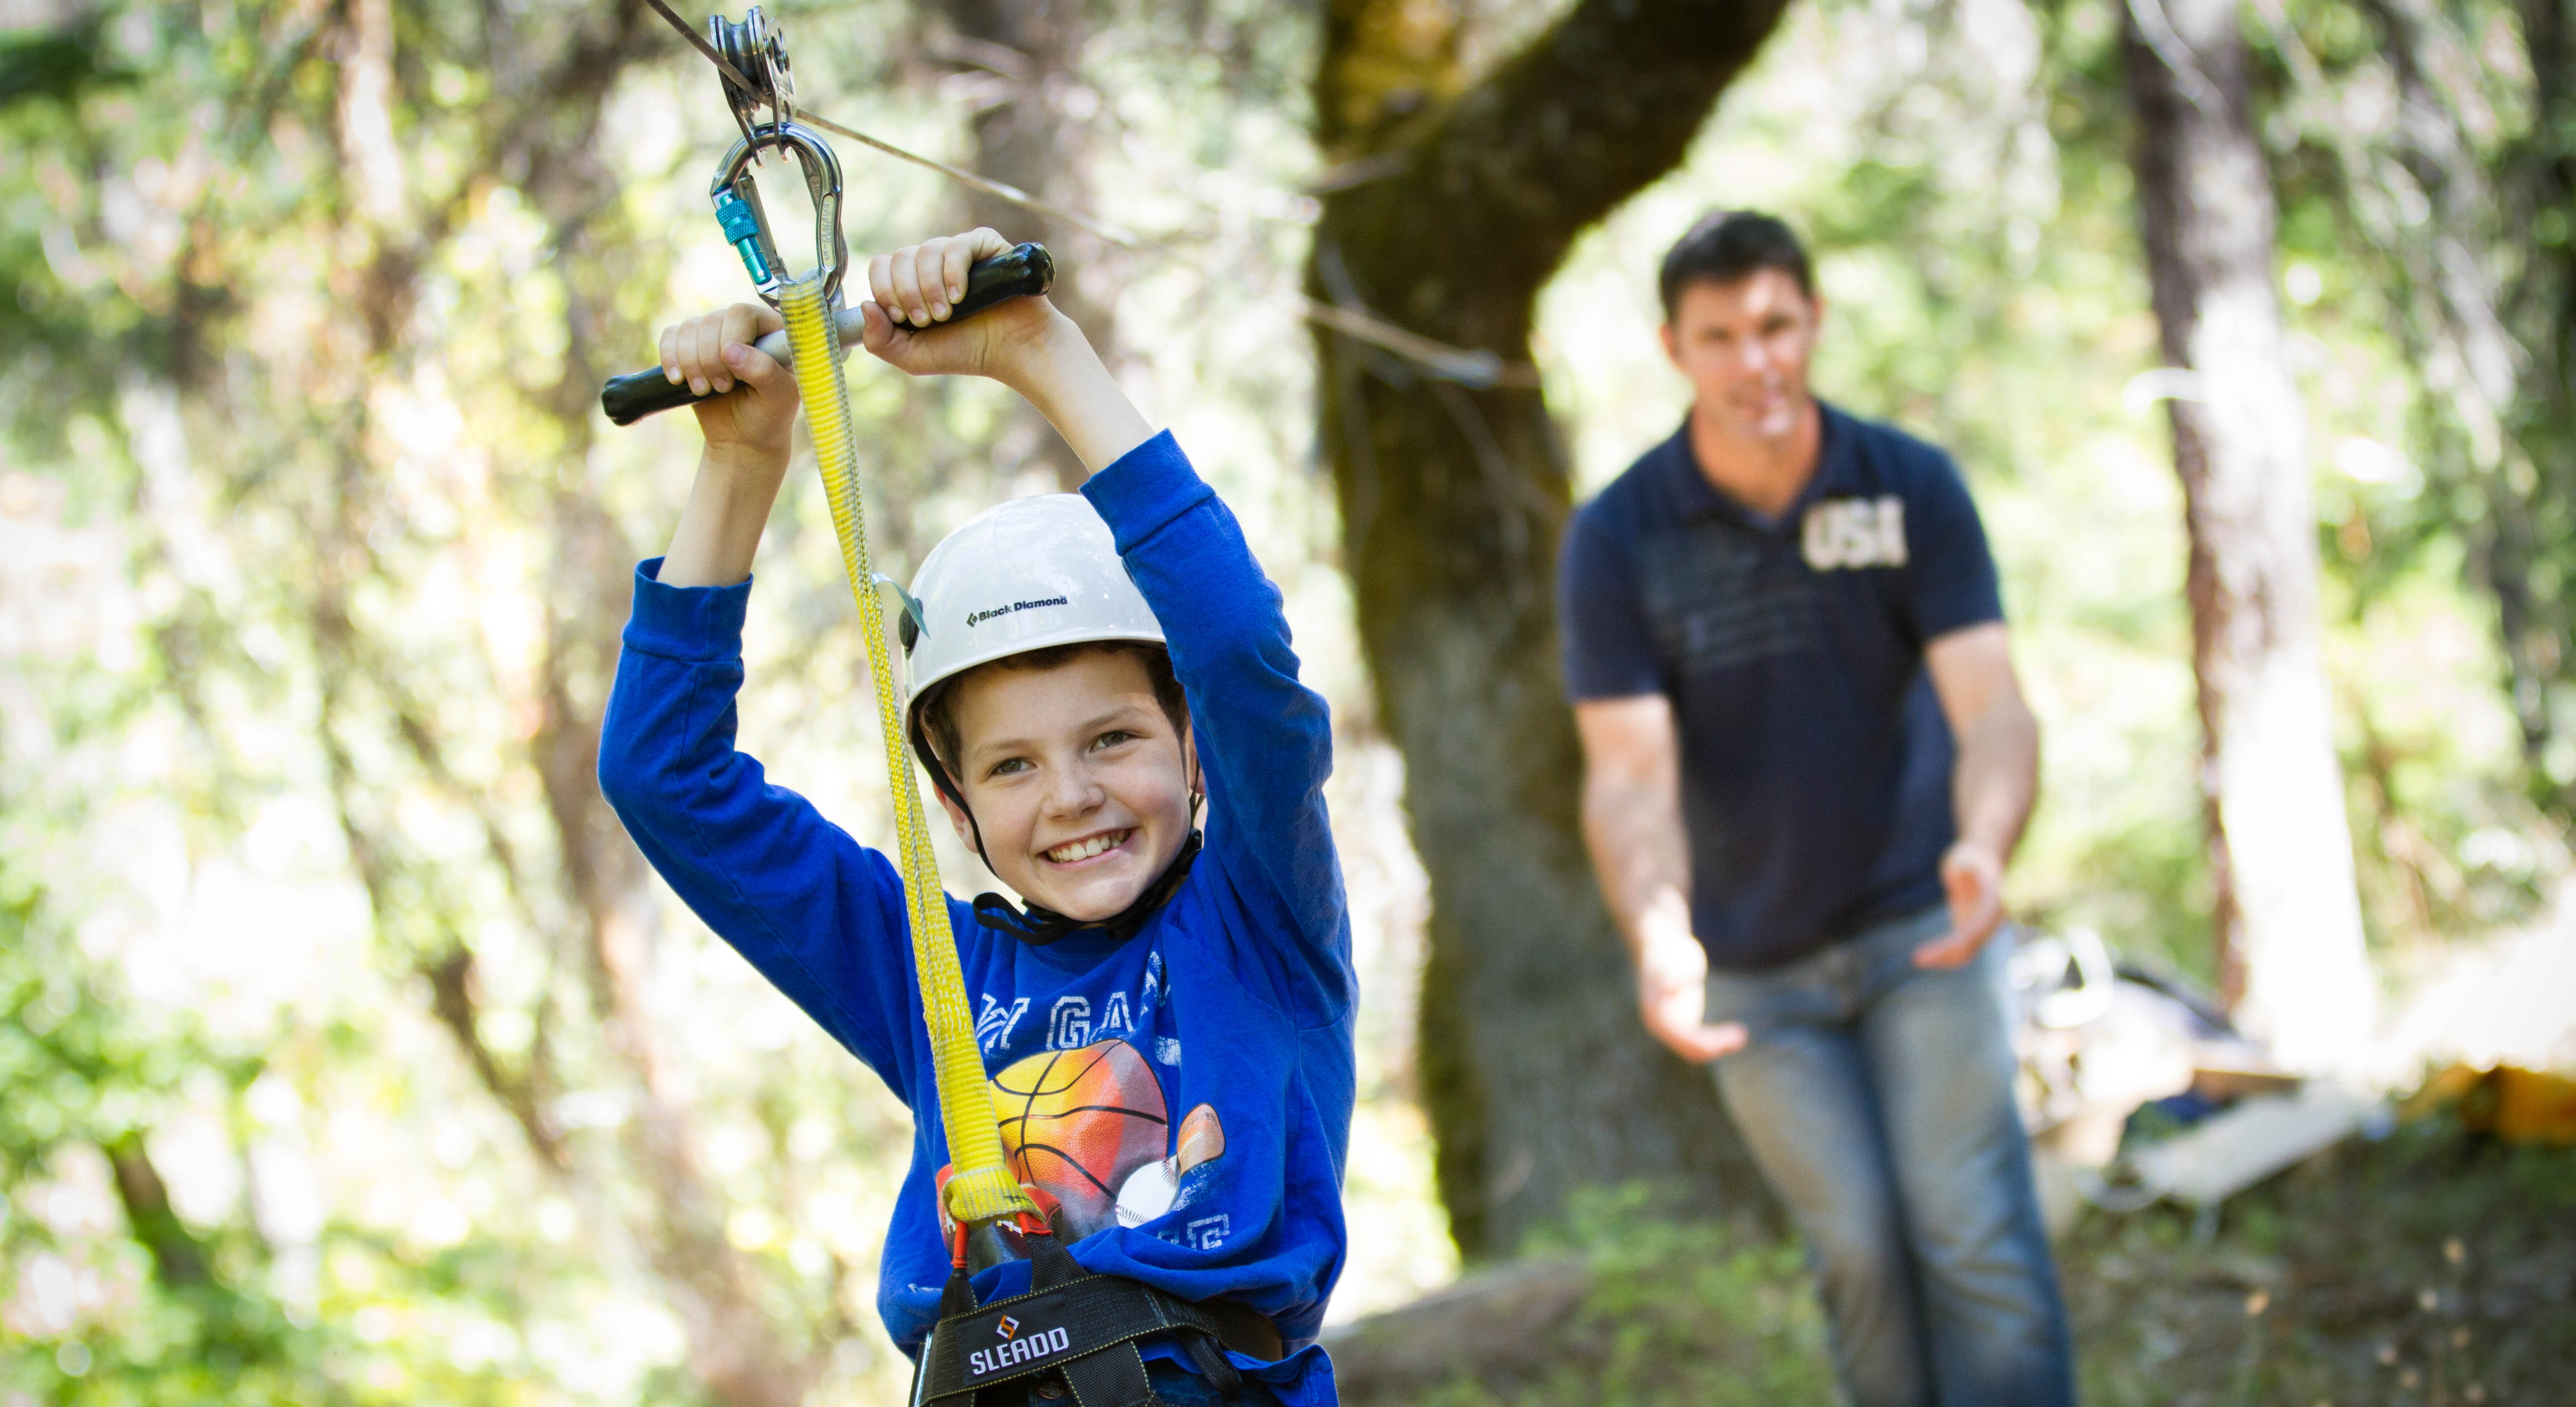
Are zip line kits safe?
Using a zip line is never risk-free, but zip lining can be made safer when installed and used correctly according to all instructions. It is crucial to read and understand all installation and safety guidelines, ensure proper oversight, supervision, and maintain / inspect all equipment before each use. Never ride a zip line without first testing it.
How easy is it to install a zip line kit?
While we don’t consider installing a zip line an “easy” endeavor, we’ve done our best to make each step as clear as possible in our ZipLineGear Handbook. We’re also available to offer suggestions or discuss the specifics of your installation over the phone, five days a week.
Installing a zip line kit requires careful site selection and adherence to detailed cable installation procedures. The process involves determining accessible launch and dismount locations, clearing the area of obstructions, and properly securing anchors to suitable trees or posts. Cable tensioning is a critical step, and some kits may include a tensioning kit to assist with this. The ZipLineGear handbook provides step-by-step instructions for different kit types.
Each zip line is different, but often the longer the zip line, the more challenging to set up. Having a second person to assist with the process is helpful.
What is the weight limit for a zip line kit?
The weight limit depends on the specifics of your setup, but a good rule of thumb is that you should never place more than 350 pounds on the zip line. A weight test equal to the weight of the heaviest anticipated participant, up to 350 lbs, must be performed before use. Pay close attention to the weight limit for each specific kit listed on our website.
What length of zip line kit should I choose?
The appropriate length of your zip line kit depends on the distance between your chosen anchor points and the topography of your site. The ZipLineGear handbook includes a worksheet to help determine the necessary length, considering factors like distance between anchors, desired slope, and calculated sag. Landscape with a natural slope of 3% to 6% is recommended. If you have flat ground, the longer the zip line length you choose, the higher you need to start to account for slope.
Can zip line kits be installed on trees?
Yes, zip line kits can be installed on trees, provided the trees are appropriate anchors. Tree trunks must have a minimum diameter of 12 inches at the attachment point and should not have rot, disease, structural cracks, excessive lean, or exposed roots. Attachment should only be to the central trunk, not limbs or branches. Using tree saver blocks are recommended to protect the tree.
Can zip line kits be installed on posts?
Yes, zip line kits can be installed on posts. Wood posts used as anchors must have a minimum diameter of 12 inches. Posts must be sunk at least 4 feet into the ground, or 10% of the post length plus 2 feet (whichever is greater), and secured with 6 inches of concrete around the base. Guy cables and ground anchors may be required for additional support. Eyebolts can be used for attaching the cable to wood or metal poles, ensuring the eyebolt has a proper strength rating and is long enough to protrude through the post with a washer and nut.
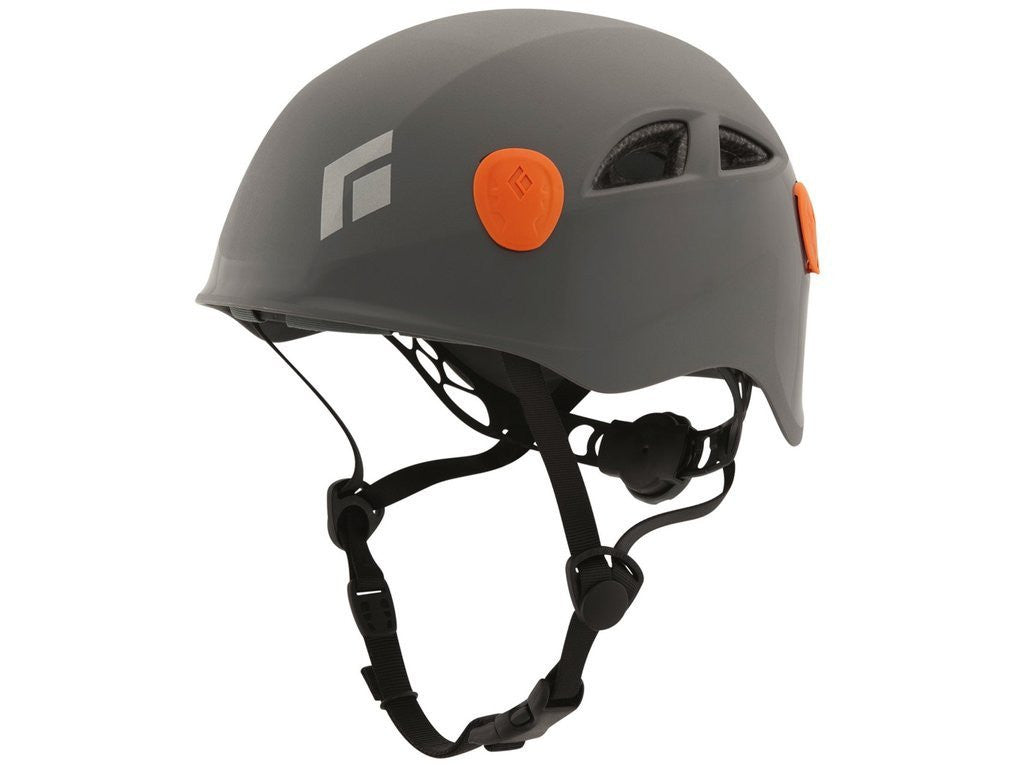
Do zip line kits come with safety harnesses?
What if I don't have a tree to attach my bungee cord to?
Installing a simple 4x4 post (2'-4' in the ground) with the dirt packed around it would be sufficient. The closer this attachment height can be to the height of the cable, the better. For example if you have a cable height of 10' at the location of the bungee block, then 8'-10' high is where you would want to attach the bungee cord to your post.
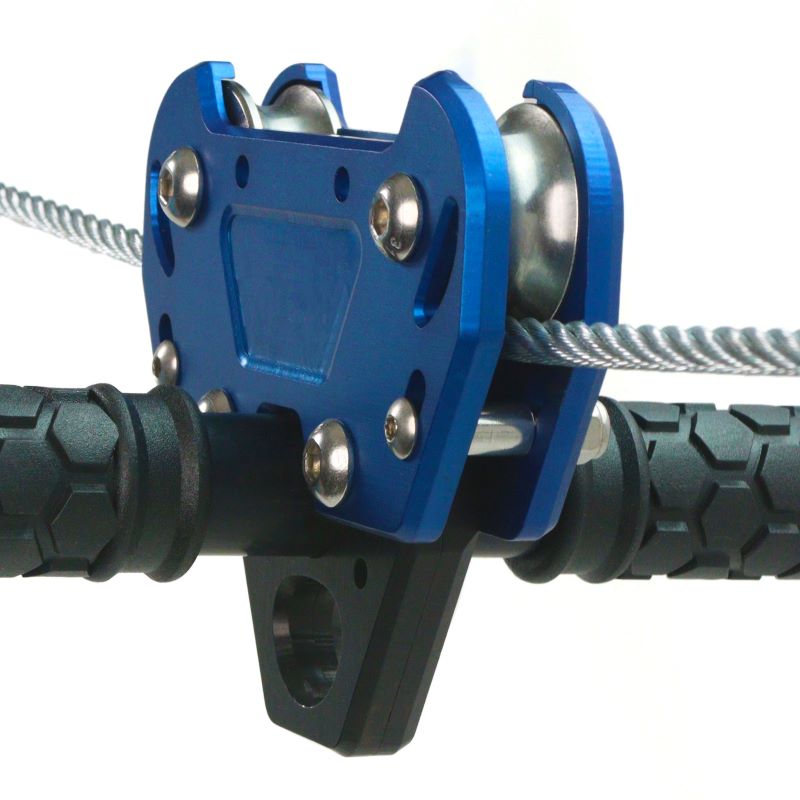
What is a spring brake and why is it important?
A spring brake is a type of braking system available as an add-on for zip line kits. It is mounted on the cable, and multiple springs can be added to increase stopping power. A spring brake is important because it helps to slow down the rider as they approach the end of the zip line. However, a stop block must also be installed when using a spring brake, as the spring brake alone is not a complete braking system and collision with the spring without a stop block can cause injury. The maximum allowable slope for zip lines utilizing a spring brake is 3%.
Can I use a spring instead of a bungee brake?
Springs have limited stopping power and they’re especially good for short zip lines 150 FT or less, using a minimal 3% slope. Although you can add additional springs to increase stopping power, springs are not comparable to the stopping power needed for a 5-6% slope. It’s best to use a bungee brake in cases where zip line length is over 150 FT or where slope is greater than 3%.
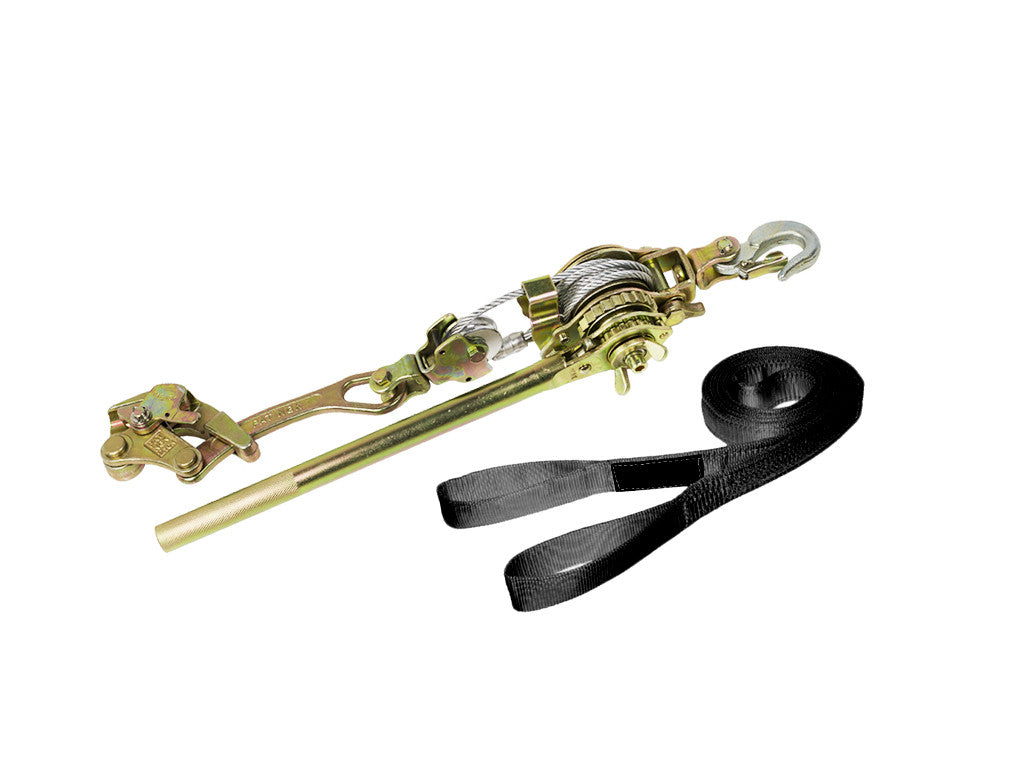
What is a cable tensioning kit?
A cable tensioning kit is an optional add-on item that can be used during the installation process to help pull the zip line cable taut. It typically includes components like a winch and cable grab. The tensioning kit is used to lift the main zip line cable to the appropriate height and tension it before securing the cable with clamps. Once the main cable is tensioned, the tensioning kit is removed.
We hope this FAQ section is helpful! If you have further questions, please consult the ZIPLINEGEAR Installation & Safety Handbook or contact us directly.
- Choosing a selection results in a full page refresh.